¶ 1. Camera Settings
Depth Camera
Adjusting the depth cameras’ exposure before starting a scan is crucial to getting a good 3D model.
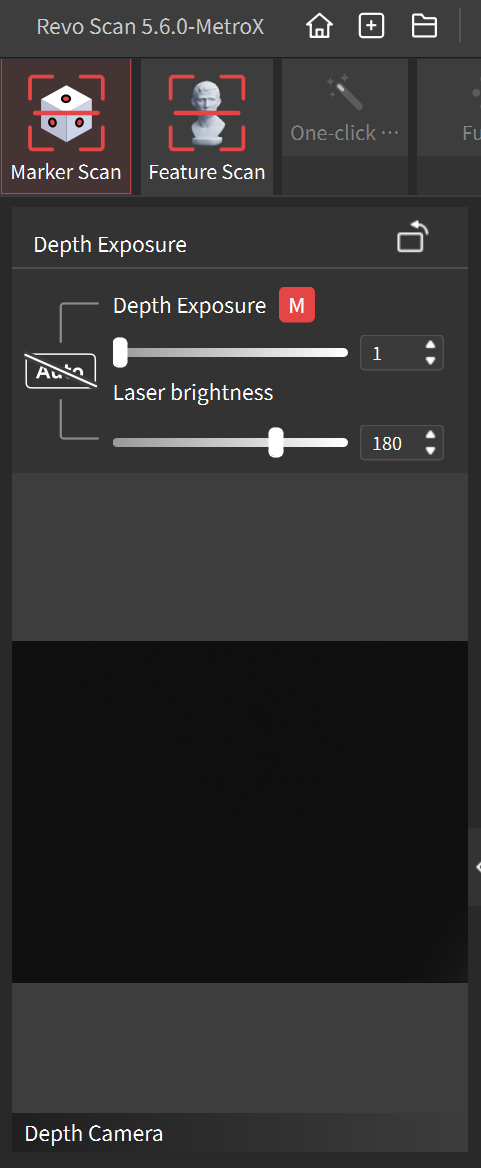 |
The depth cameras’ exposure can either be set to auto-exposure or manually adjusted. It is recommended that you use the default value. If you want to adjust the exposure slider, please ensure the object’s color is grey in the Depth Camera window.
Only available when using the Cross Lines/Parallel Lines mode. It's recommended that you use the default value to avoid affecting the scan's effect. |
RGB Camera
To capture an object’s color accurately during a scan when using the Auto Turntable mode. Please ensure it is evenly lit with soft light, and the RGB camera’s exposure and white balance have been adjusted.
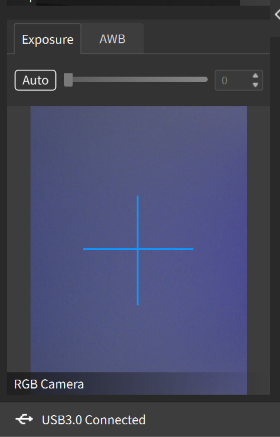 |
Adjust the exposure until the colors look accurate in the RGB camera preview window, or set it to auto.  Underexposed Correct Exposure Overexposed
Either set the white balance to auto or adjust it till the colors look accurate.  Too Yellow Normal Too Blue |
¶ 2. Scanning Distance Indicator Bar
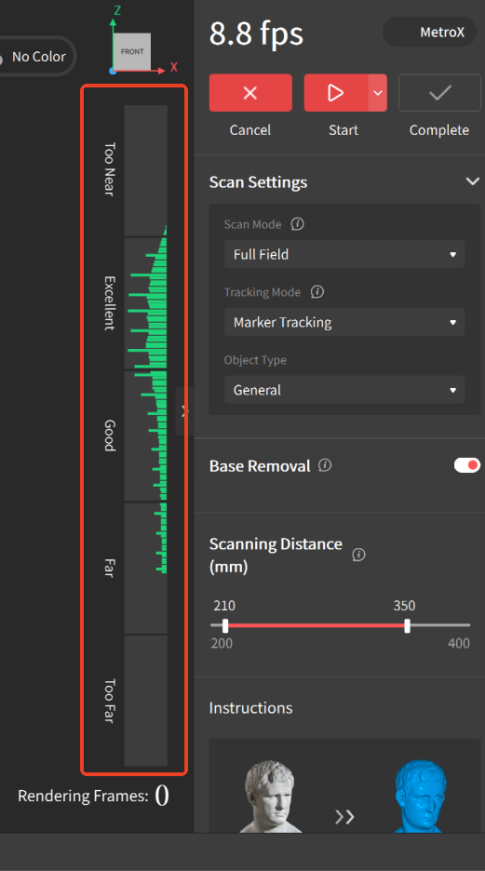 |
Adjust the scanning distance before a new scan. The distance indicator bar shows the distance between the object and the scanner. It’s suggested to keep the bar green (optimal) when scanning. 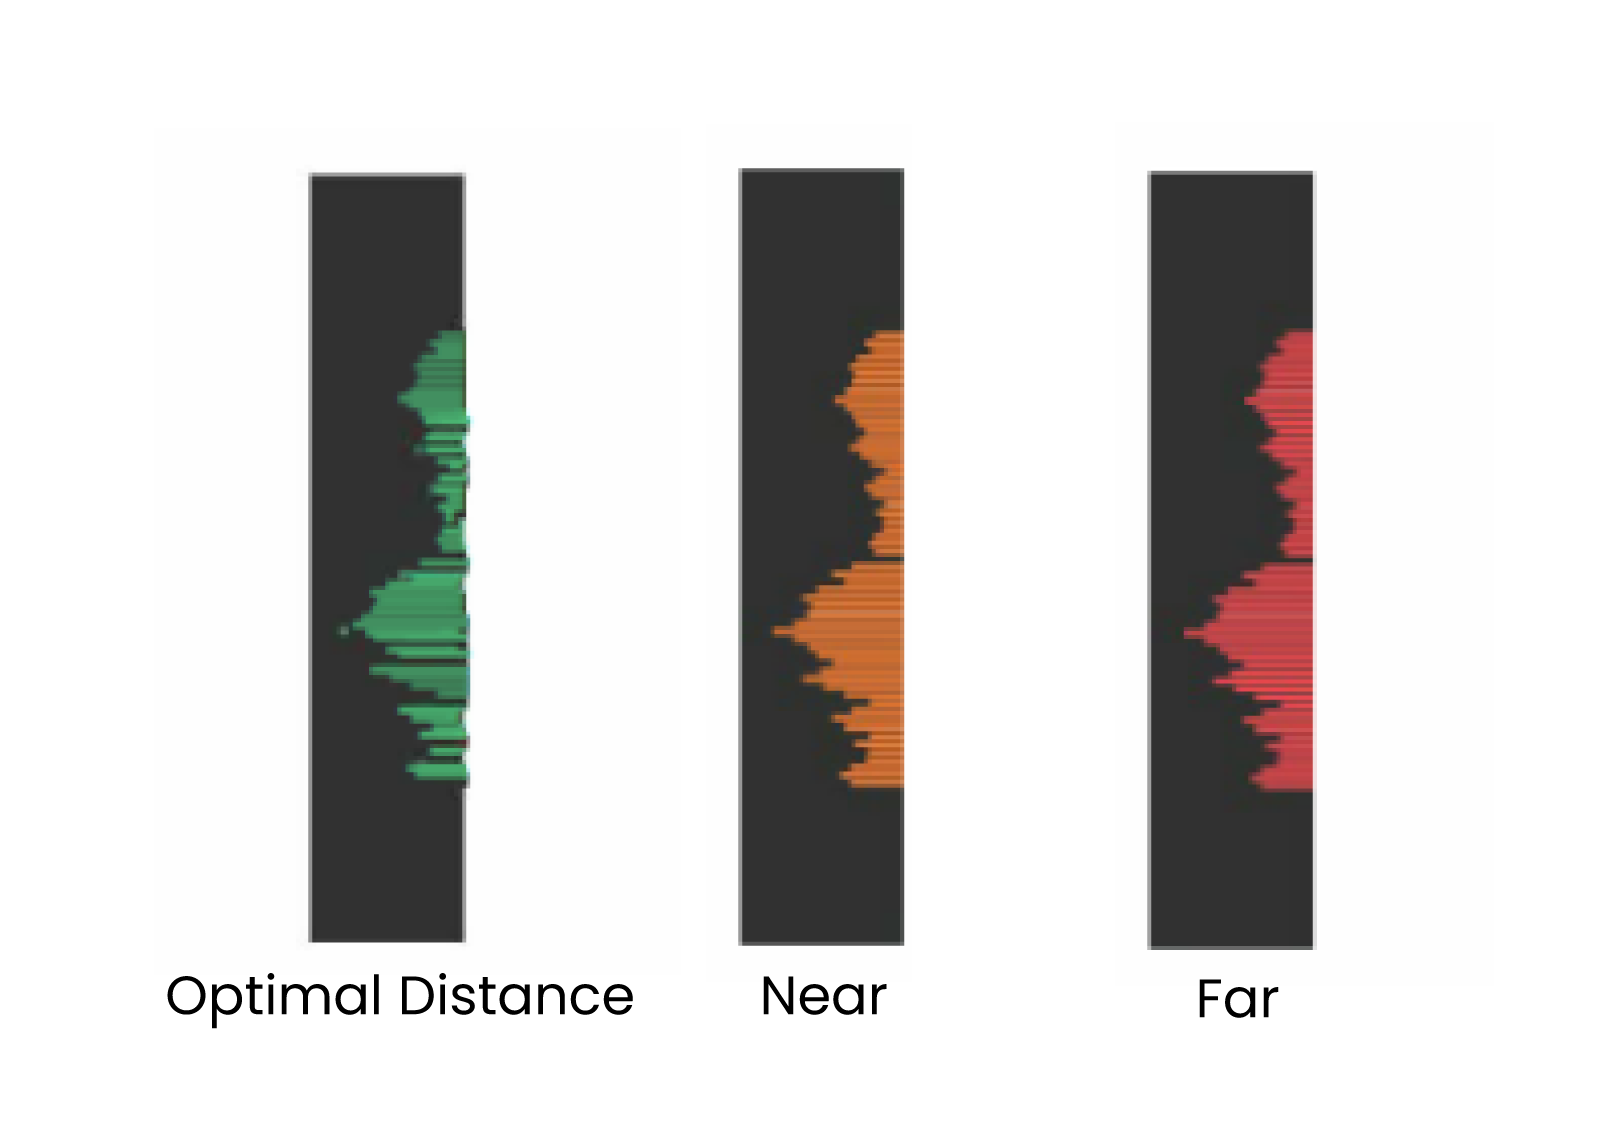
|
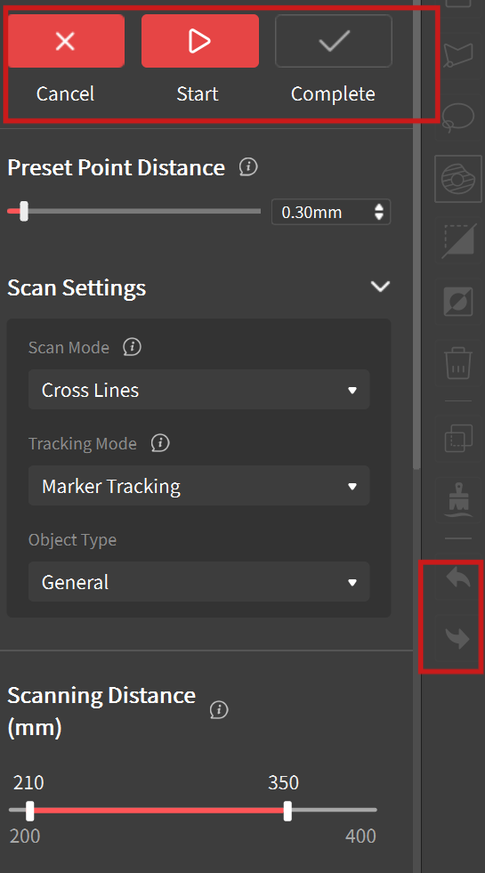
¶ 3. Scanning Controls
|
|
¶ 4. Preset Point Distance
|
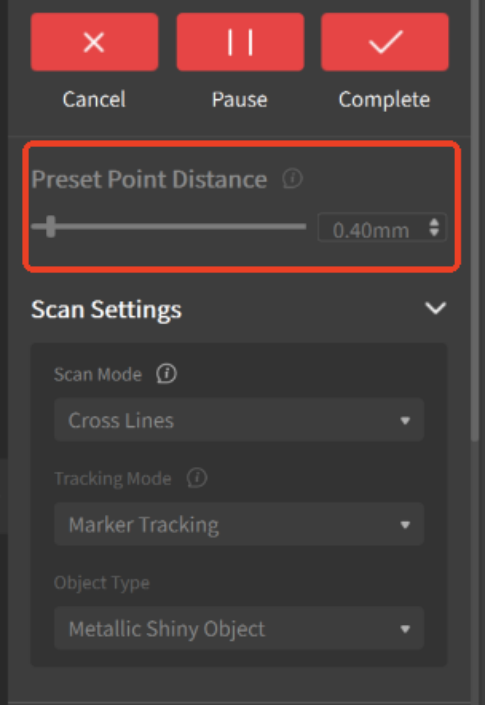
When using Cross Lines or Parallel Lines modes, you can preset the point distance, which is the space between adjacent point clouds during scanning. Setting a higher value will reduce scanning time. Note: It's recommended that default parameters be used. |
¶ 5. Scan Modes
Please select the appropriate scan mode before scanning.
|
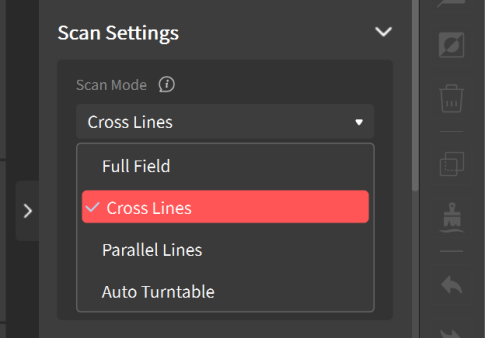 |
① Cross Lines: Designed for capturing shiny metals and black objects. It’s more efficient than Parallel Lines mode.(Requires markers for tracking.) ② Parallel Lines: Designed for capturing fine and complex details at a lower speed. (Requires markers for tracking.) ③ Full Field: Designed for efficiently capturing feature-rich objects in a short time. ④ Auto Turntable: The Turntable (Dual-axis Turntable or Large Turntable), scanner, and Revo Scan 5 MetroX work together to automatically scan an object in single-shot mode, streamlining the process and generating a detailed, color-accurate 3D model if required. |
¶ 6. Tracking Modes
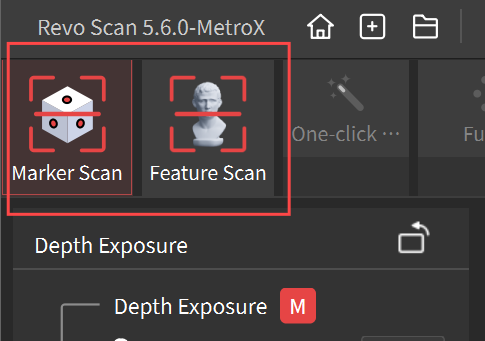
Before scanning, first select the Marker Scan or Feature Scan according to the object.
 |
|
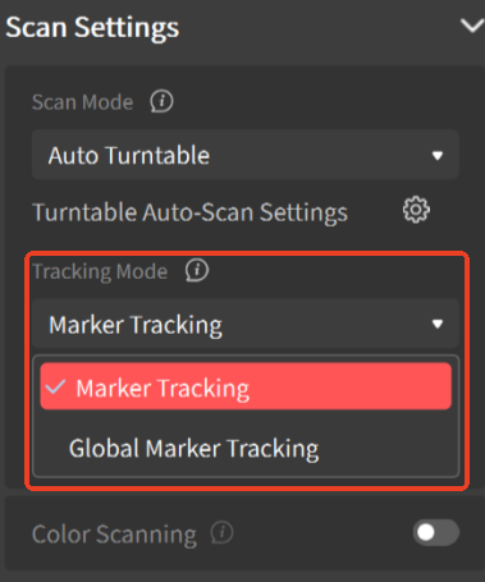 |
When using Marker Scan, the Tracking Mode can be set to either Marker Tracking or Global Marker Tracking. * Global Marker Tracking can provide more accurate scanning results and smoother frame stitching. There are two steps: first, scan the markers to create global markers coordinates, and then scan the object based on these coordinates. |
¶ 7. Object Type
|
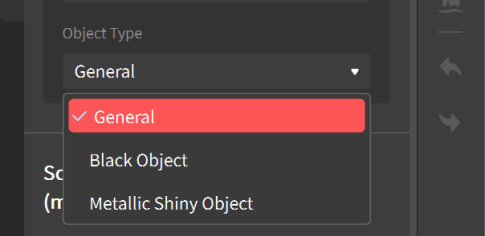
Note: Available Object types depend on the selected scan modes. |
¶ 8. Color Scan
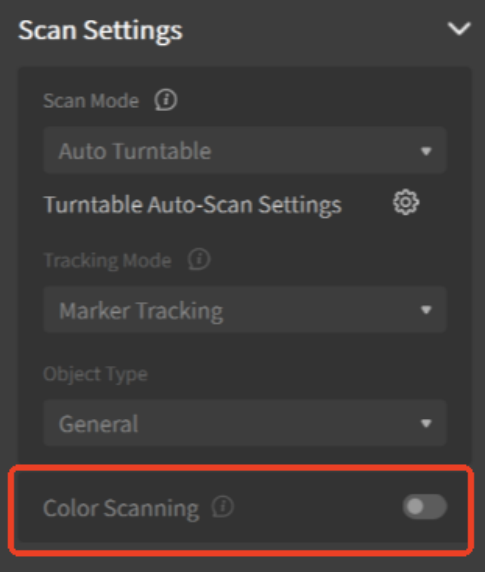 |
Enable it to capture color data when using Auto Turntable mode. When performing a color scan, ensure the object is evenly lit with soft light for optimal color capture results. When a color scan is performed, you can toggle between displaying or hiding the model’s color. 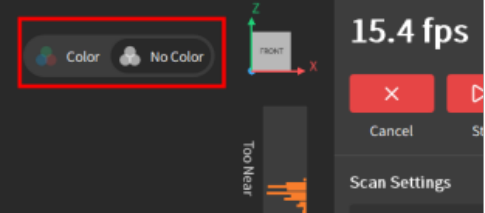 |
¶ 9. Base Removal
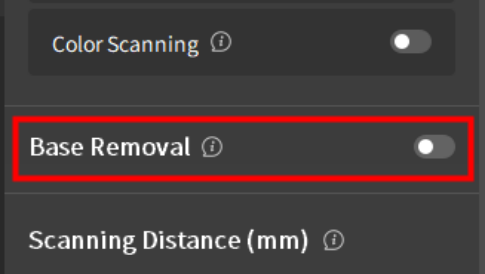 |
Toggle it on to enable automatic deletion of any unwanted flat surfaces detected (e.g., a table or floor) when using Full Field or Auto Turntable mode. If scanning an object with many flat surfaces, turn this off to avoid deleting any of the object’s surfaces.
|
¶ 10. Scanning Distance
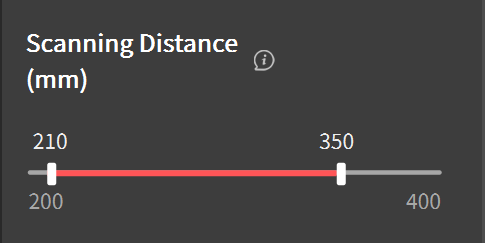 |
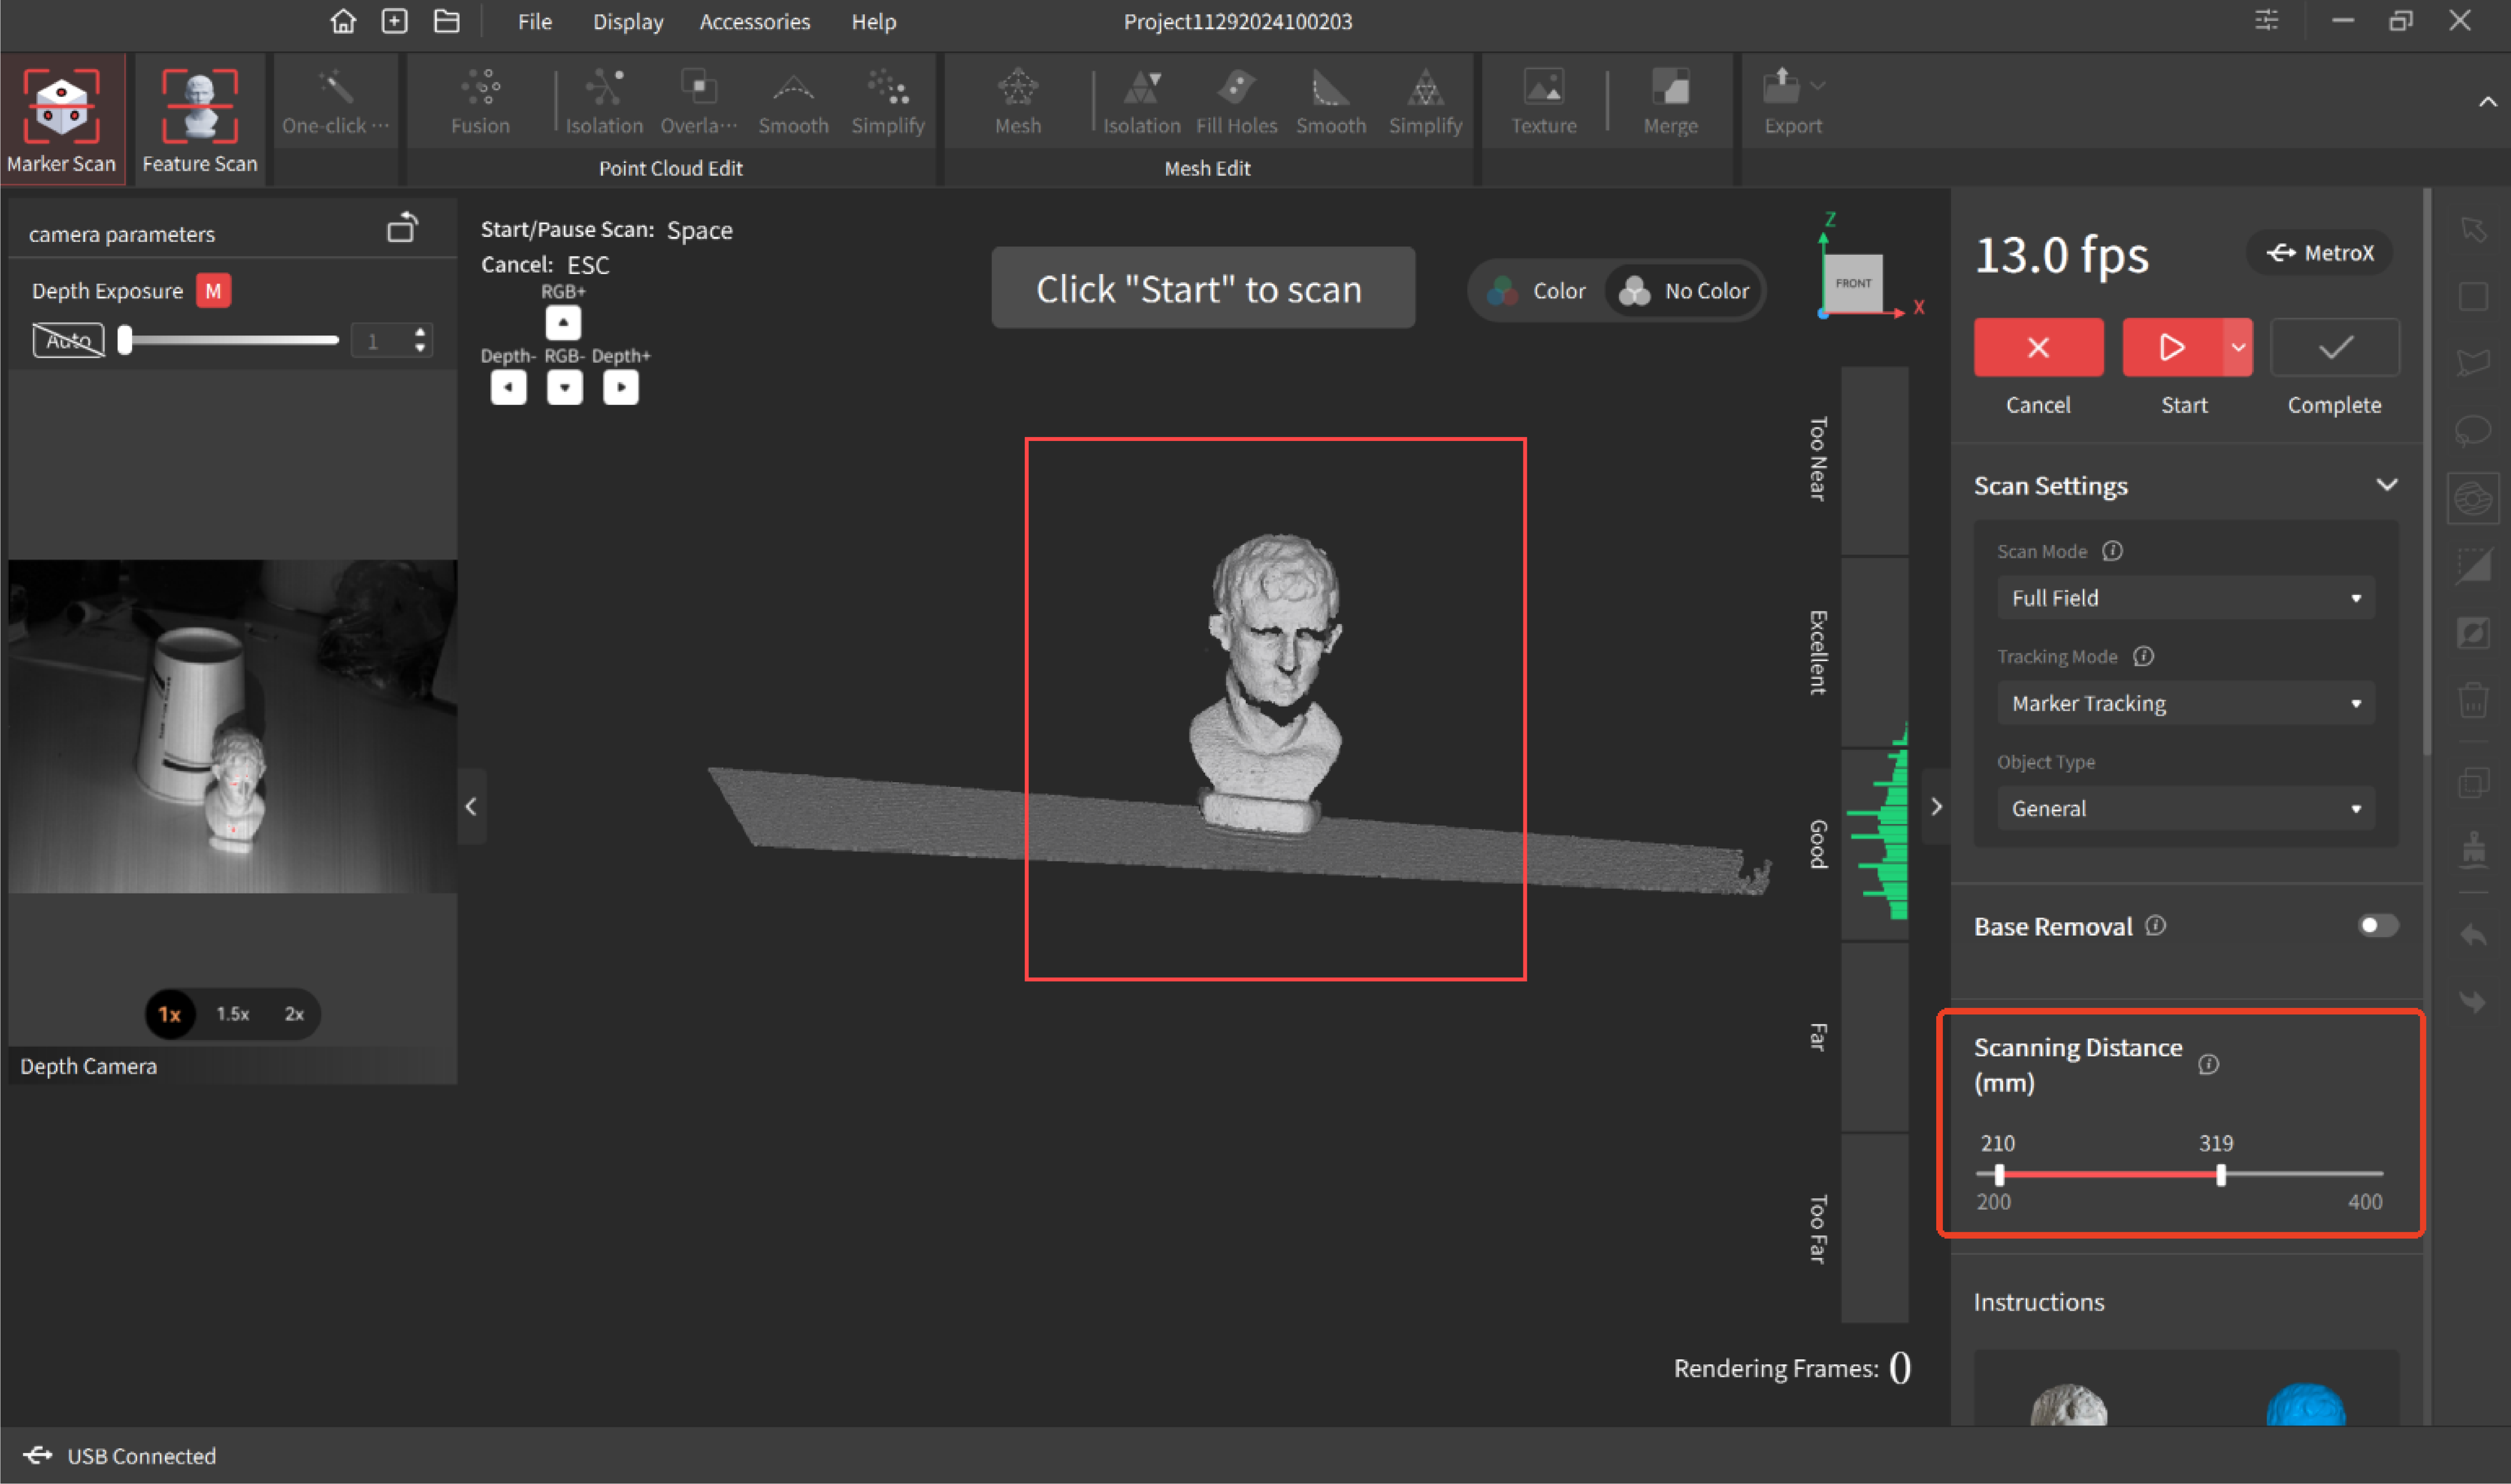
Use the slider to adjust the Depth Cameras‘ working distance to ignore unwanted background or foreground objects. Both a minimum and maximum distance can be set. |
 |
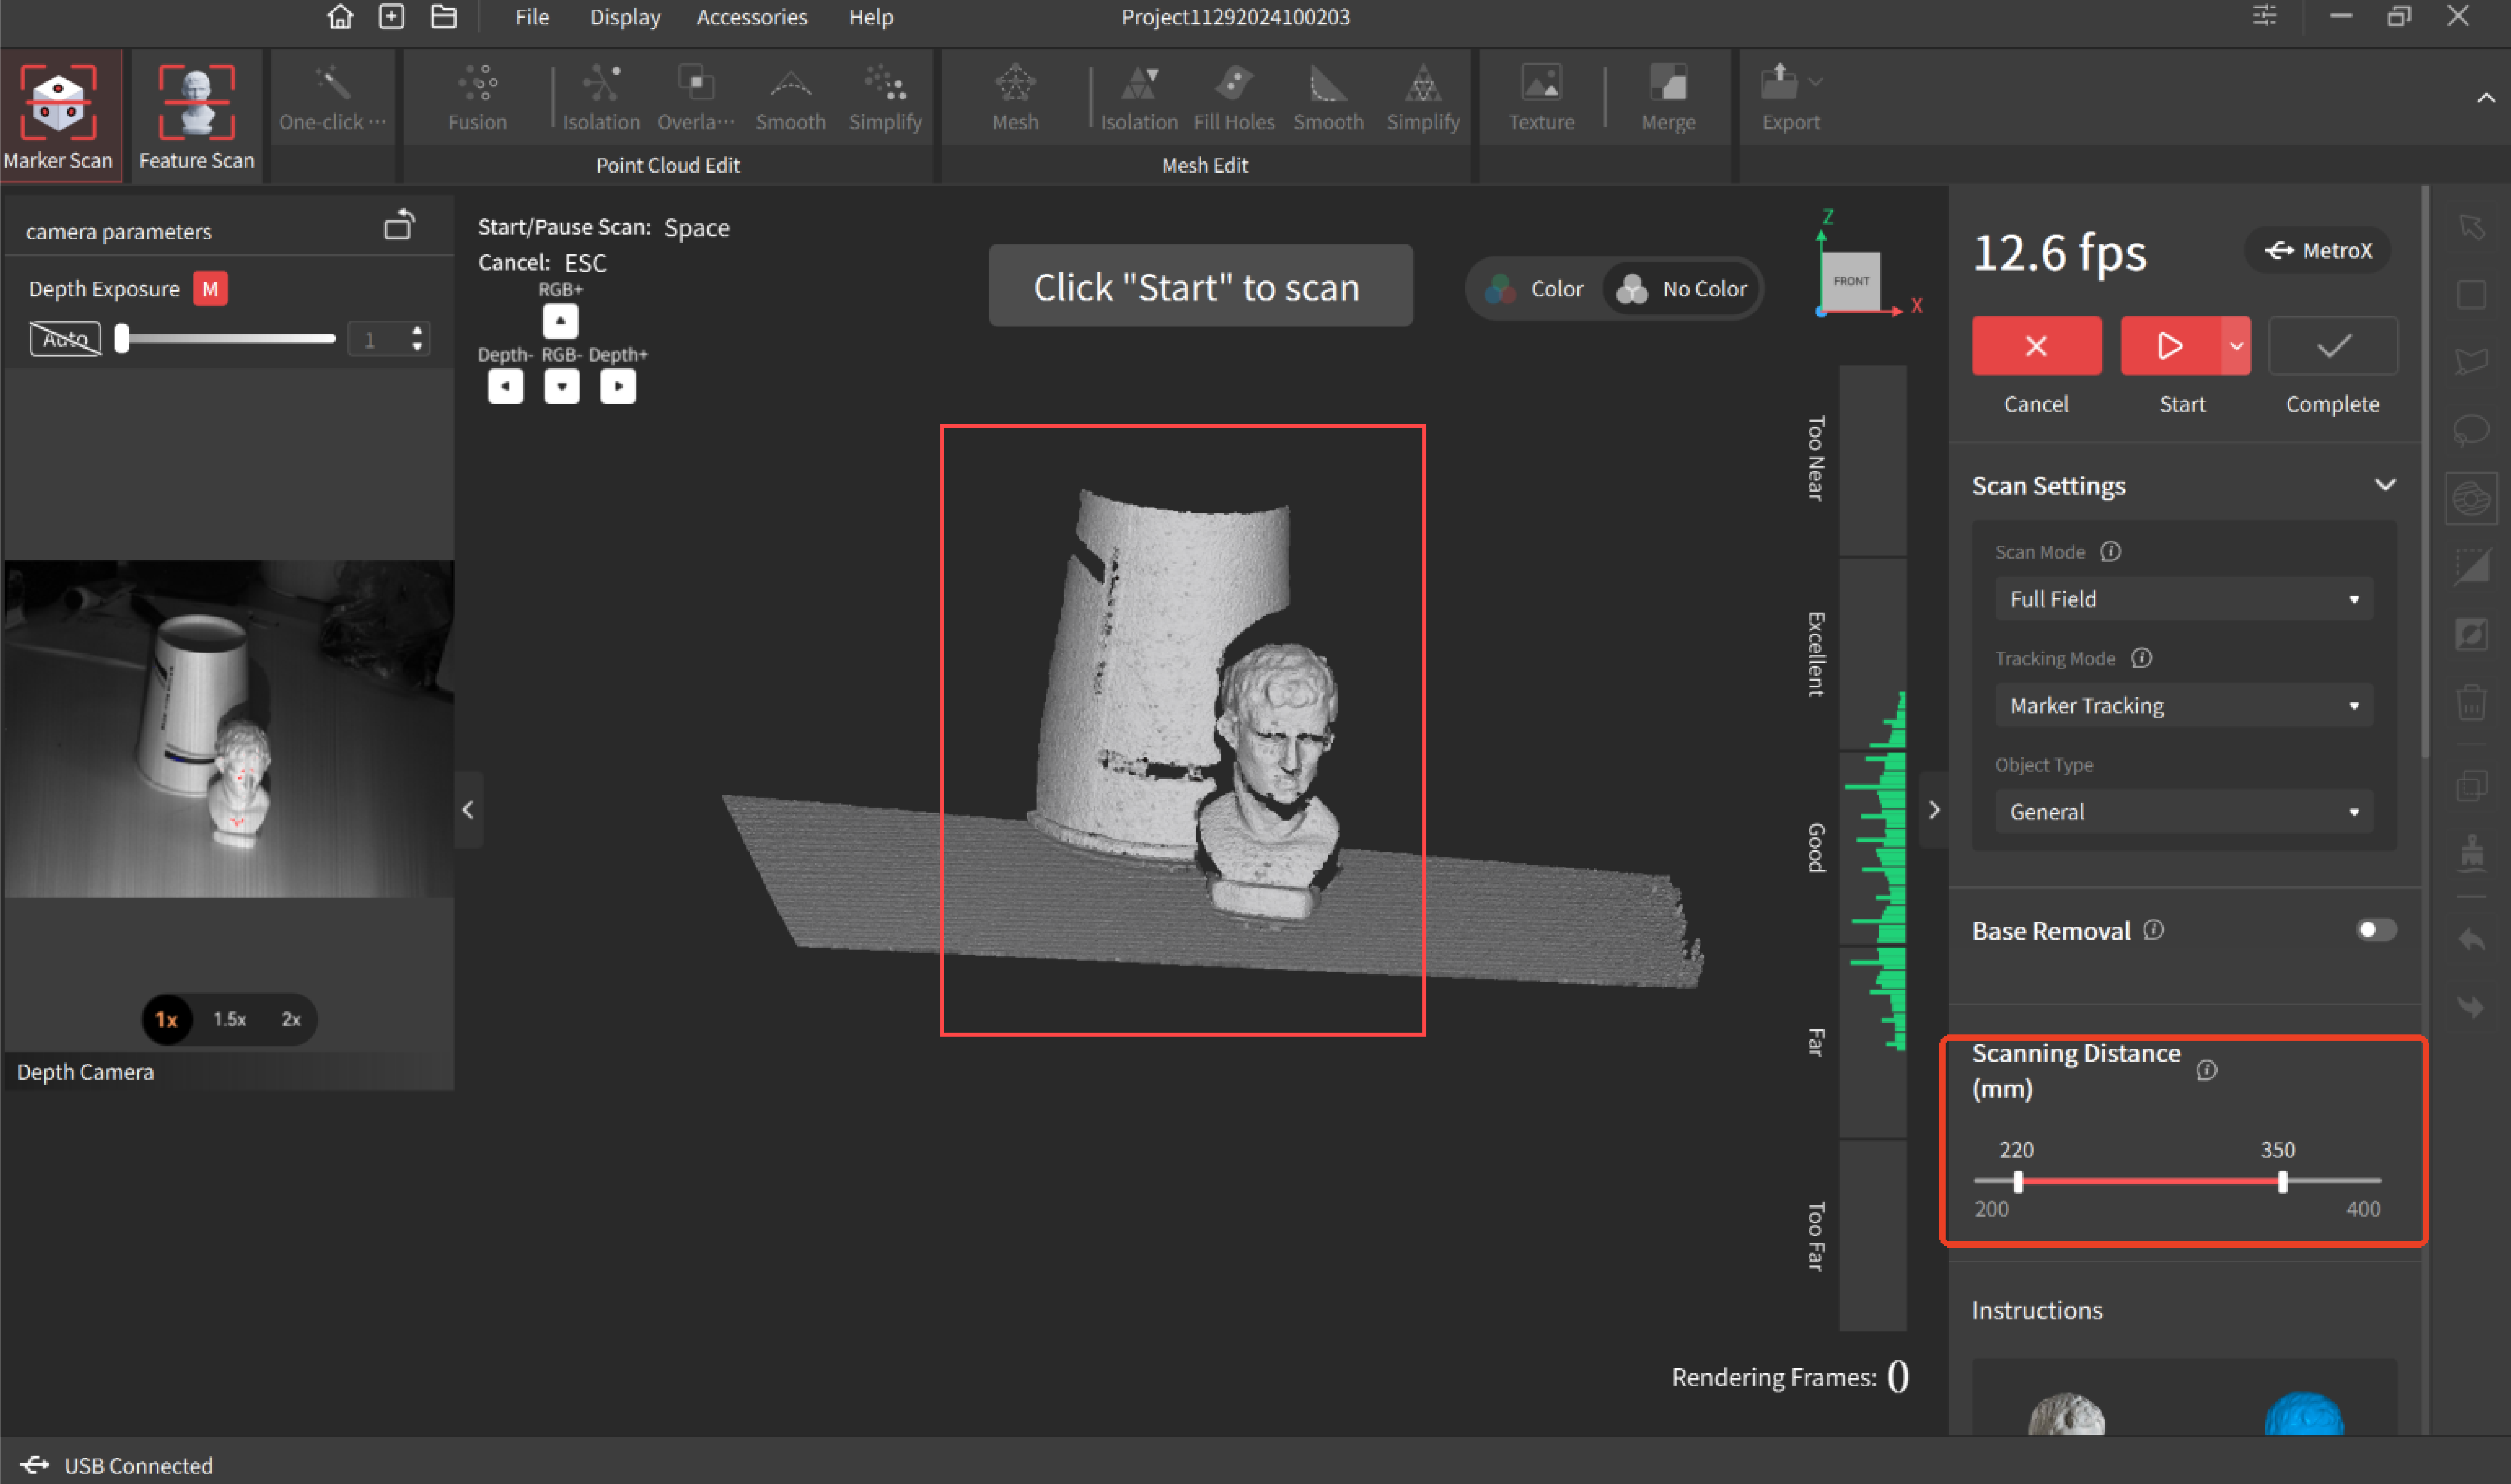 |
Note: Within the same project, if the distance is set for the first scan, it will be automatically saved for subsequent scans.
¶ 11. Scan Quality
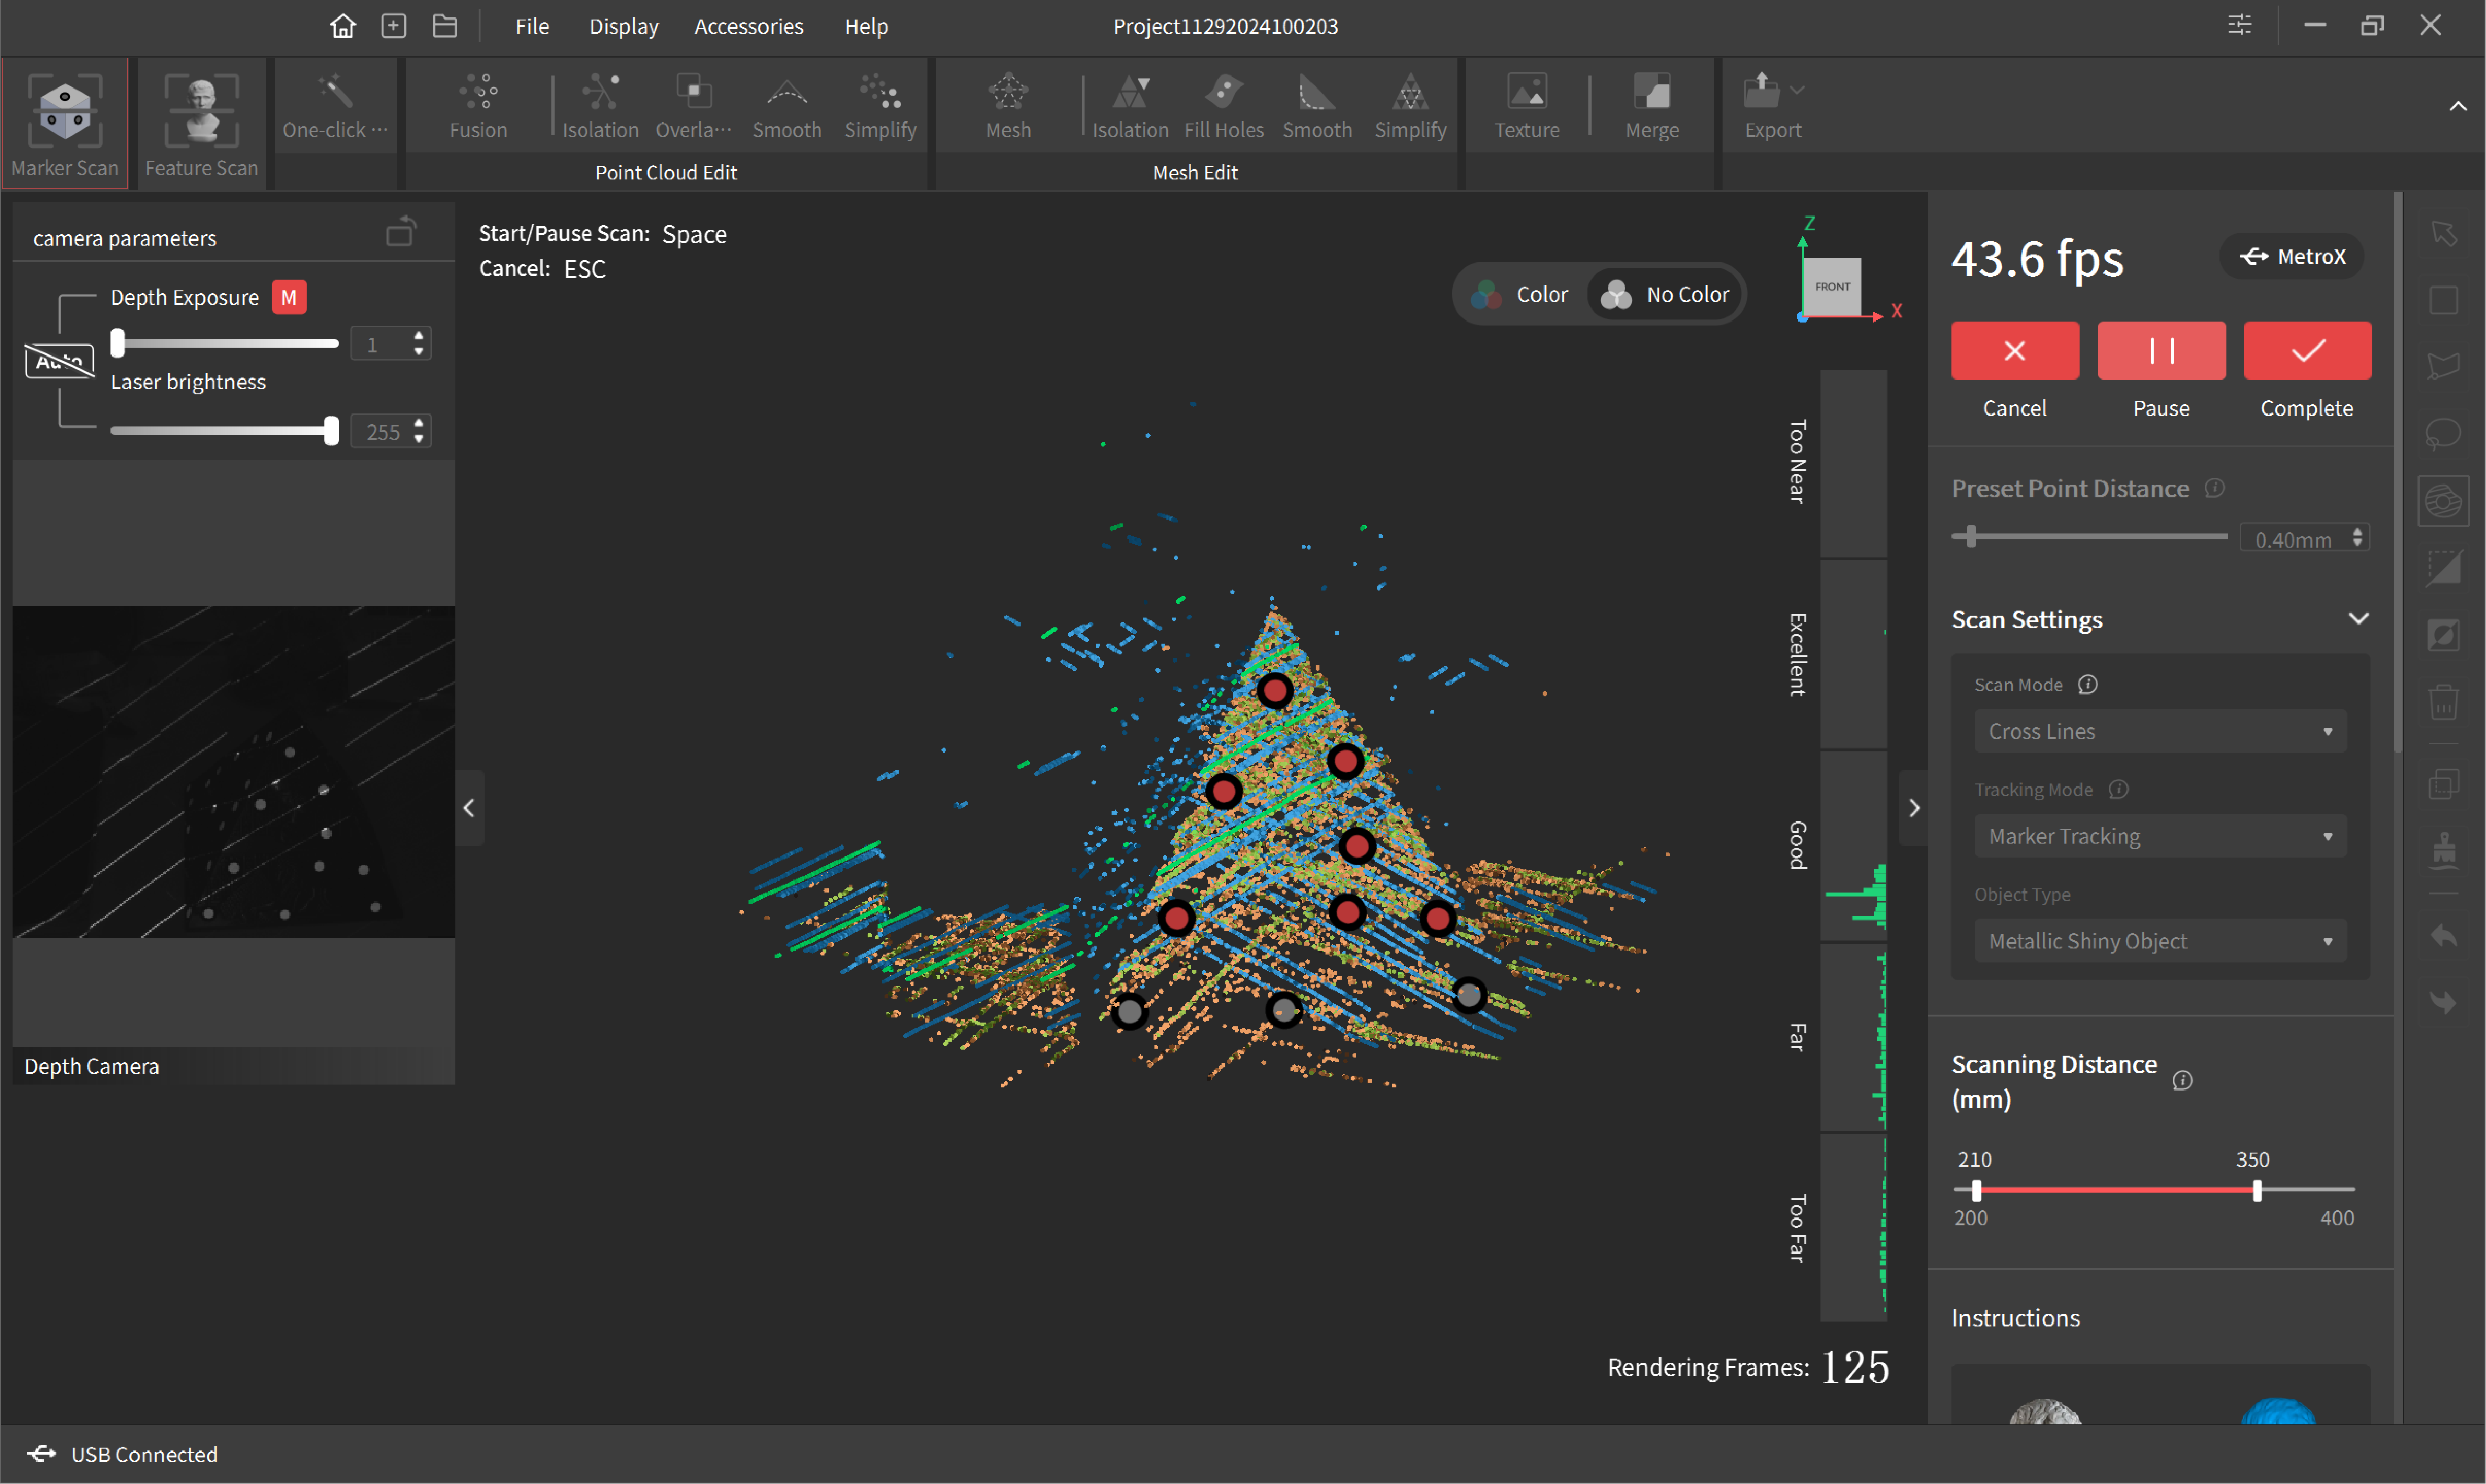
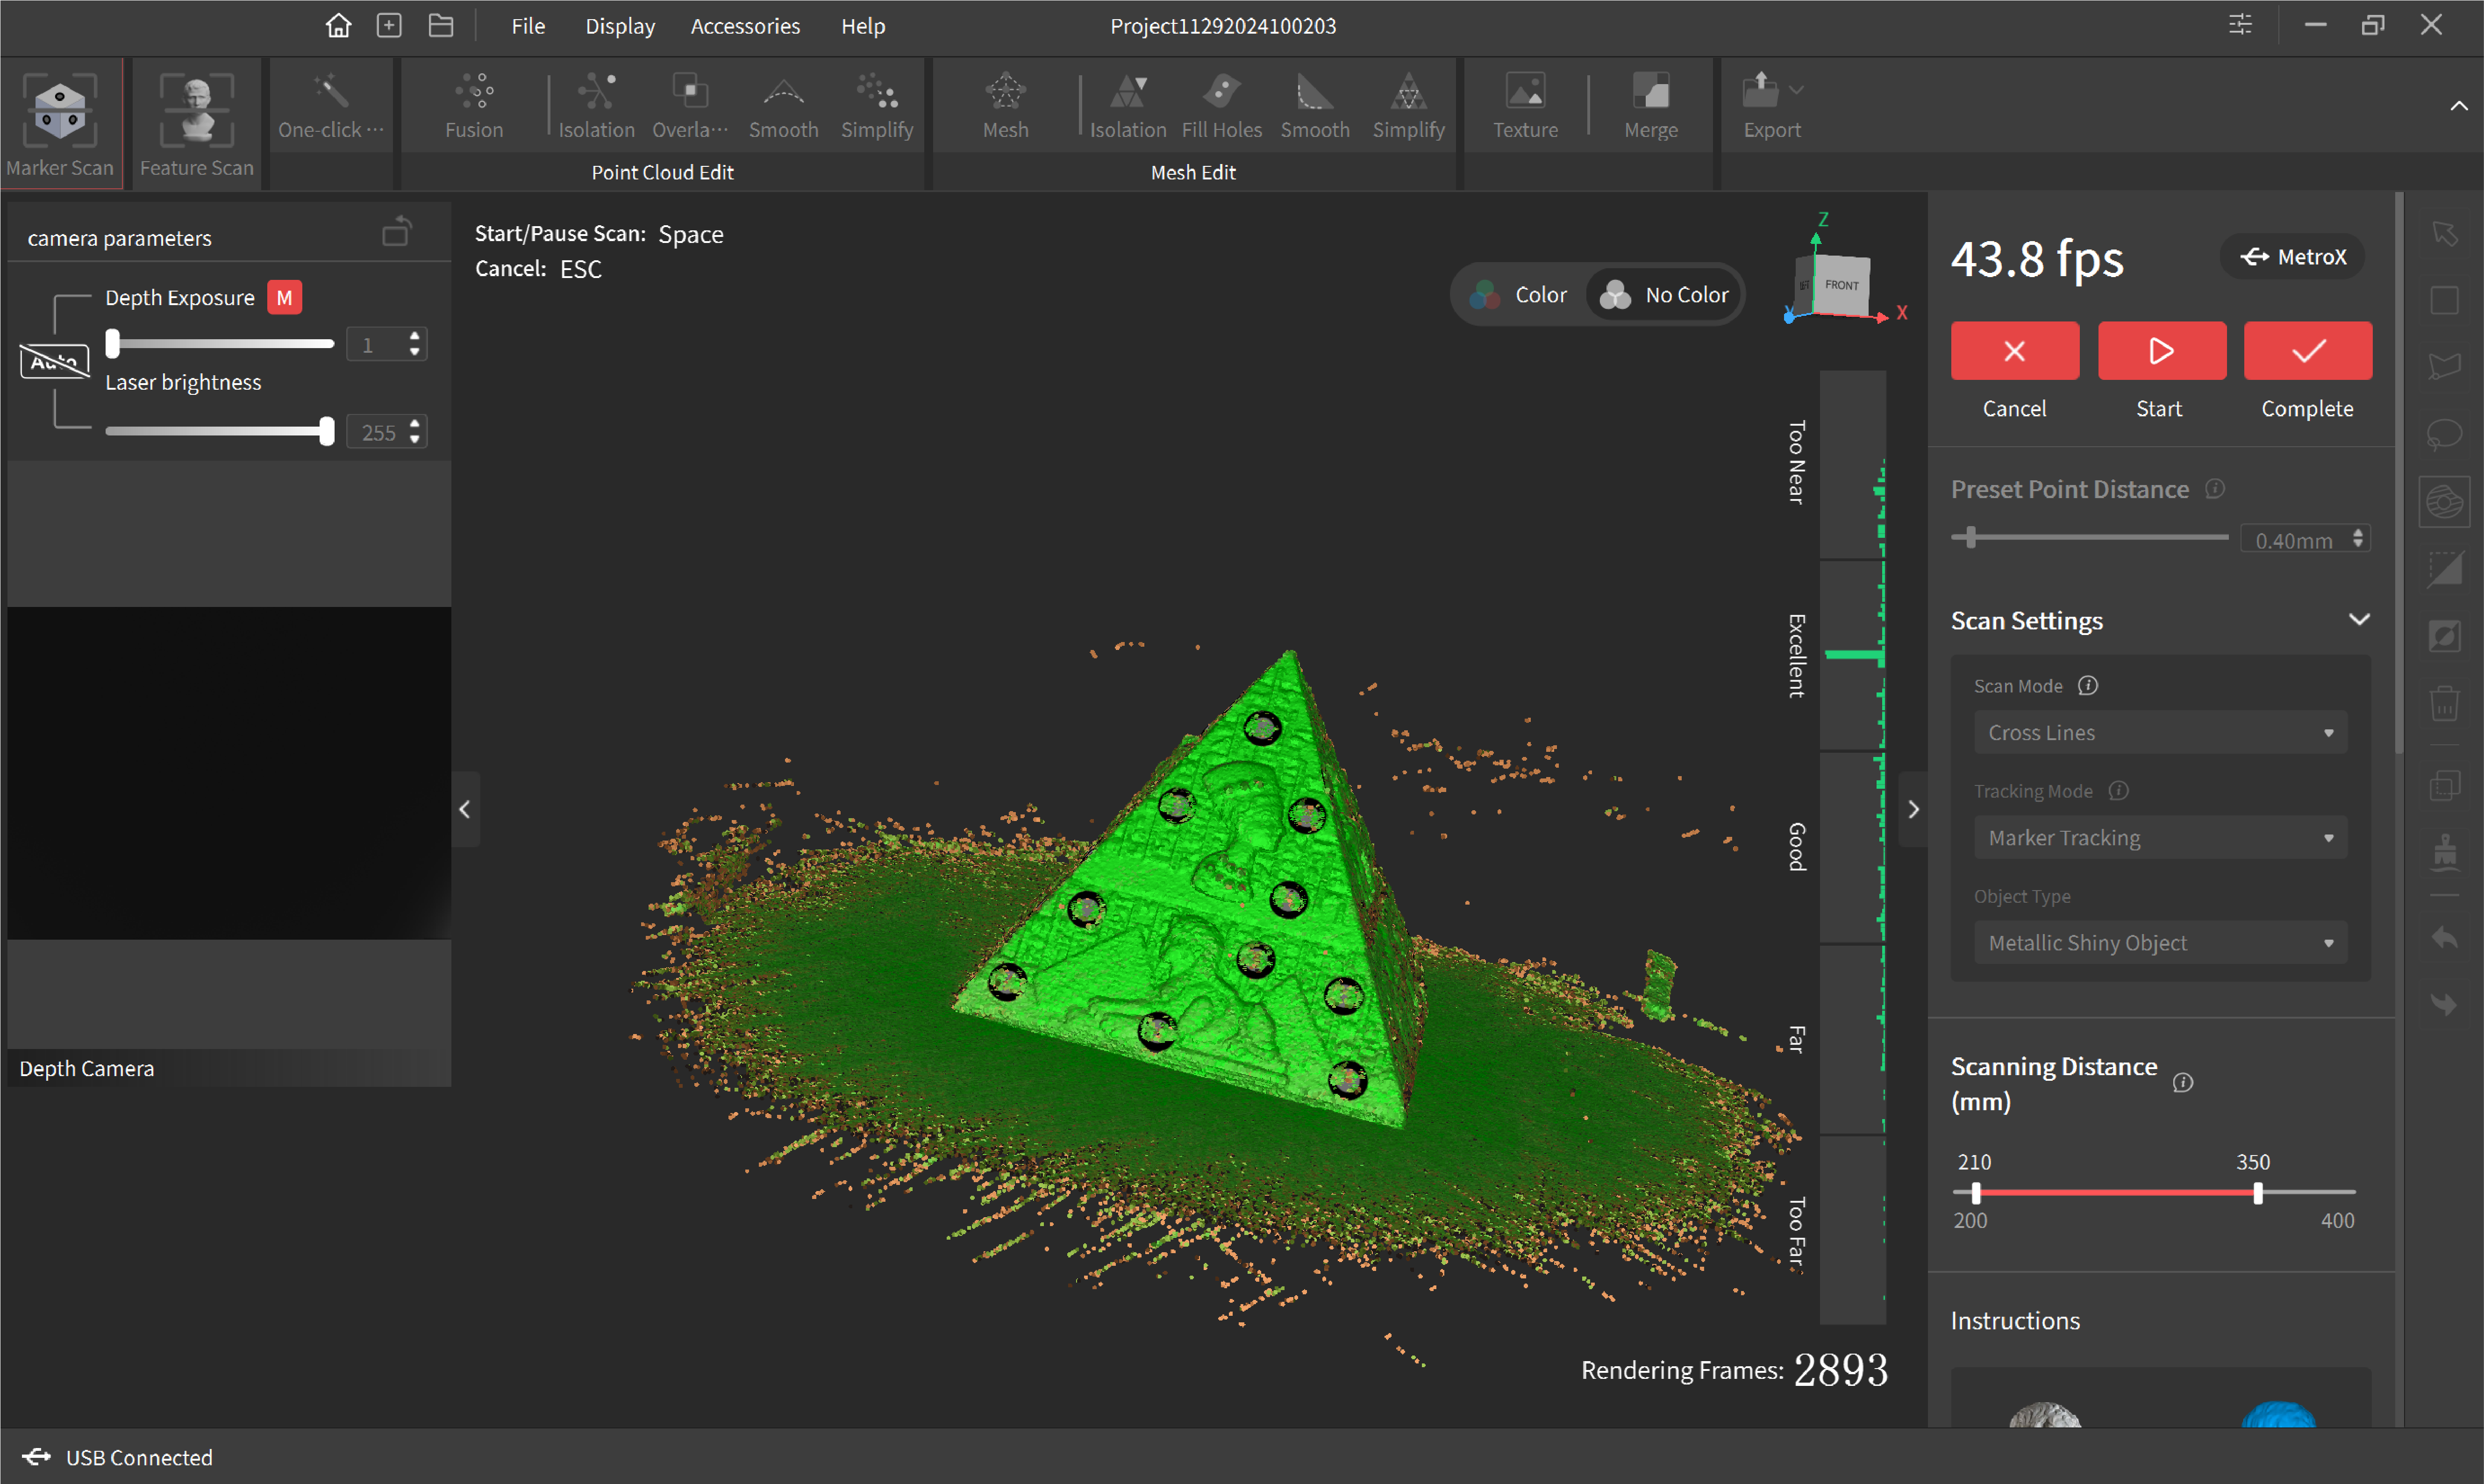
When scanning with laser line modes (Cross Lines and Parallel Lines), the point cloud changes from red to green as more data is captured. Green indicates higher quality, so it's best to scan the same areas from different angles and finish when the model is mostly green.
 |
 |
¶ 12. Save/Import Scanning Settings
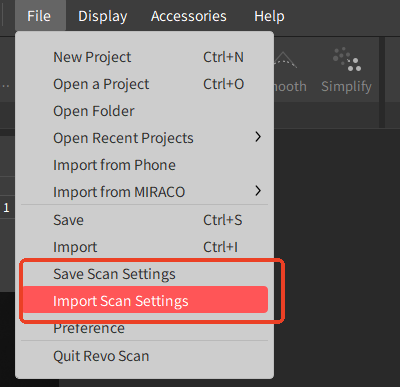
Set the scan’s settings > In the Menu Bar, click File > Save Scan Settings, name the setting, and choose a location to save it. Or click Import Scan Settings, select the file containing the wanted setting, and click Open.
Note: Only the scanning settings for the currently connected scanner can be imported.
 : Click it to delete all captured data.
 /
/ : Click it to start or pause the scan.
 : Click it when the scan is finished to move on to the editing process.
 /
/ : While paused, the Redo and Undo buttons can remove or add back scan data. This can be done repeatedly.