The following steps are for reference only. The final workflow is subject to the actual software interface.
¶ Blender
¶ 1. Download the Plugin
① Open the official KIRI Engine 3D Tools page.
② Download the Blender plugin package: 3DGS Render by KIRI Engine (.zip).
Note: Do not extract the .zip file after downloading it. Blender can install plugins directly from compressed .zip packages.
¶ 2. Install and Enable the Plugin
Follow the steps below to install the plugin in Blender:
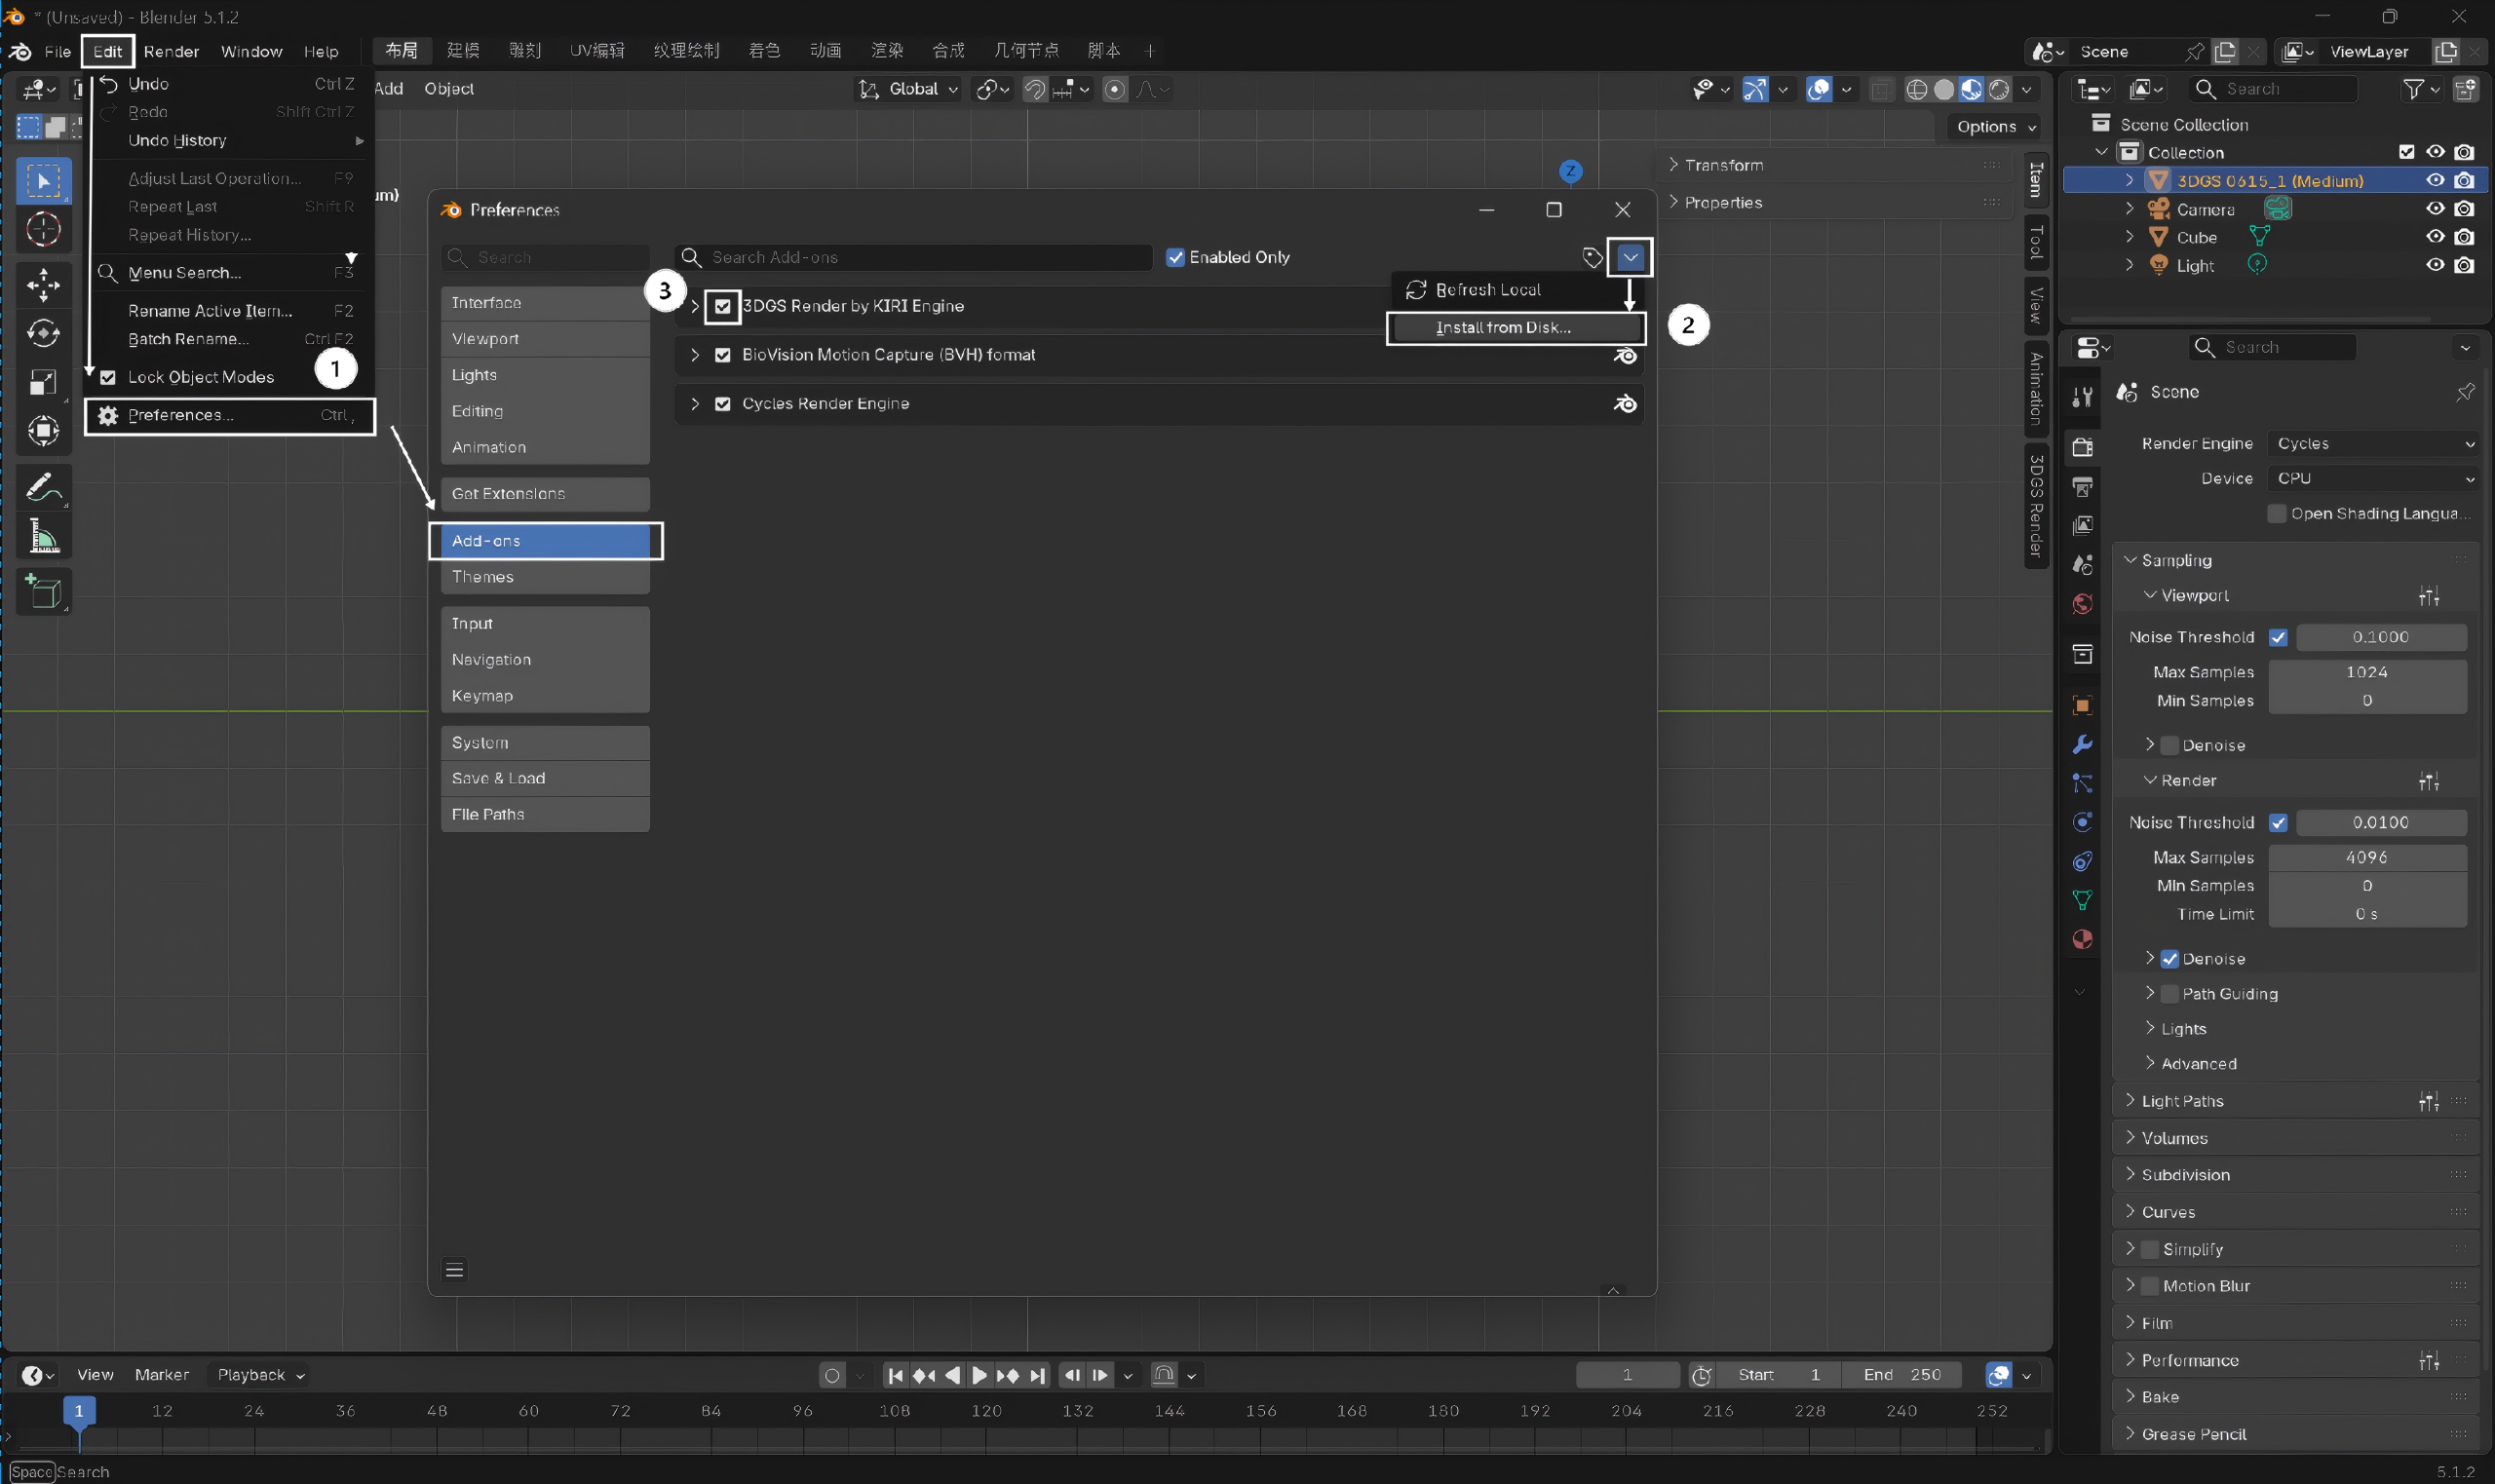
① Launch Blender, then navigate to Edit > Preferences > Add-ons on the top menu bar.
② In the left sidebar of the Preferences window, select "Add-ons" and import the downloaded installation package.
③ Once installed, locate 3DGS Render by KIRI Engine in the plugin list (the exact name may vary based on the actual display) and check the enabling box next to it to ensure the plugin is activated.
¶ 3. Import Model Files
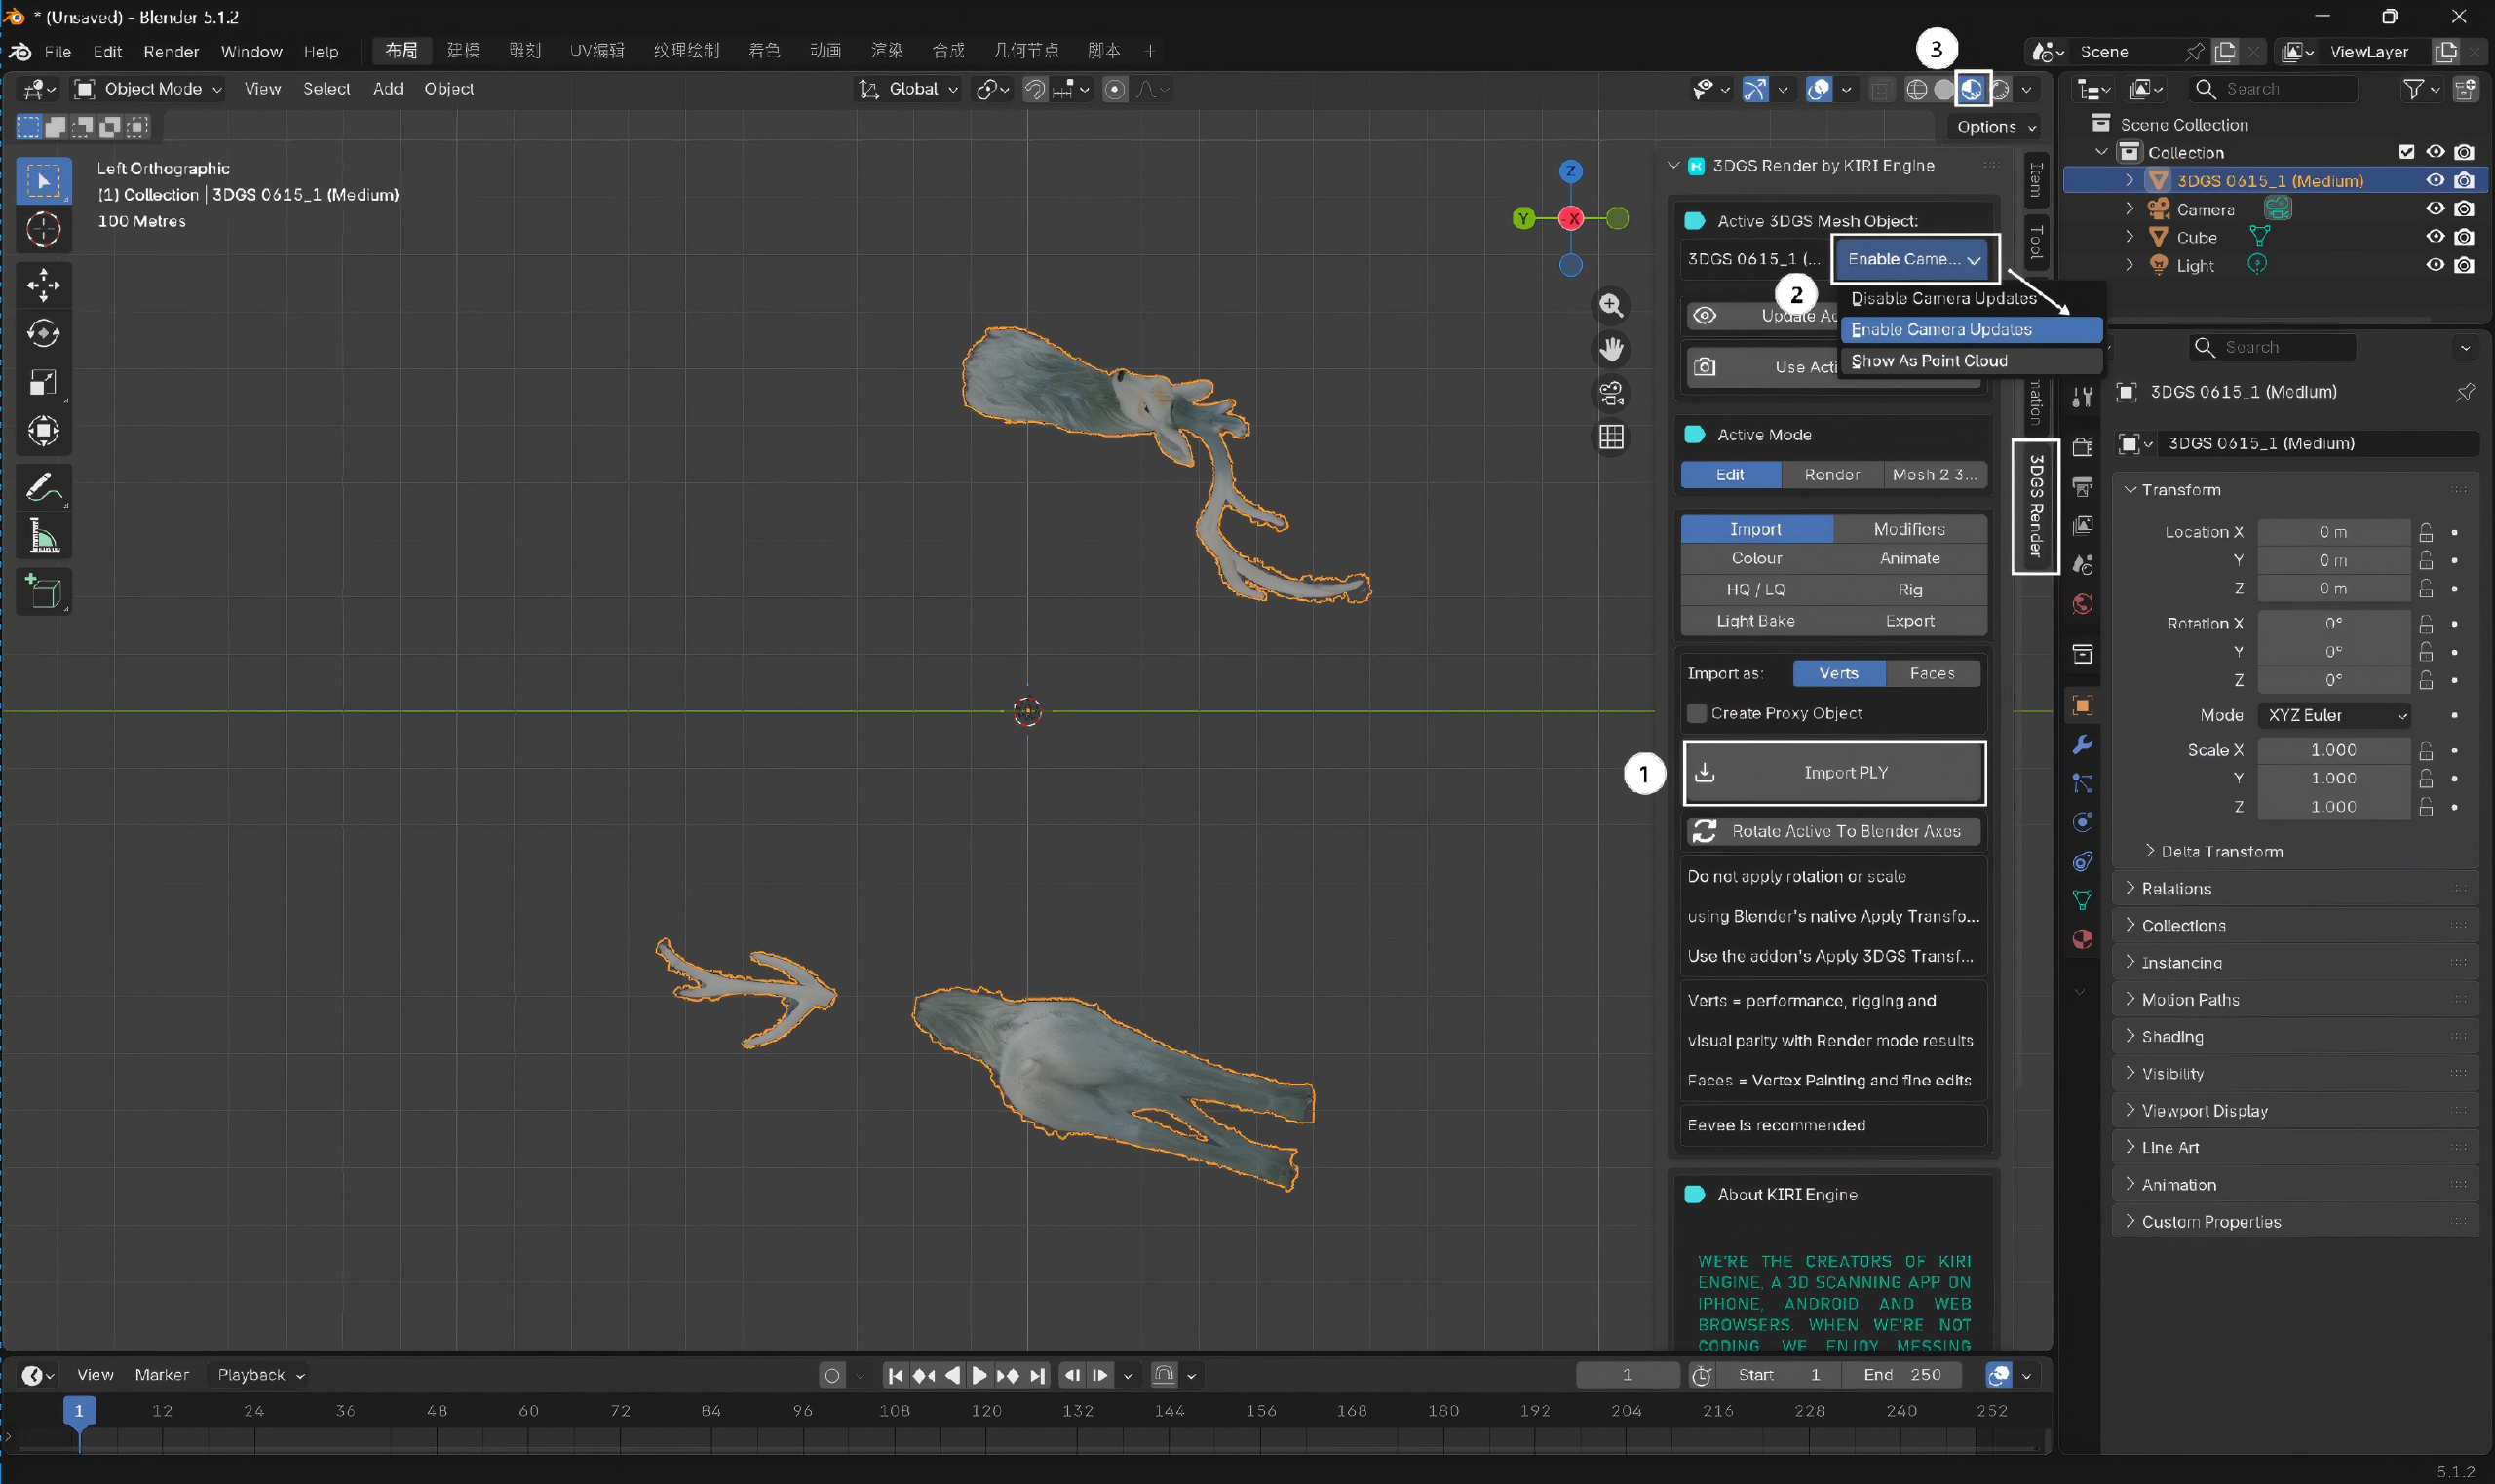
① Expand the 3DGS Render plugin panel on the right side of the interface, select “Import” in the "Edit" section, and import the PLY model file. Once imported, the 3DGS scene will appear within the current Blender workspace.
② Under “Active 3DGS Mesh Object” in the same panel, select "Enable Camera Updates" to activate camera-related settings.
③ Select the "Material Preview" mode from the shading icons at the top to ensure the software correctly displays the Gaussian Splatting color data.
¶ UE
¶ 1.Download the Plugin
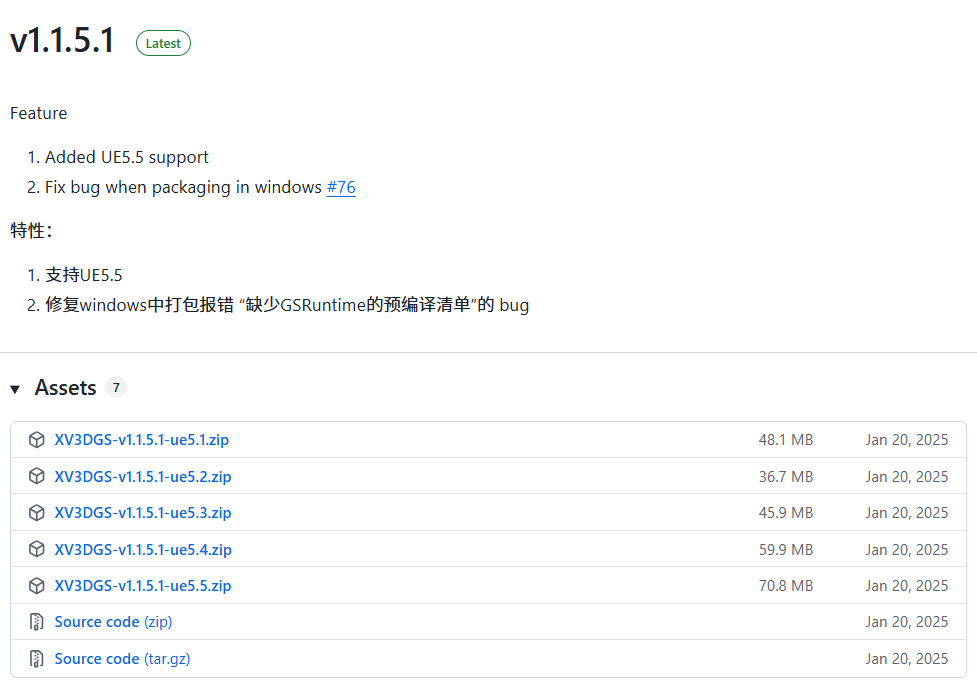
① Open the GitHub Releases page.
② Download the XScene-UEPlugin compressed package that matches your UE version. It is recommended to use the latest version available.
¶ 2. Install and Enable the Plugin
① Navigate to the root directory of the target project (this directory contains the project file with the .uproject extension).
② Create a new folder within the project root directory and name it Plugins.
③ Copy and paste the entire extracted XV3DGS plugin folder directly into the newly created Plugins folder.
④ Double-click the project's .uproject file to launch the UE editor.
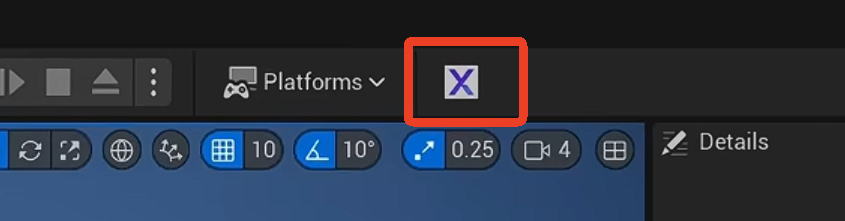
⑤ If this icon appears in the toolbar, the plugin has been installed successfully.
For detailed instructions on model import and editing, refer to the XScene-UEPlugin Instructinos.