¶ Scan Featureless Objects

Successfully capturing symmetrical or flat featureless objects requires preparation as they lack distinct features for the scanner to track. This can be dealt with in several ways:
① Place Marker Points
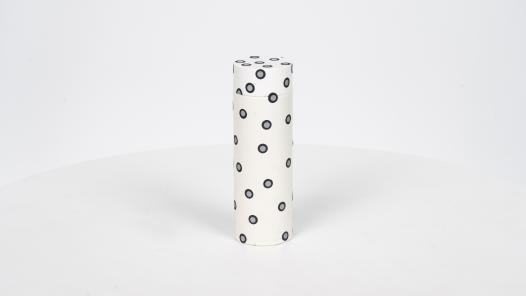
- Place marker points on the object's surface irregularly.
- Select Marker Tracking or Global Marker Tracking in the Tracking Mode.
- Scan the object.

For different markers and scanners, follow the guidelines below:
Large markers (10 mm outer diameter) - for POP series, INSPIRE, RANGE series, MIRACO Series (Far Mode)
Place markers at a distance of 3-4 cm and 5 or more markers per frame. If using the RANGE series or MIRACO Series (Far Mode), place markers at a distance of 6 - 8 cm and 5 or more markers per frame.
Small markers (6 mm outer diameter) - For MINI series, MIRACO (Near Mode)
Place markers at a distance of 1-2 cm and 5 or more markers per frame.
Note: If using scanning spray and markers, it's better to apply the scanning spray first and then place the markers. This makes it slightly easier to remove the markers when it's done.
② Magic Mat
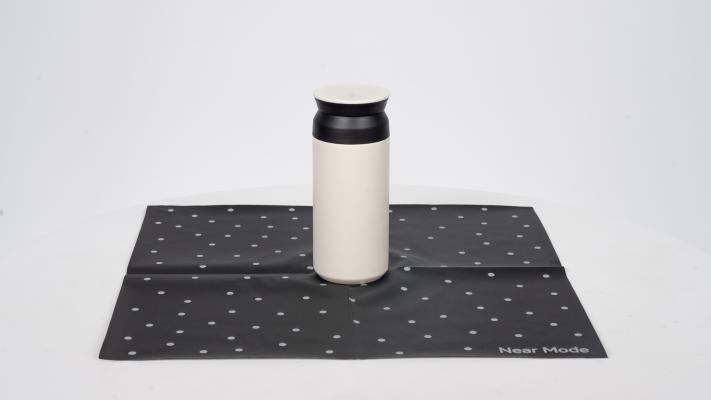
The Magic Mat can be placed underneath some objects for a fast sticker-free marker point solution.

③ Turntable Topper
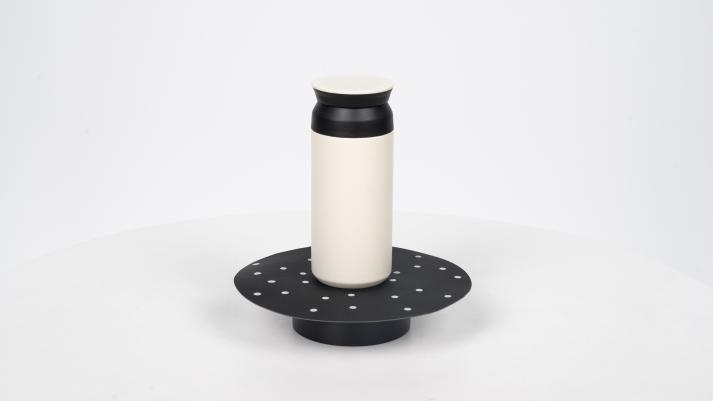
Place the Turntable Topper on top of the turntable to provide pre-placed marker points for objects with a surface area too small to place enough marker points.

④ Reference Objects
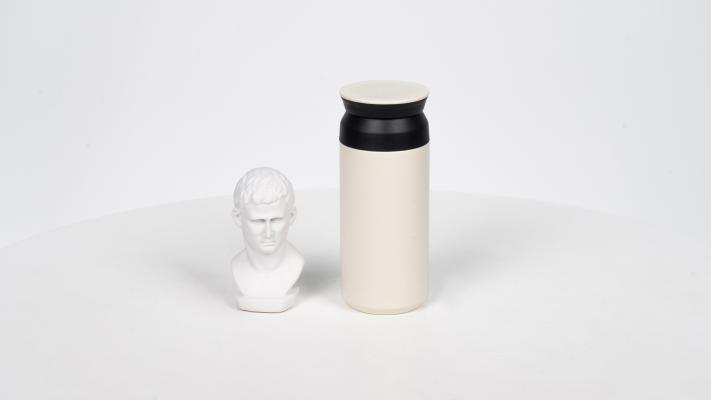
Place feature-rich objects (like the small statue included with most Revopoint 3D scanners) around the object to be scanned. When setting up the scan, select Feature Tracking Mode. The scanner will capture these along with the object being scanned, and they can easily be removed in post-processing.

¶ Scan Black, Transparent, Metal or Shiny Surfaces
Surfaces with these properties can be challenging to scan as the surfaces will absorb the light, reflect nothing, or reflect too much for the scanner to see what’s there. These kinds of surfaces need to be made matte to deal with it. This can be done in several ways:
① Use scanning spray to lightly and evenly coat the object’s surface.
② Use a fine powder like baby or makeup powder to lightly coat the object’s surface.