¶ 1. Metal Sword
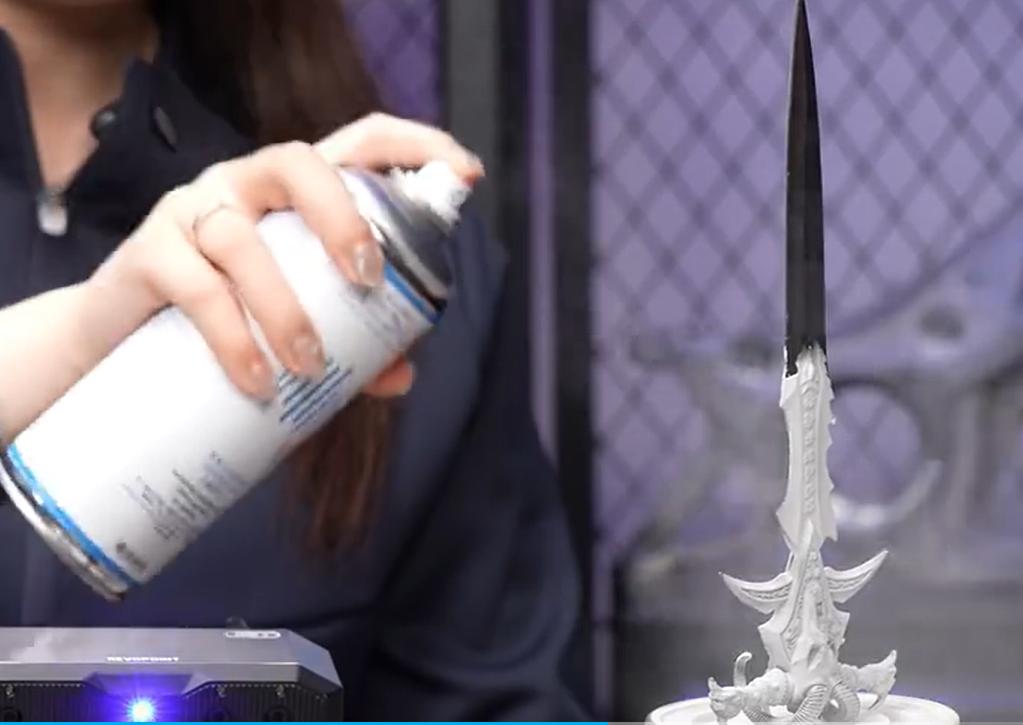
① Use a support, such as a cup or vice, to make the sword stand upright. Then, coat its surface with the scanning spray to make it scannable.
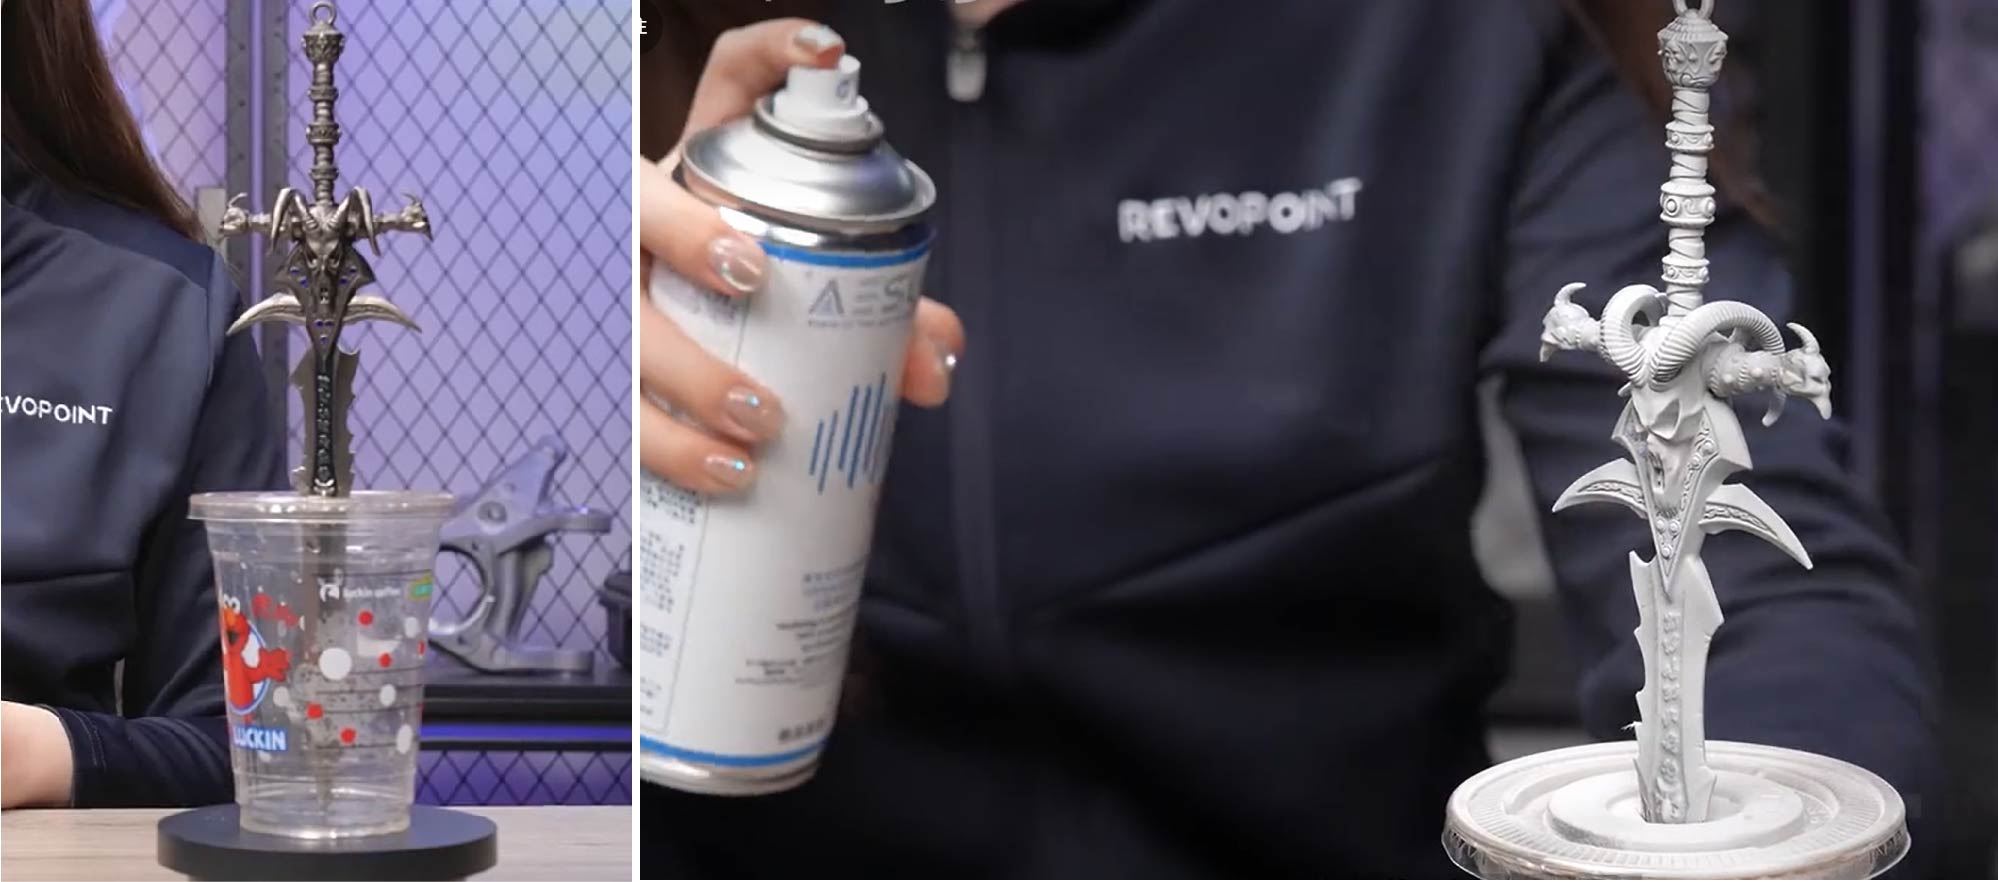
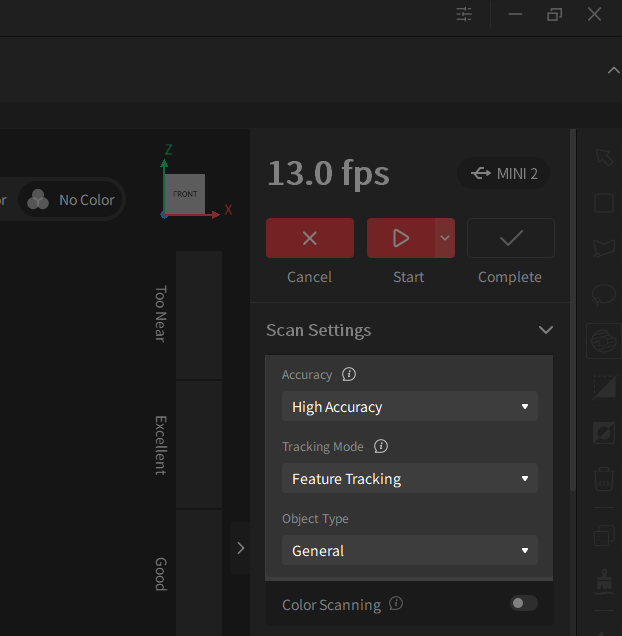
② For the first half with a complex structure, select High Accuracy, Feature Tracking, and General. Then, click the Start button to start the scan.
③ After finishing the first scan, invert the sword and coat the second half with the scanning spray.
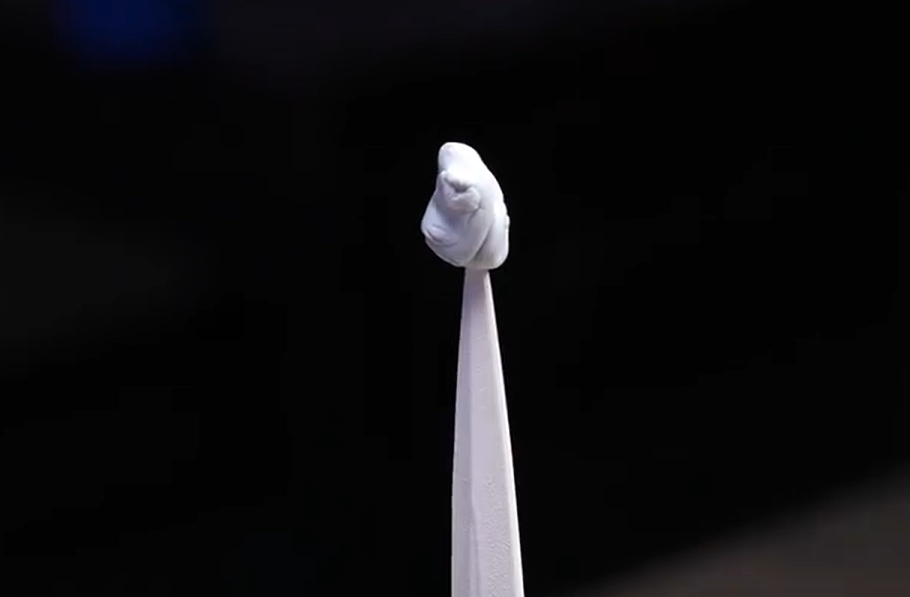
④ Narrow sword areas need reference objects, such as glue tack.
⑤ Select High Accuracy, Feature Tracking, and General object. Click the Start button to start the scan.
⑥ After the scan is finished, process the two models and merge them into a complete model.
¶ 2. Small Objects' Hard-to-reach Areas
When performing a standard scan (horizontally), there may be some very angled areas on objects that the scanner fails to capture.

To negate this, first scan your object normally (horizontally), then turn your scanner 90° so it's vertical and perform the scan again.
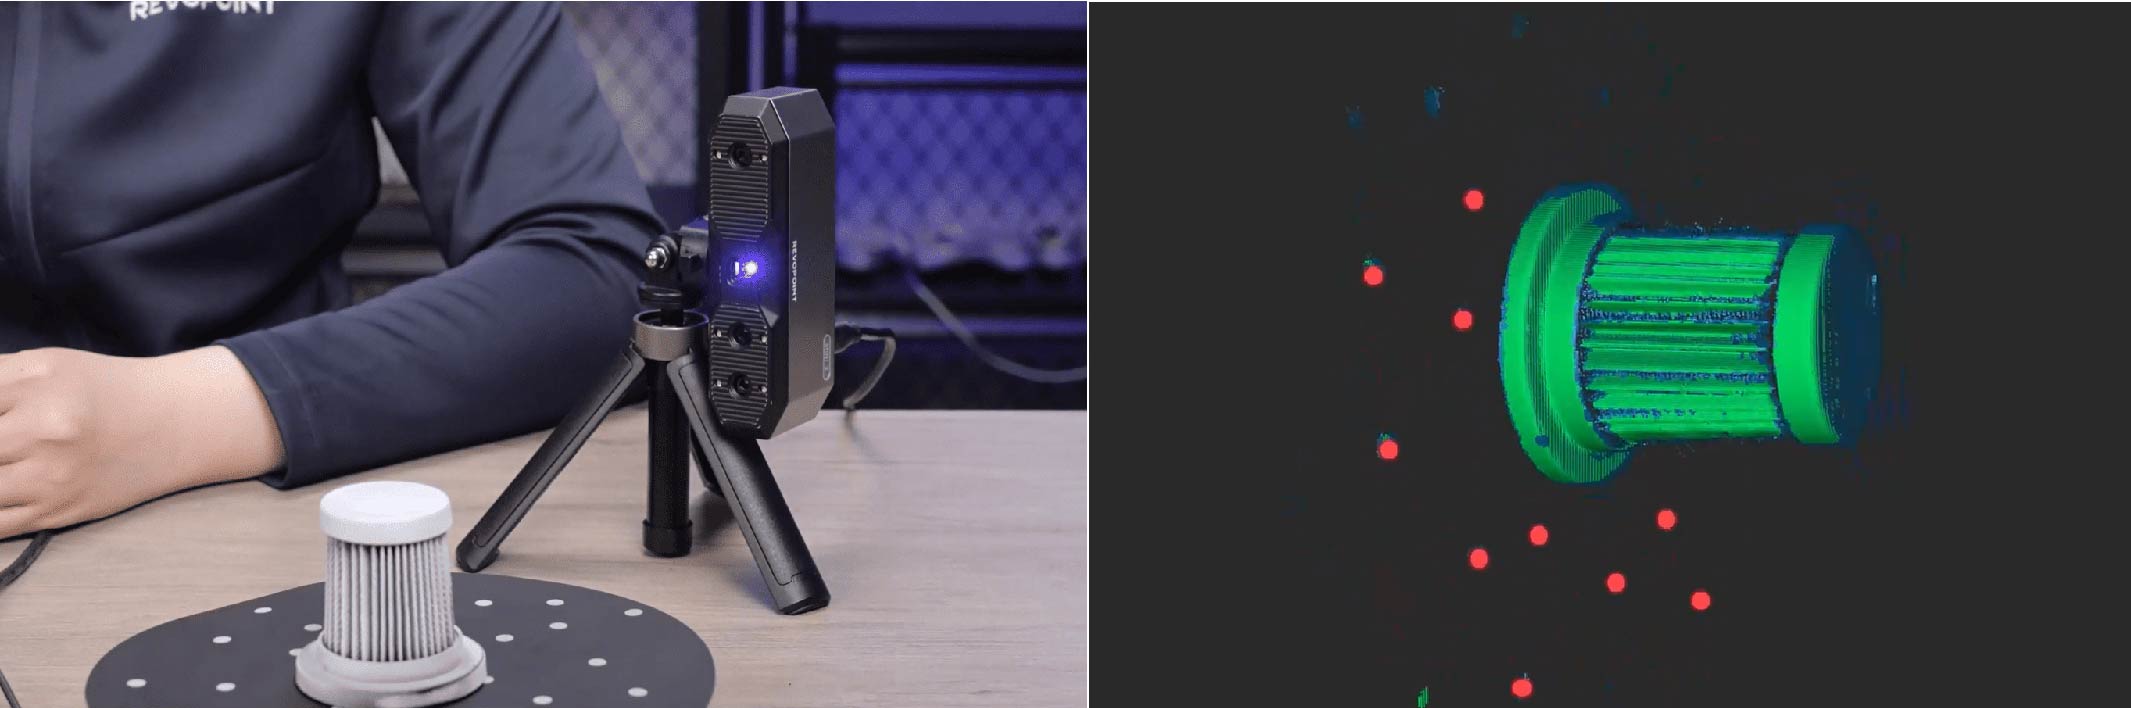
Once the second scan is finished, merge both scans.
Tips: For black and symmetrical object surfaces, coat the surface with the scanning spray and stick markers, and select marker tracking before the scan.
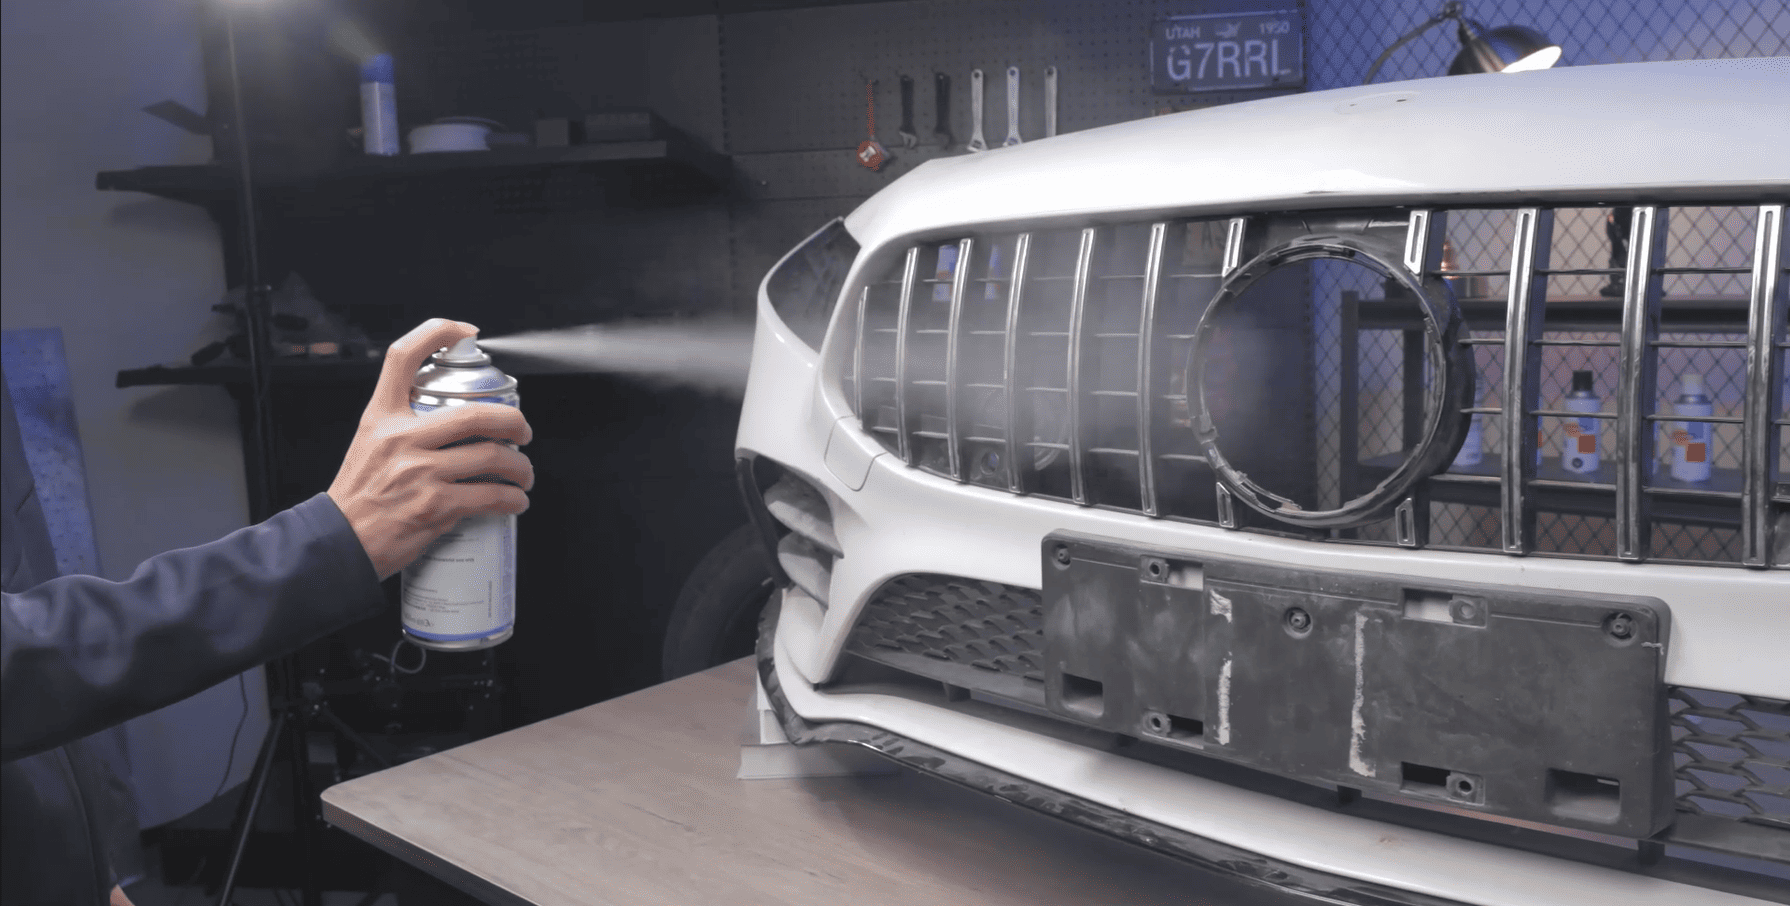
¶ 3. Car's Front Fascia
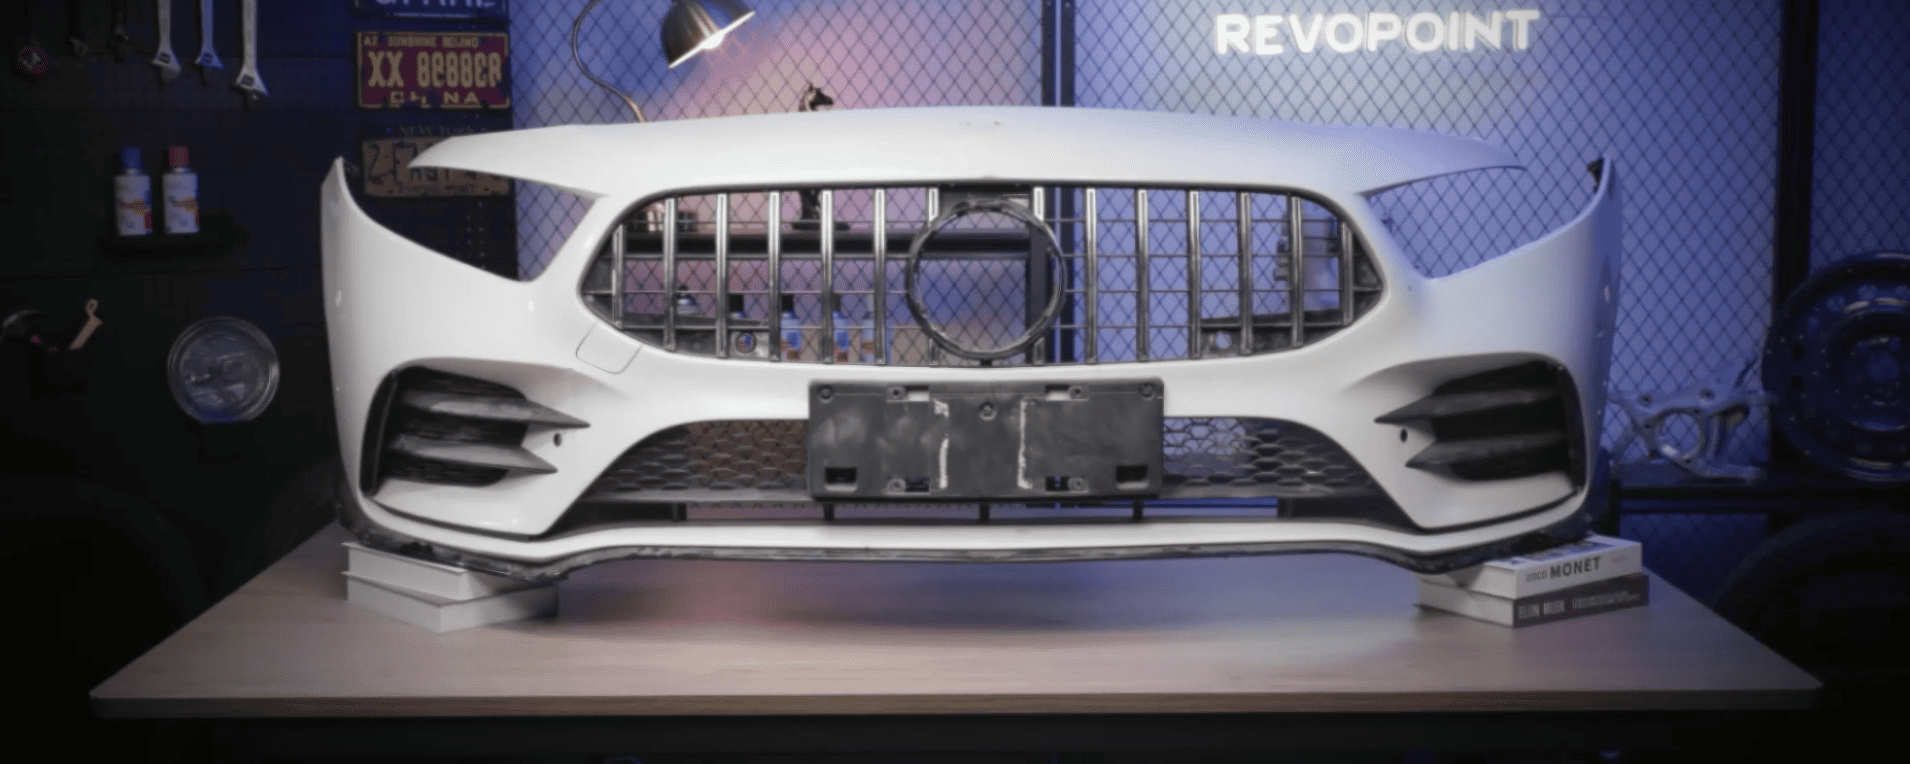
Before scan, follow the steps below to set up the environment:
① Ensure there is enough space around the object for easier operation.
② Avoid direct light as the smooth surface is reflective.
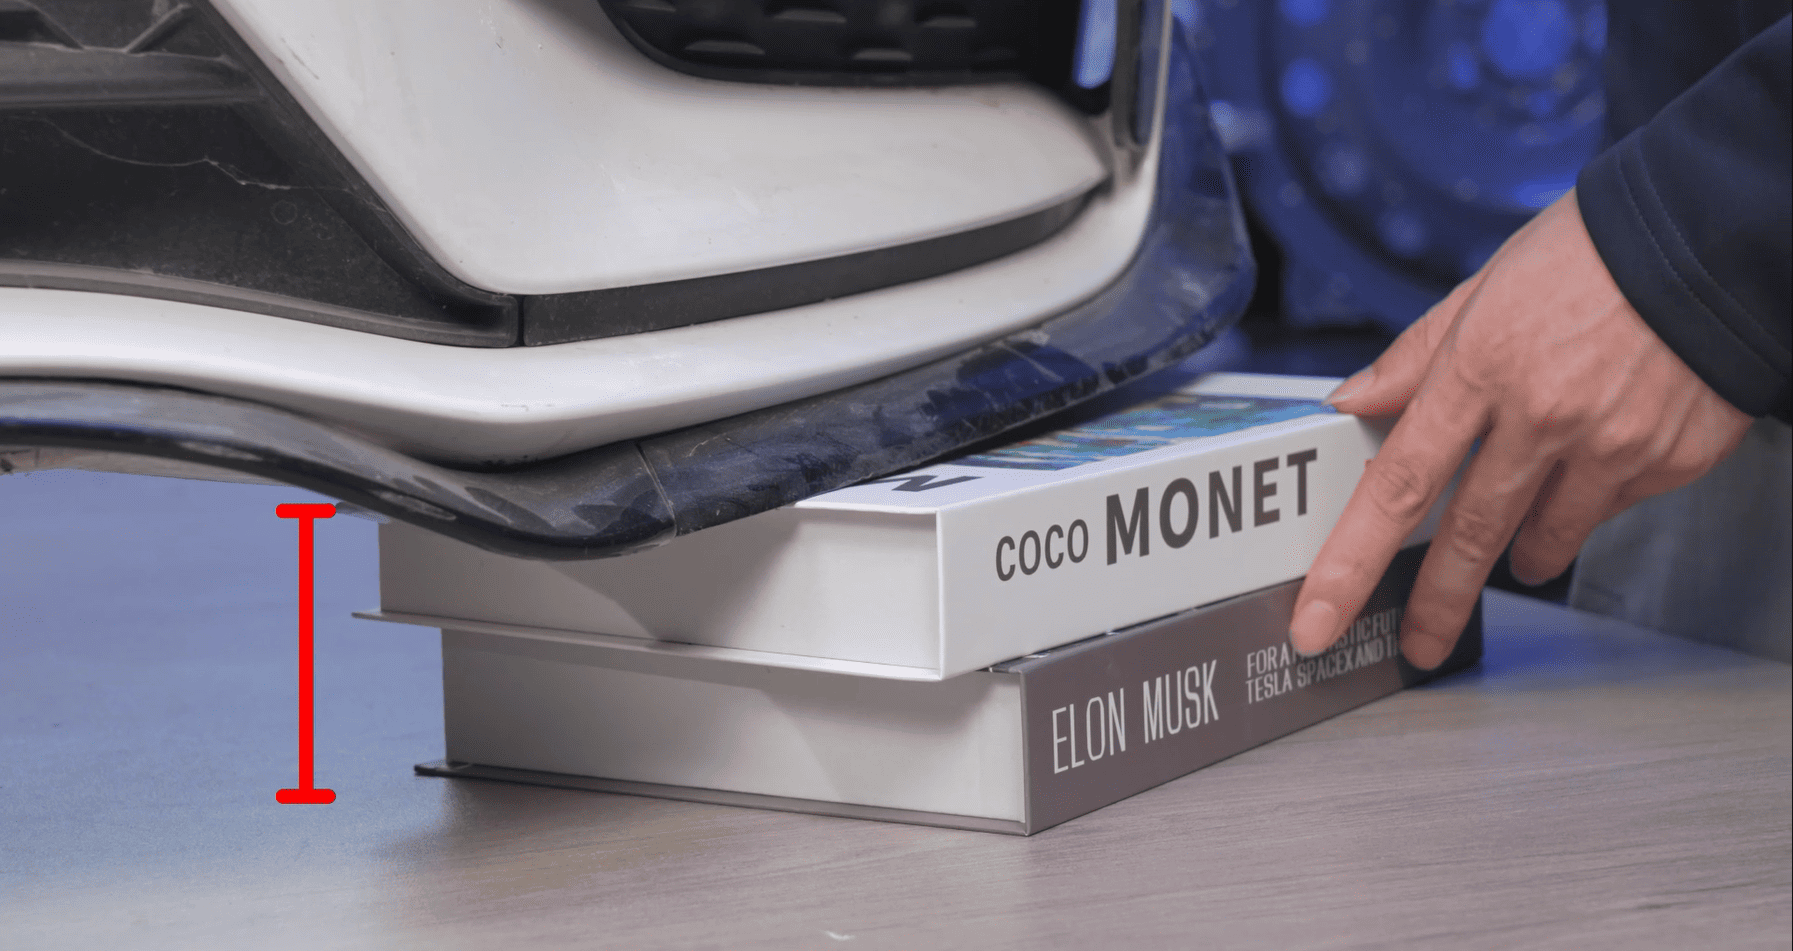
③ Use something to raise the object to avoid capturing unwanted data (like a table) and make it easier to scan the bottom.
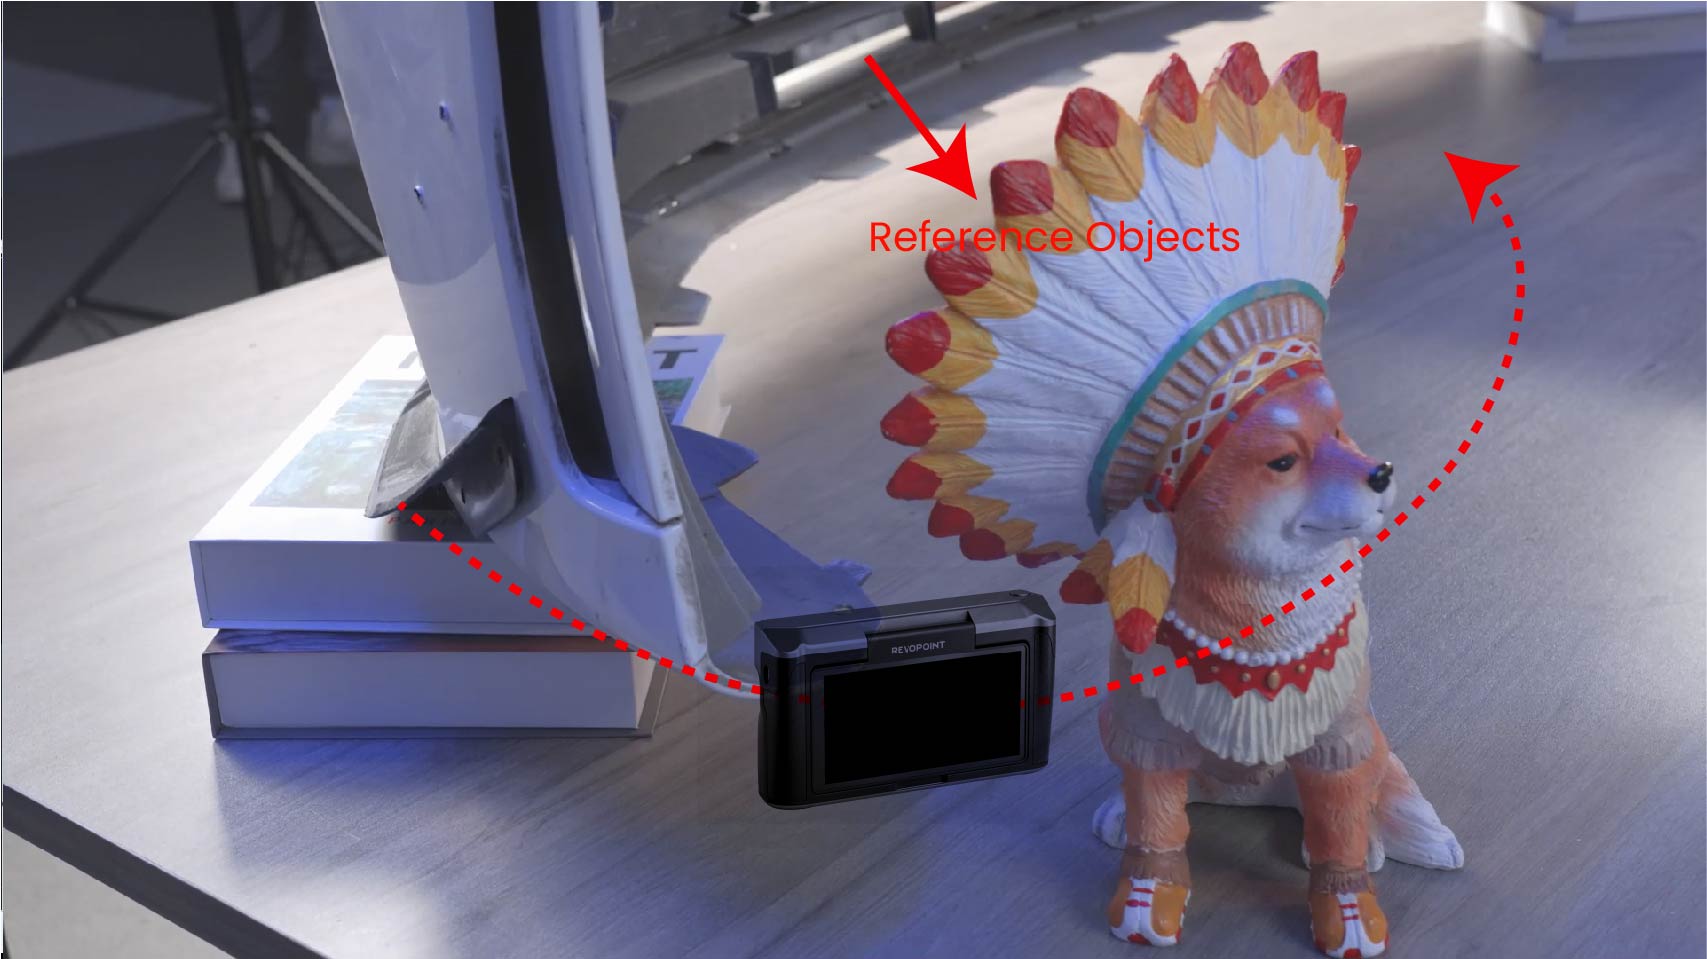
④ Position reference objects at the edge to prevent tracking loss when the scanner moves between surfaces.
⑤ Use a scanning spray to coat the black parts to make them scannable.
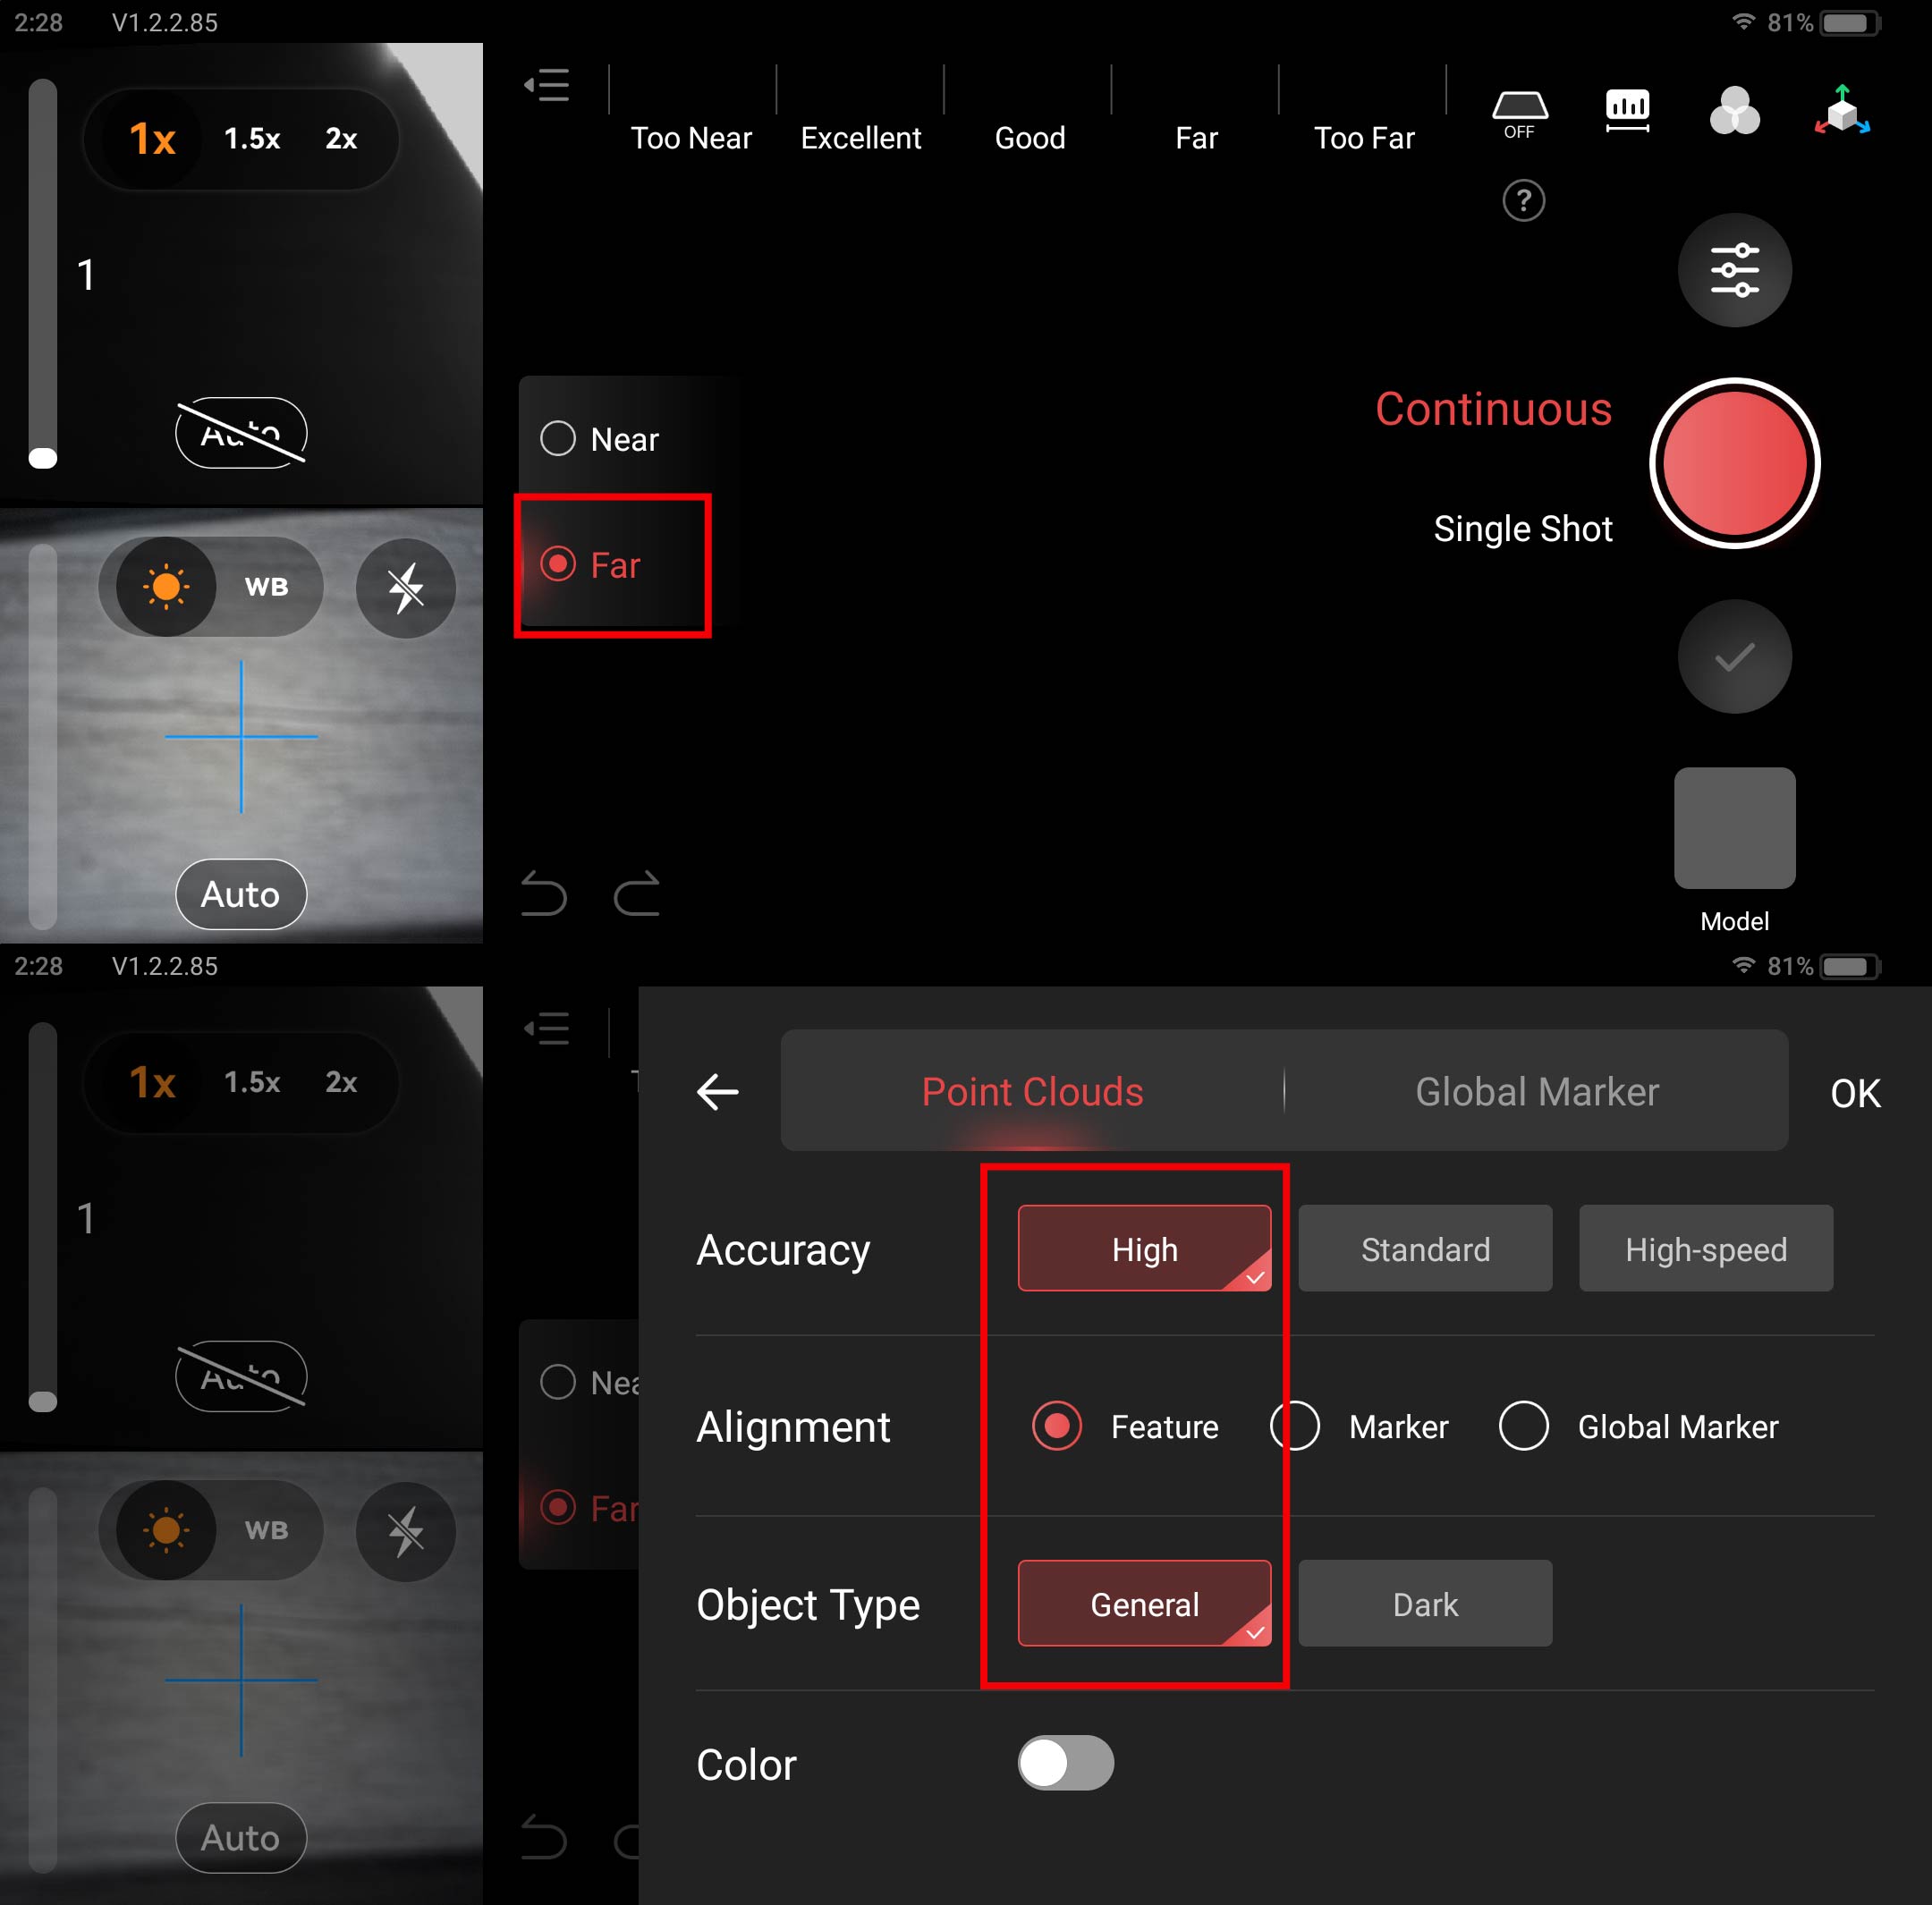
After the preparation is done, use MIRACO to scan:
① Select Far Mode, High Accuracy, Feature Tracking, and General Object. Adjust the depth camera's exposure during the scan based on surface conditions.
Note: If tracking is lost during the scan, hold the scanner steady over a previously scanned area and wait for it to recognize the surface features and regain tracking.
② After the scan, transfer the model to Revo Scan (PC) via Wi-Fi or the Type-C to C cable for detailed editing.