Some objects may be difficult to scan due to their surface properties or lack of distinctive features. Proper object preparation can improve tracking stability and data capture reliability.
This section describes two common methods—using markers and applying scanning spray—to enhance scanning performance.
¶ Using Markers
¶ What are markers for?
Markers are commonly used in 3D scanning to provide:
- Stable Tracking: Marker tracking can effectively reduce tracking loss and frame misalignment.
- Reliable Stitching: Increases the success rate of frame alignment and improves overall stitching reliability.
- Increased Accuracy: Reduces cumulative errors during long-path or large-scale scanning.
¶ When should I use markers?
Markers are usually used in the following scenarios:
Scenario 1: scanning featureless objects using structured-light scanners
When using scanner models such as the MINI series, RANGE series, POP series, MIRACO series or INSPIRE 3D scanner, markers are required when scanning symmetrical or featureless objects, as these objects lack distinct features for tracking.
Scenario 2: scanning with laser-line scanners
When using some scanners with laser-line modes such as MetroX series, MetroY series, INSPIRE 2 or Trackit (Marker Scan or Multi-station Scan), markers are required to enable tracking in laser-line modes.
¶ How to use markers?
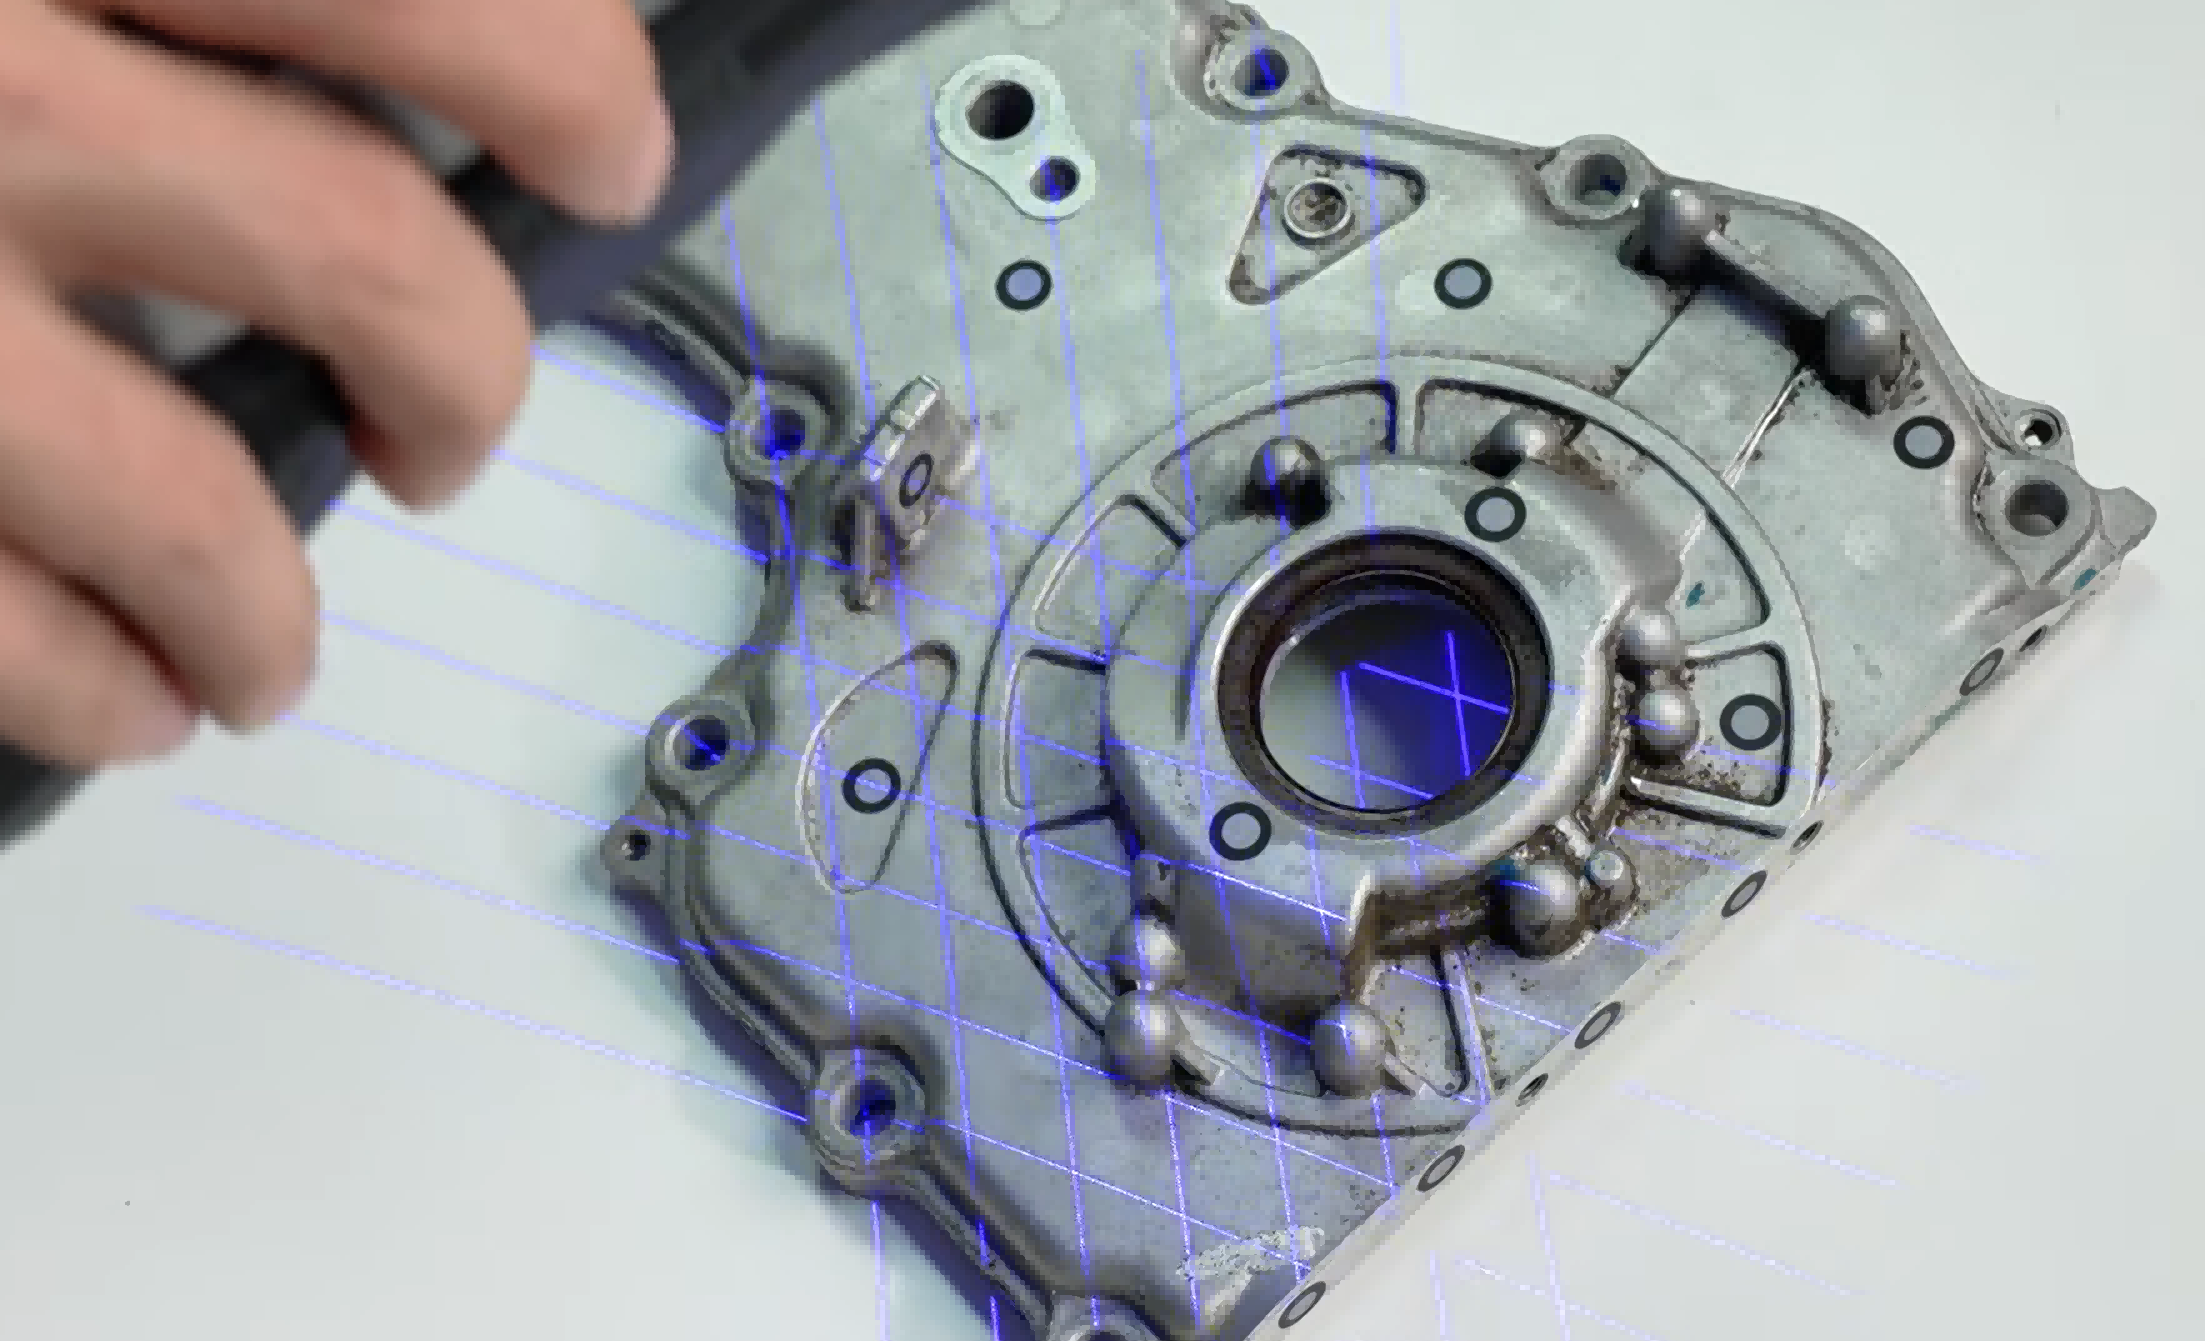
Method 1: Stick markers on the object surface
.png)
When the object is too small to place markers on or is not allowed to place markers on, you can use the method 2 or 3.
Method 2: Stick markers around the object
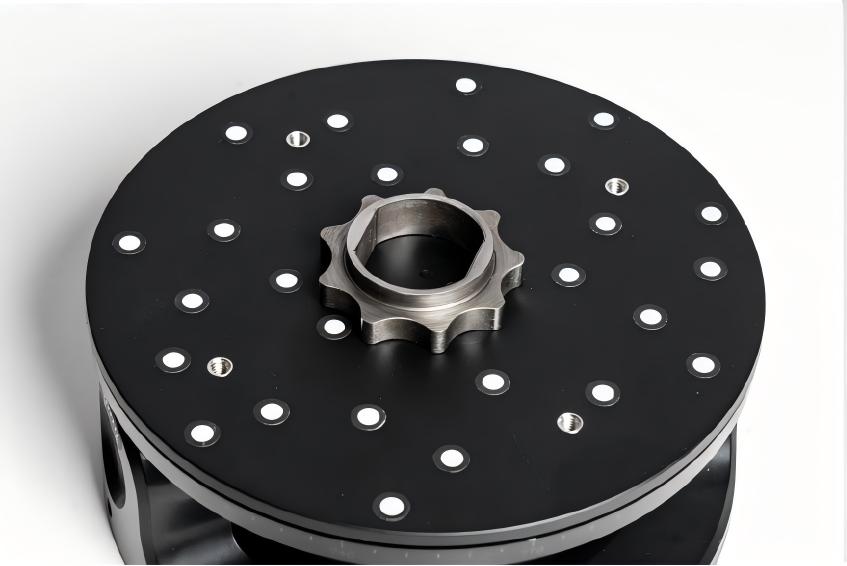
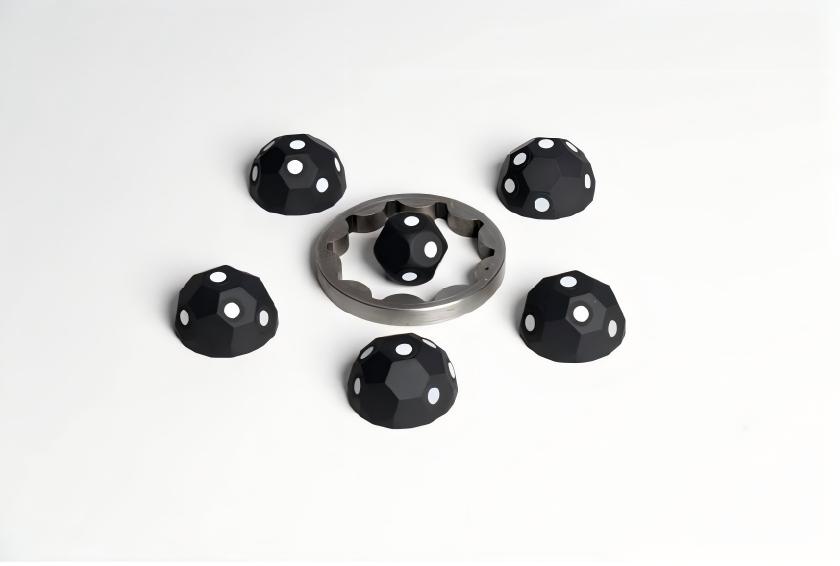
Method 3: Place Marker Blocks around the object  Marker Block Kit Tutorial Video
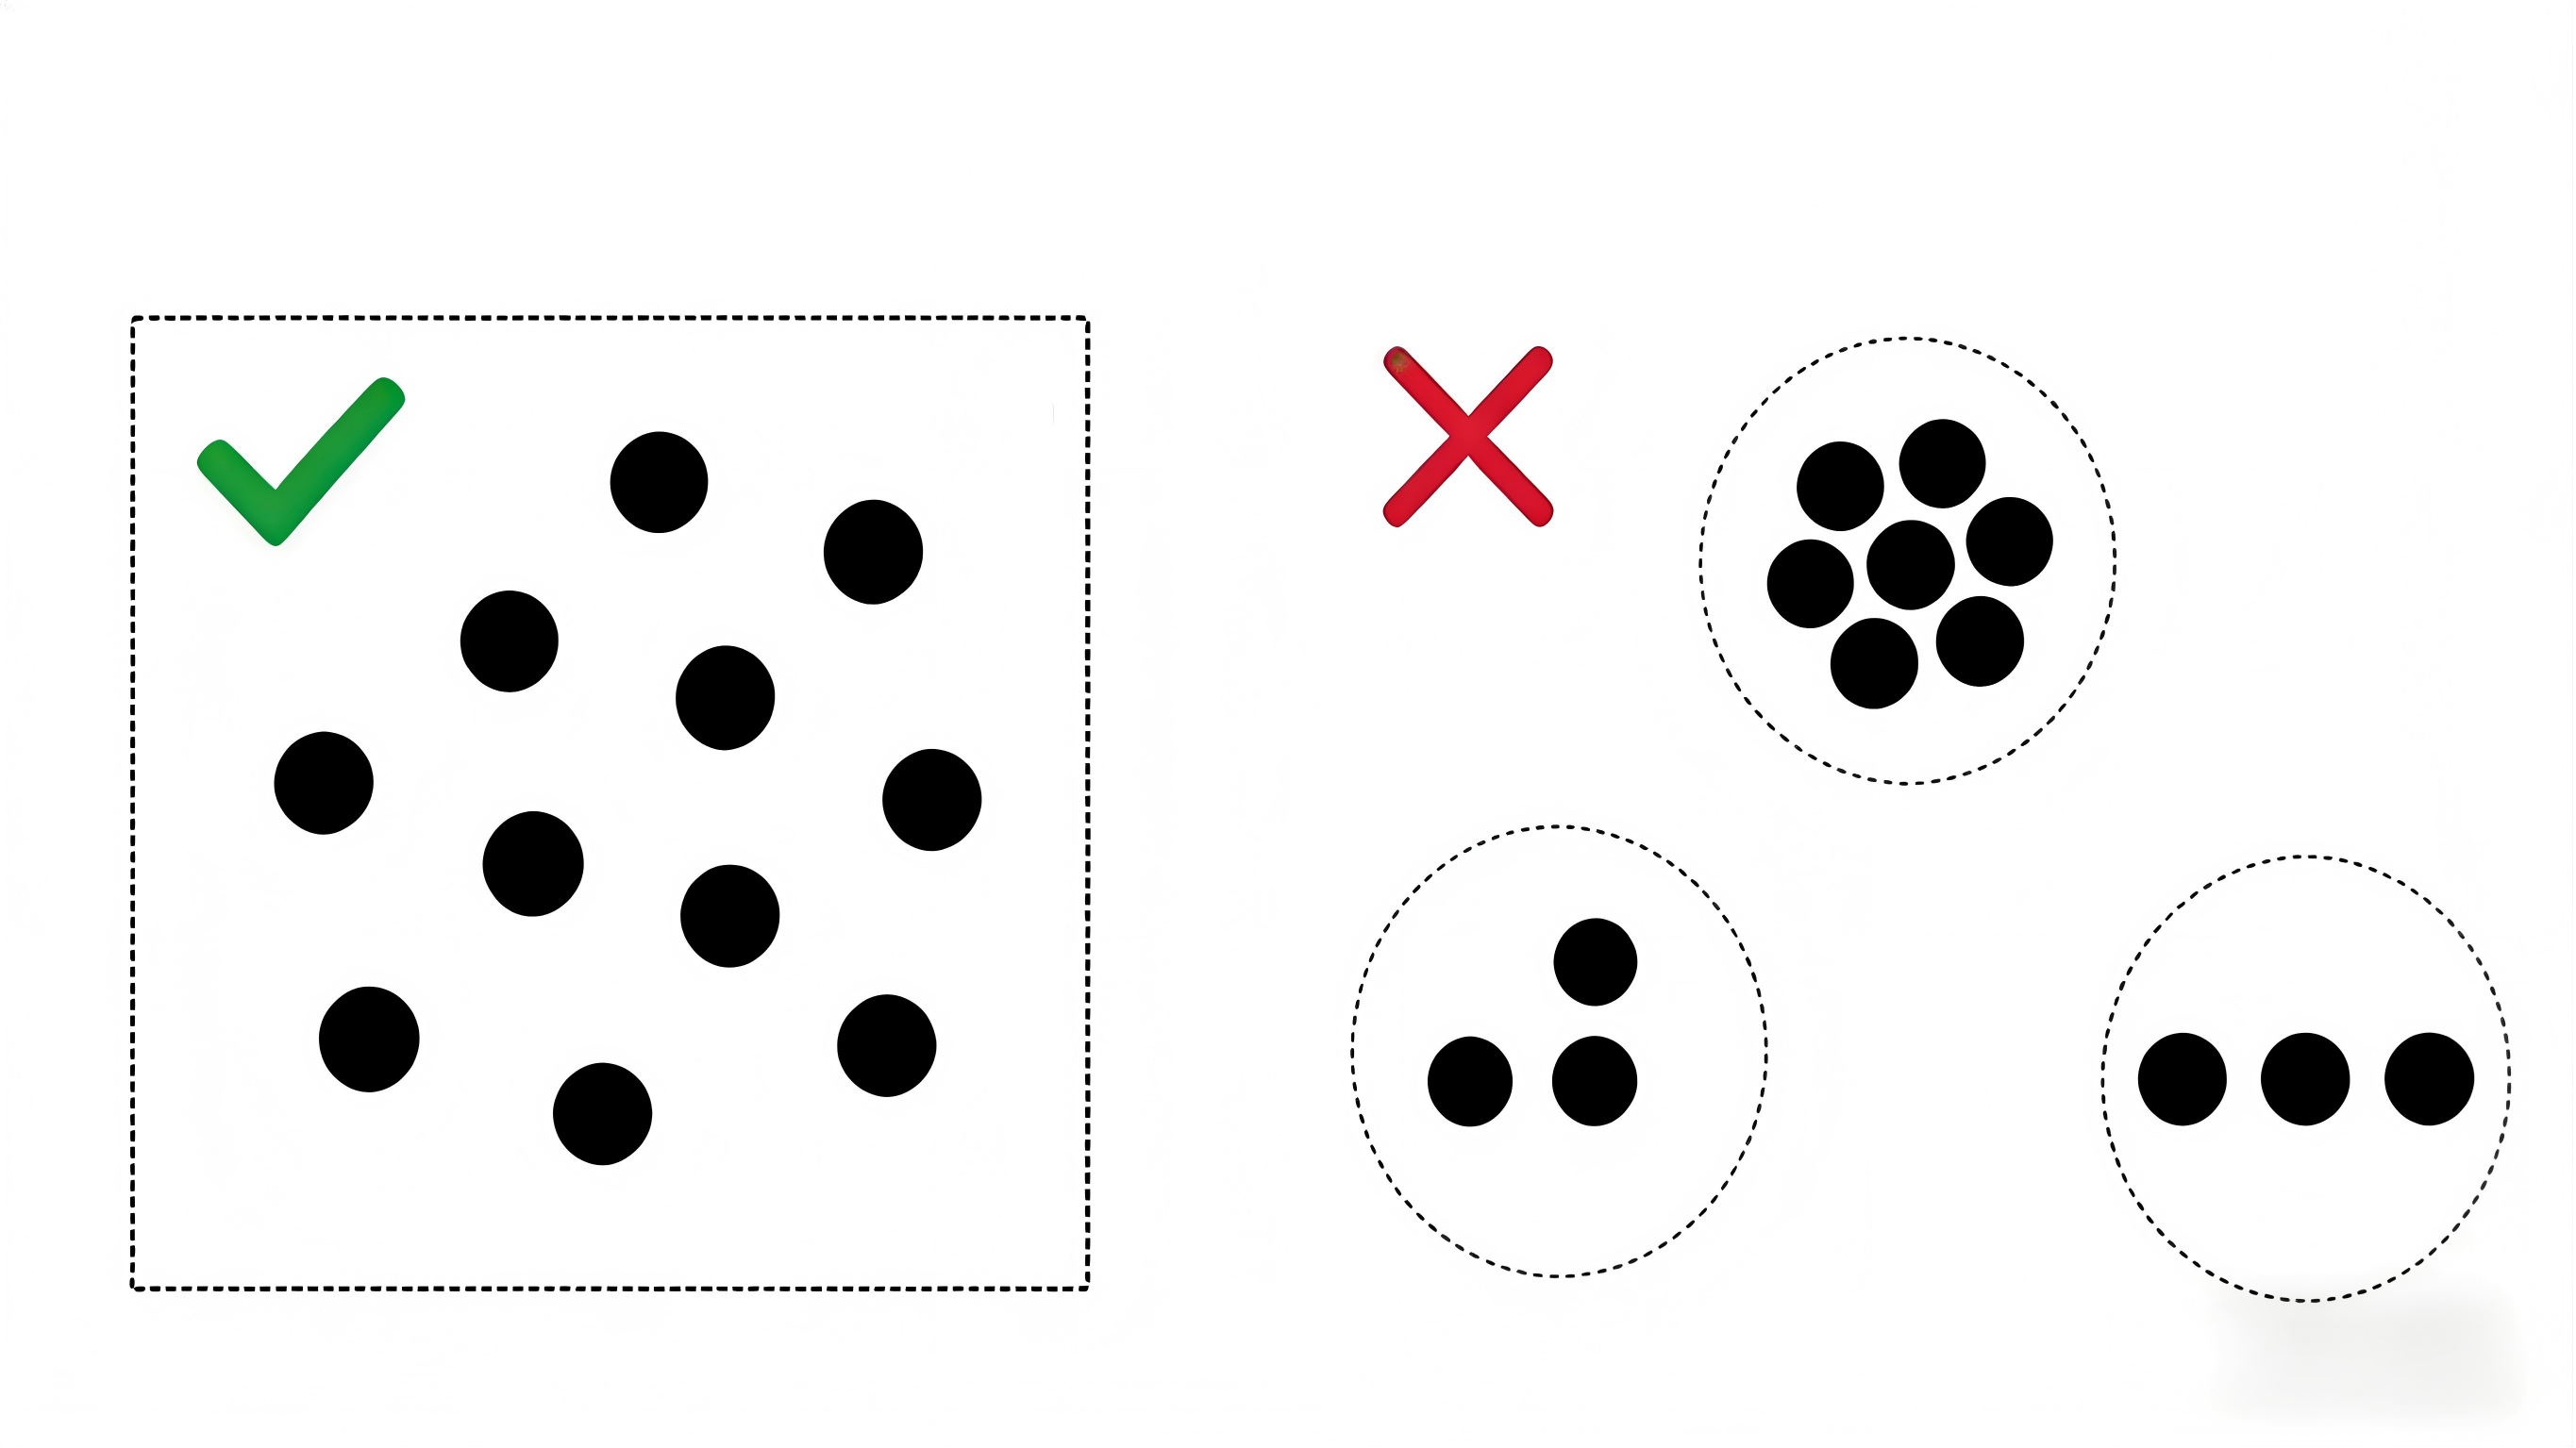
Follow the guidelines below when using the method 1 or 2:
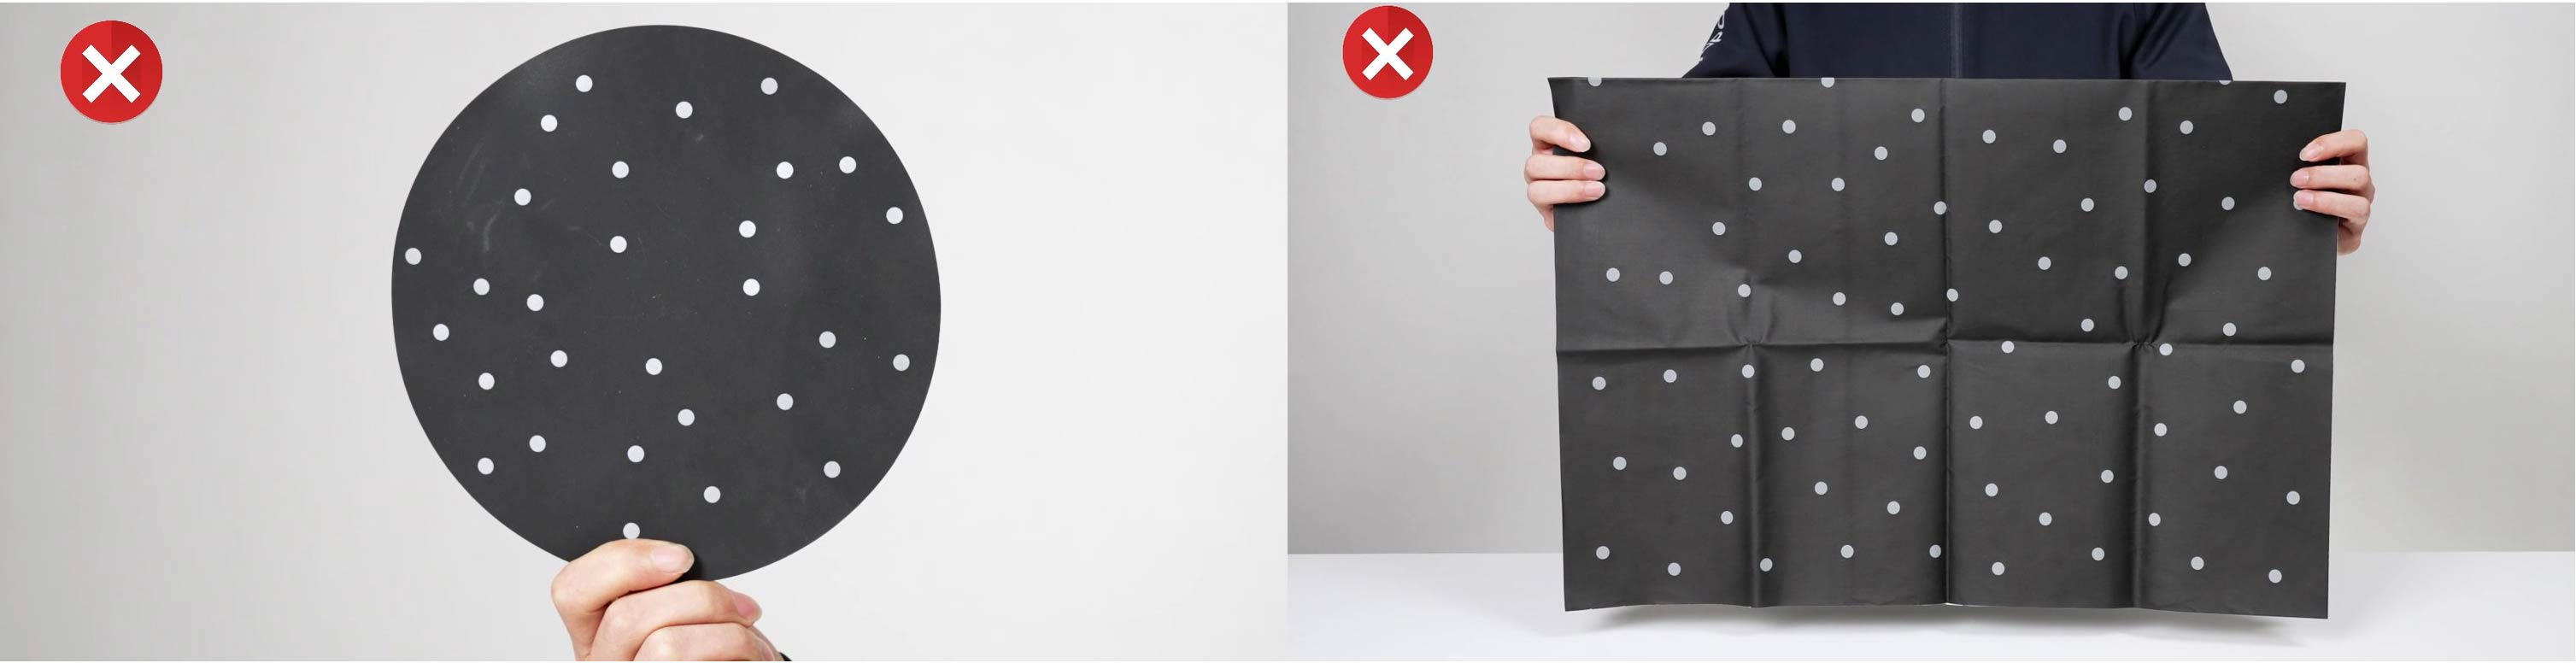
① Place markers apart from each other in an irregular way. Ensure that at least five markers are visible in each frame.
Note: Revopoint scanners can be used with the following three types of markers. Refer to the table below to choose the recommended size and spacing for each scanner model:

| Scanner Models | Marker Size | Marker Spacing |
| MINI Series/MIRACO Series (Near-mode) | 6 mm outer diameter | 1-2 cm |
| POP Series/INSPIRE Series | 10 mm outer diameter | 3-4 cm |
| RANGE Series/MIRACO Series (Far-mode) | 6-8 cm | |
| MetroX/MetroY Series | ||
| Trackit (Marker Scan) | ||
| Trackit (Multi-station Scan) | 13 mm outer diameter | 15-20 cm |
Related Tutorial Videos:
- Marker Using Tips Tutorial Video for MetroX
- How to use Marker Tracking Mode on RANGE and POP 3 3D scannners
② Try to place more markers at the key locations, such as the edges, grooves, and other complex surfaces.
③ Ensure there is sufficient marker coverage before starting the scan, and make sure all markers remain visible.
④ Ensure the markers are securely stuck and have no lifted edges. Avoid placing markers on curved surfaces to prevent deformation.
⑤ Avoid using soft pads or cloths with markers.
⑥ Do not use markers under direct sunlight, as excessive reflected light may affect scan accuracy.
⑦ Repeated use of sticky markers is not advised, as their adhesive weakens and can shift during scans, disrupting tracking.
¶ How to select between the Tracking Modes?
Revopoint scanning software supports two marker tracking modes:
Marker Tracking: The scanner captures the point cloud data by identifying the markers on or around the object. It is easier and faster in the workflow and more suitable for beginners.
Global Marker Tracking: Offers more precise scanning and seamless frame alignment. It is more suitable for users requiring higher accuracy or scanning large objects. Global Marker Tracking requires two steps:
① Scan the markers to create global marker coordinates.
② Scan the object based on these marker coordinates.
Note: When using the global marker tracking mode, the relative position between the object and the markers must remain unchanged.
Global Marker Tacking Tutorial Video
¶ Using Scanning Spray
¶ What is scanning spray for?
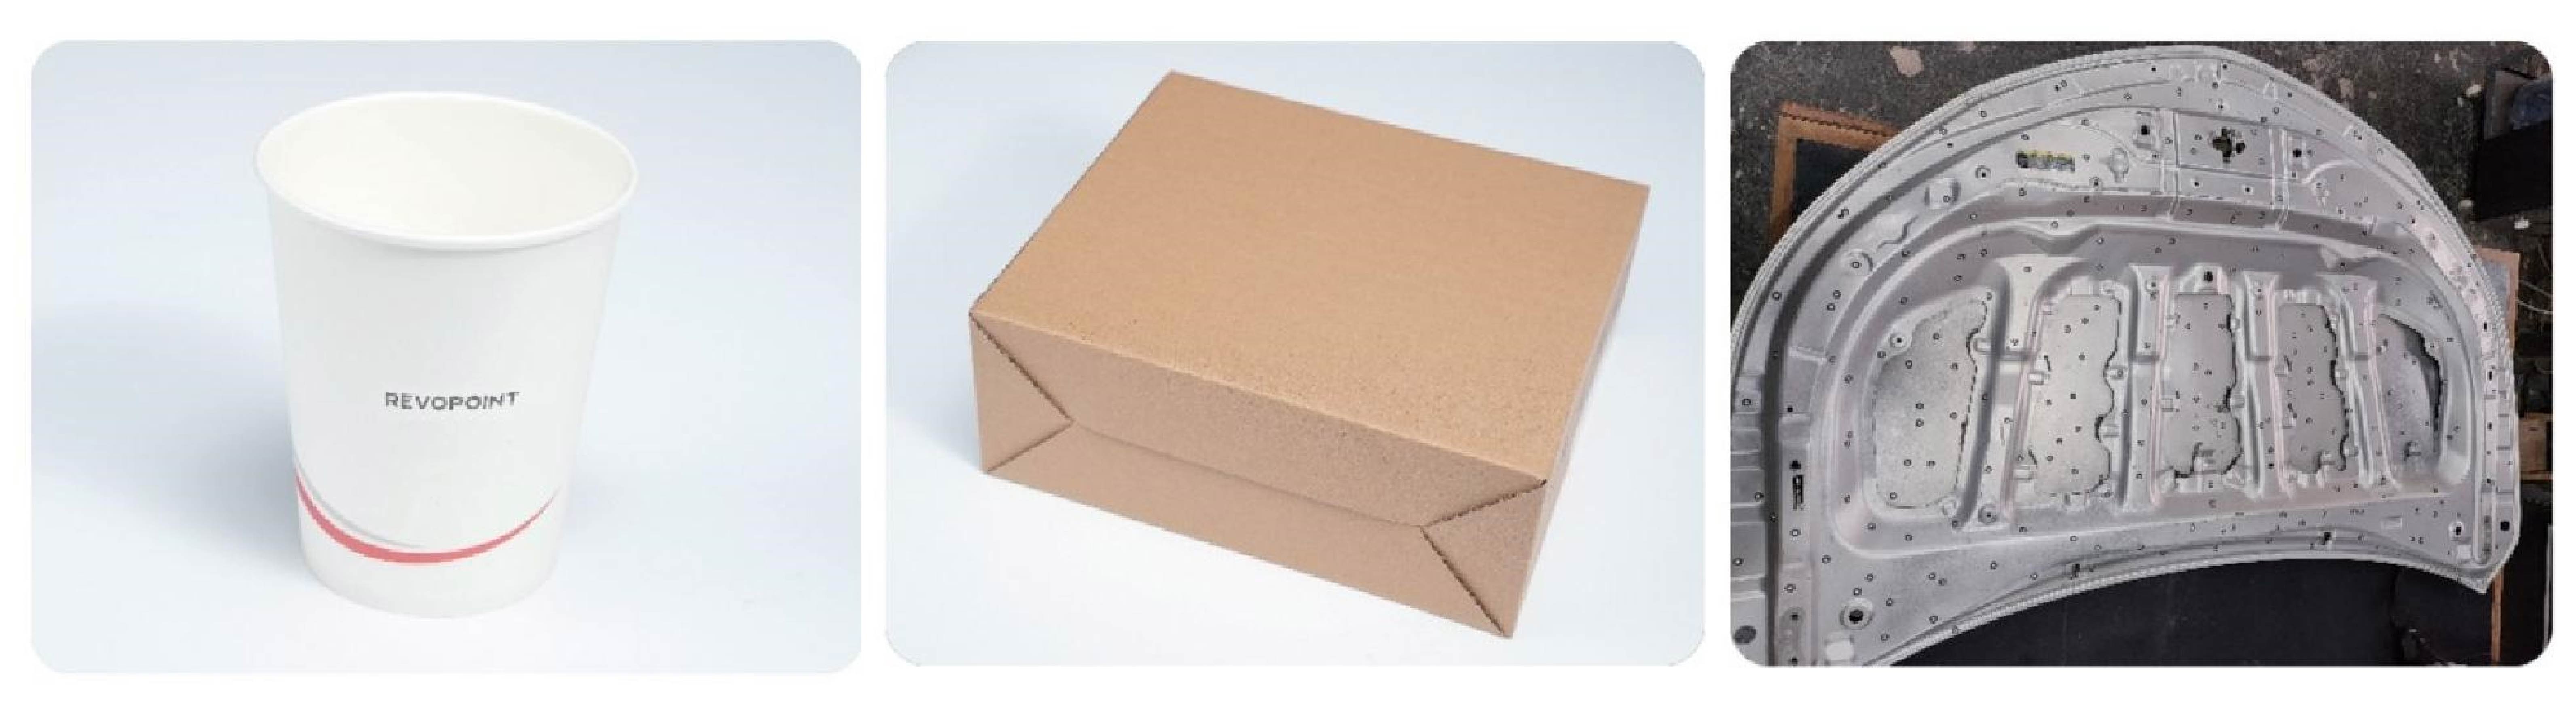
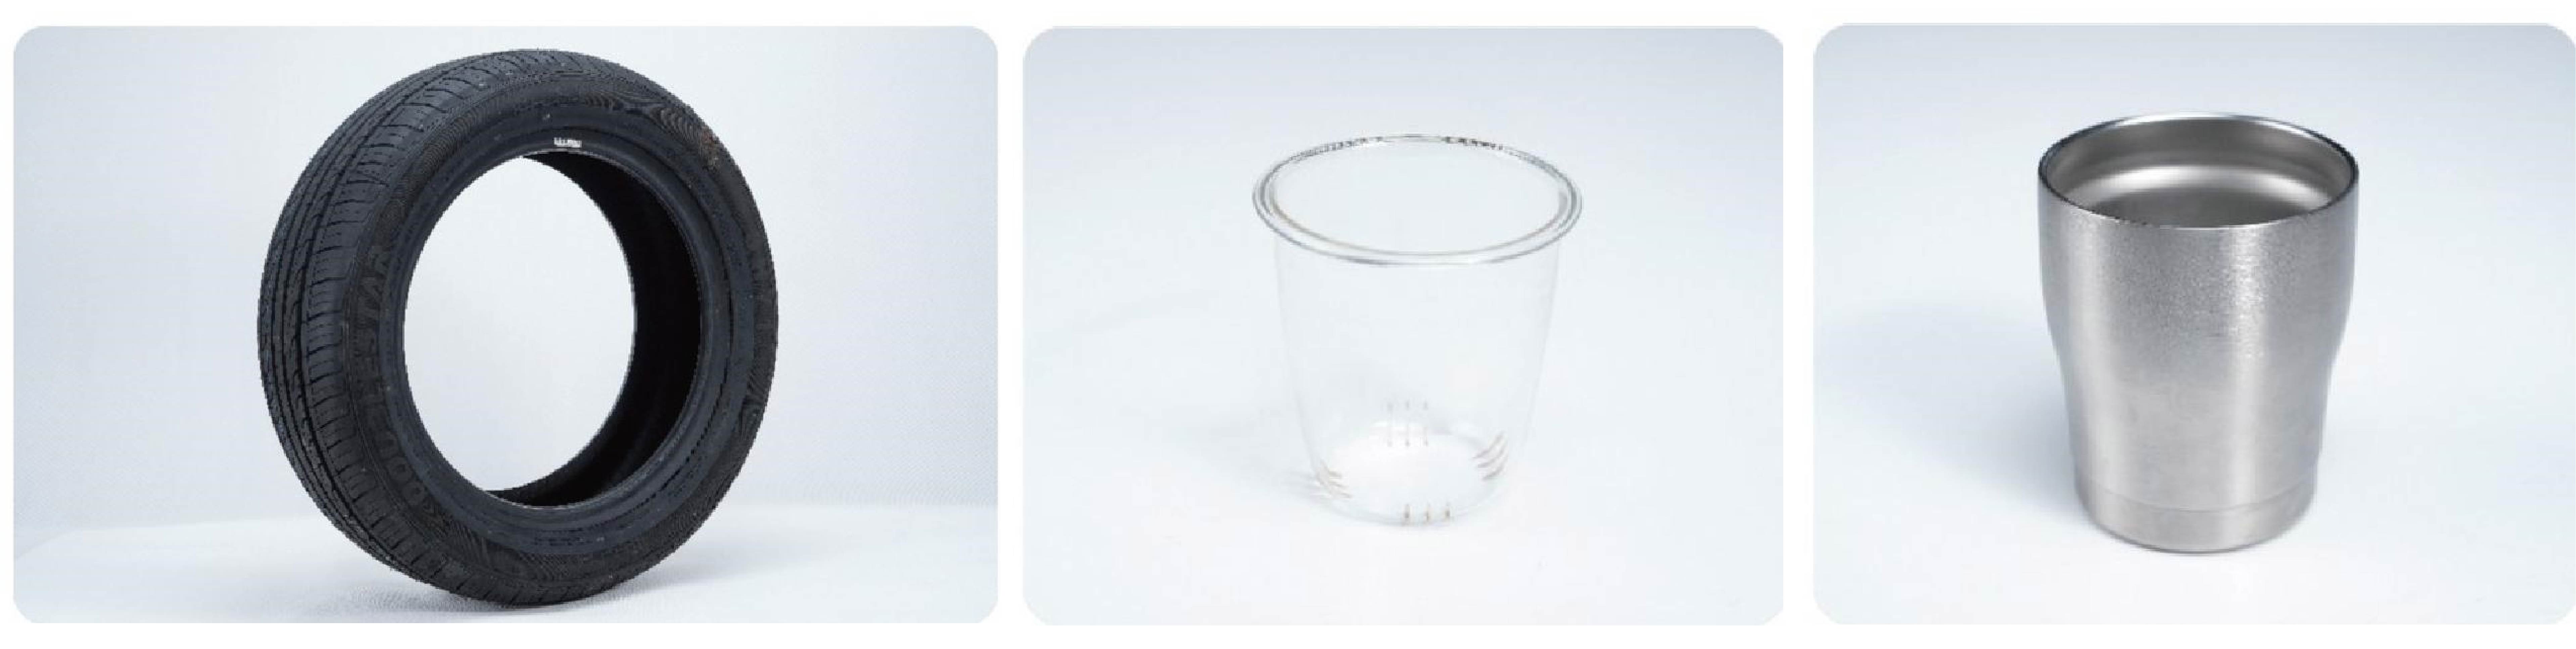
Scanning spray is also commonly used in 3D scanning for dealing with some hard-to-scan objects with special properties such as black, transparent, metal or other highly reflective surfaces, which may absorb or excessively reflect light, preventing accurate data capture.
¶ When should I use a scanning spray?
Refer to the table below to decide whether a scanning spray is required depending on the scanner model you are using and what kind of properties your object has.
- When using Revopoint scanners' laser-line modes (like cross-line mode or parallel-line mode):
| Object surface properties | Matt surface | Black reflective surface | Metal reflective surface | Transparent surface | Specular surface |
|---|---|---|---|---|---|
| Whether a scanning spray is needed? | No | No | No | Yes | Yes |
- When using Revopoint structured-light scanners or the scanners' full-field mode and auto-turntable mode:
| Object surface properties | Matt surface | Black reflective surface | Metal reflective surface | Transparent surface | Specular surface |
|---|---|---|---|---|---|
| Whether a scanning spray is needed? | No | Yes | Yes | Yes | Yes |
¶ How to use a scanning spray?
Use scanning spray to lightly and evenly coat the object’s surface. Avoid spraying too closely or applying spray only to small local areas.

Tip: If the scanning spray is unavailable, you can use a fine powder like baby or makeup powder to lightly coat the object’s surface.