¶ 1. Global Markers Tip
If batch scanning is necessary or it is challenging to place markers on an object's surface, use the global marker scanning modes along with the tips below to create a global marker environment that can be used repeatedly:
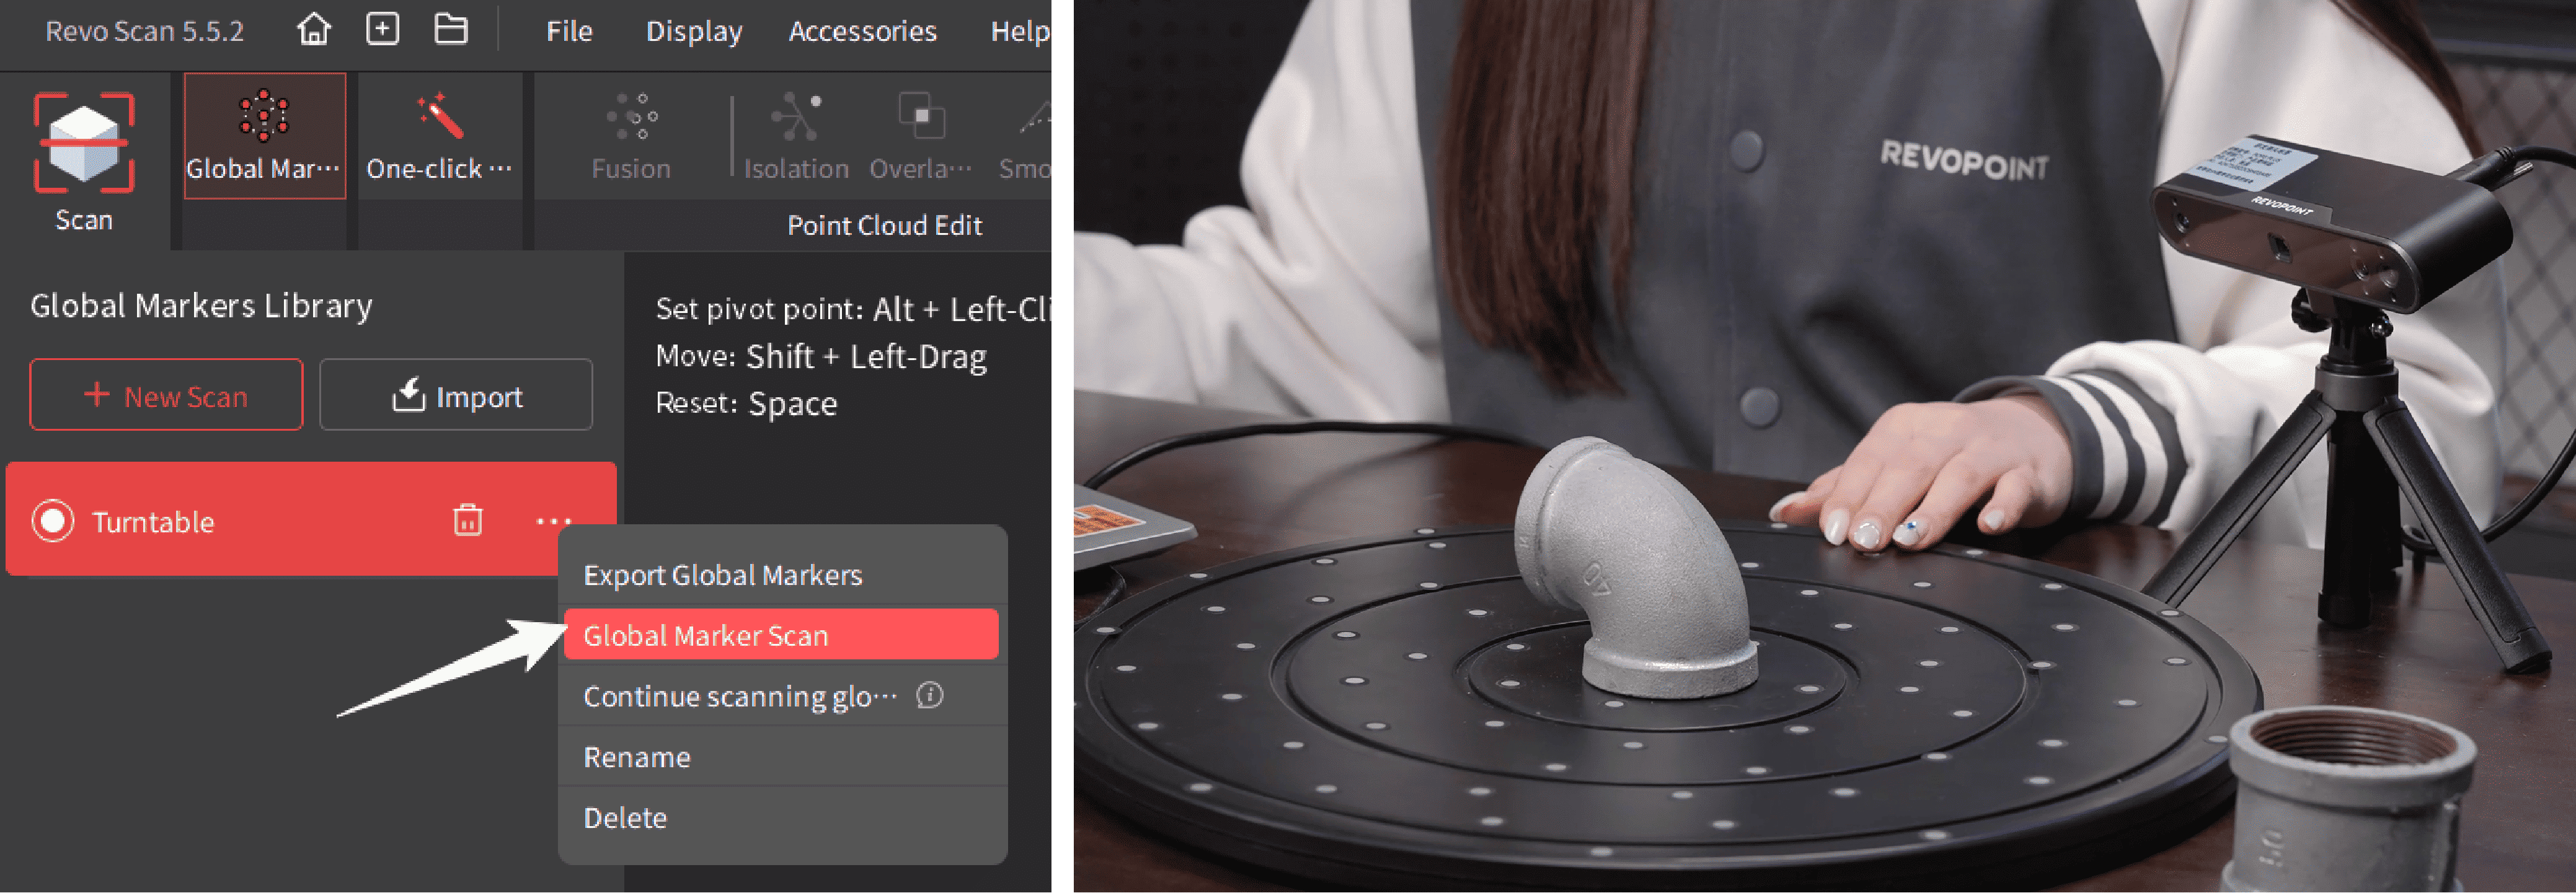
1) Place markers across a turntable (or a lazy susan, see the figure below).

2) Open Revo Scan and enter Global Marker Library. Select "New Scan" and capture the turntable's global marker coordinates. Rename the global marker file.

3) Put an object on the turntable. Select the renamed global marker file, tap the More icon, and select "Global Marker Scan" to capture the object's point clouds.
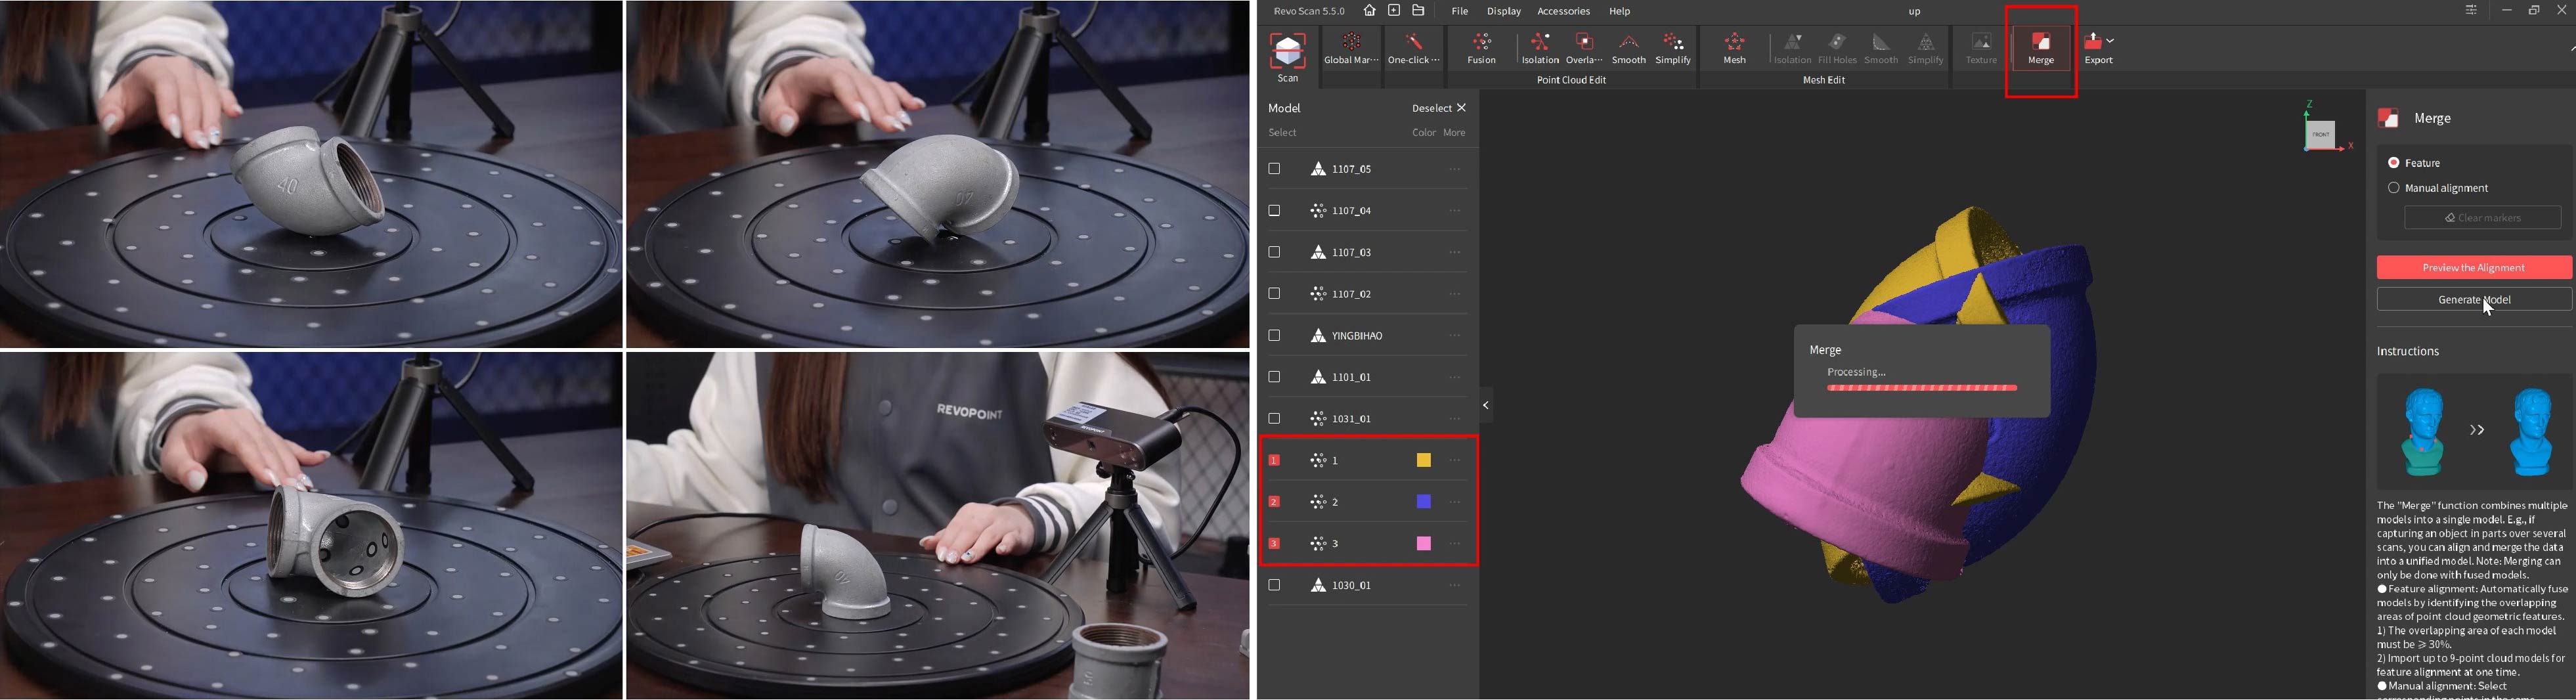
4) Scan the object's point clouds from multiple angles and merge the scans to get a complete model.
Note: Do not remove or move the markers on the turntable if you will use the global marker file for future scans.
¶ 2. Regaining Tracking After Tracking Lost
The following are some possible causes and solutions for tracking loss:
1) Too far or near working distance
Solution: Move the scanner closer or further to a suitable distance until the distance indicator bar shows green and the scanner can track the object correctly.
2) The scanner is moved too fast to keep track.
Solution: Check for mis-scanned frames and click undo. Position the scanner over previously captured areas and unpause the scan. Once tracking is regained, continue scanning. Move the scanner slowly, allowing time to recognize surface features.
3) Incorrect manual exposure setting
Solution: Auto exposure is recommended so the scanner can automatically adjust the exposure according to the real-time surface change.
4) Loses tracking on dark surfaces
Solution: To make dark objects scannable, applying a scanning spray is recommended.

5) Loses tracking on objects with sharp, contrasting colors
Solution: Use auto exposure, the scanner can automatically adjust the exposure based on real-time surface changes.
¶ 3. Over Scanning
When using structured light, repeated scanning of the same area will create more noise in the 3D model and reduce its quality. Once a surface area has been captured, immediately move on to the next area to be captured to avoid over-scanning an area.
Note:When using laser line, repeated scanning helps improve model quality.
¶ 4. Dual-axis Turntable Laser Scan
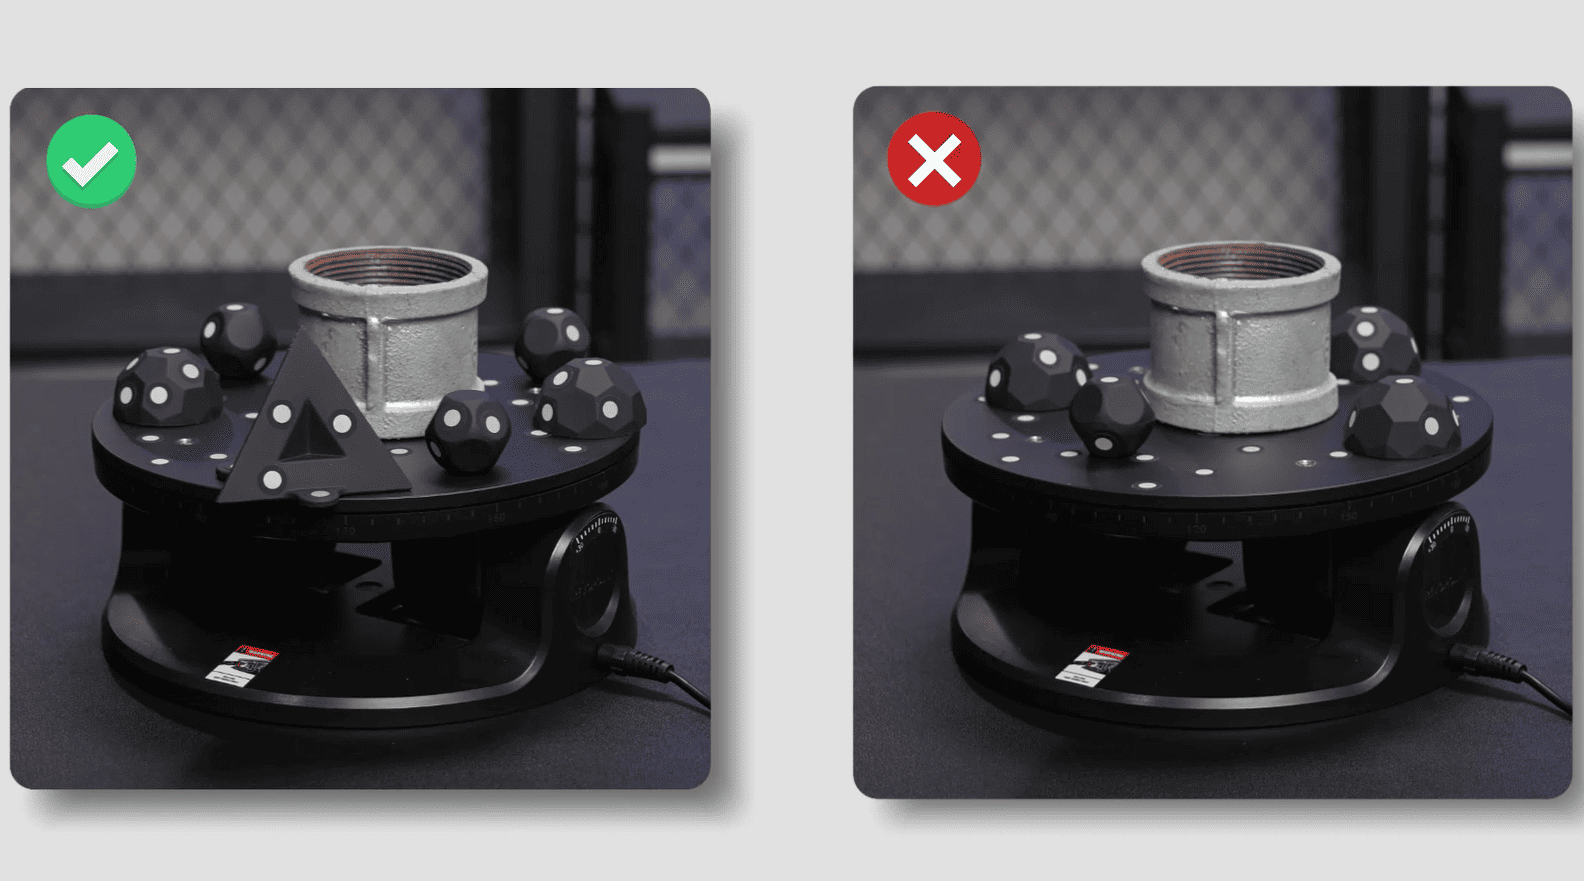
① Place marker blocks around the object to create a marker-rich environment.
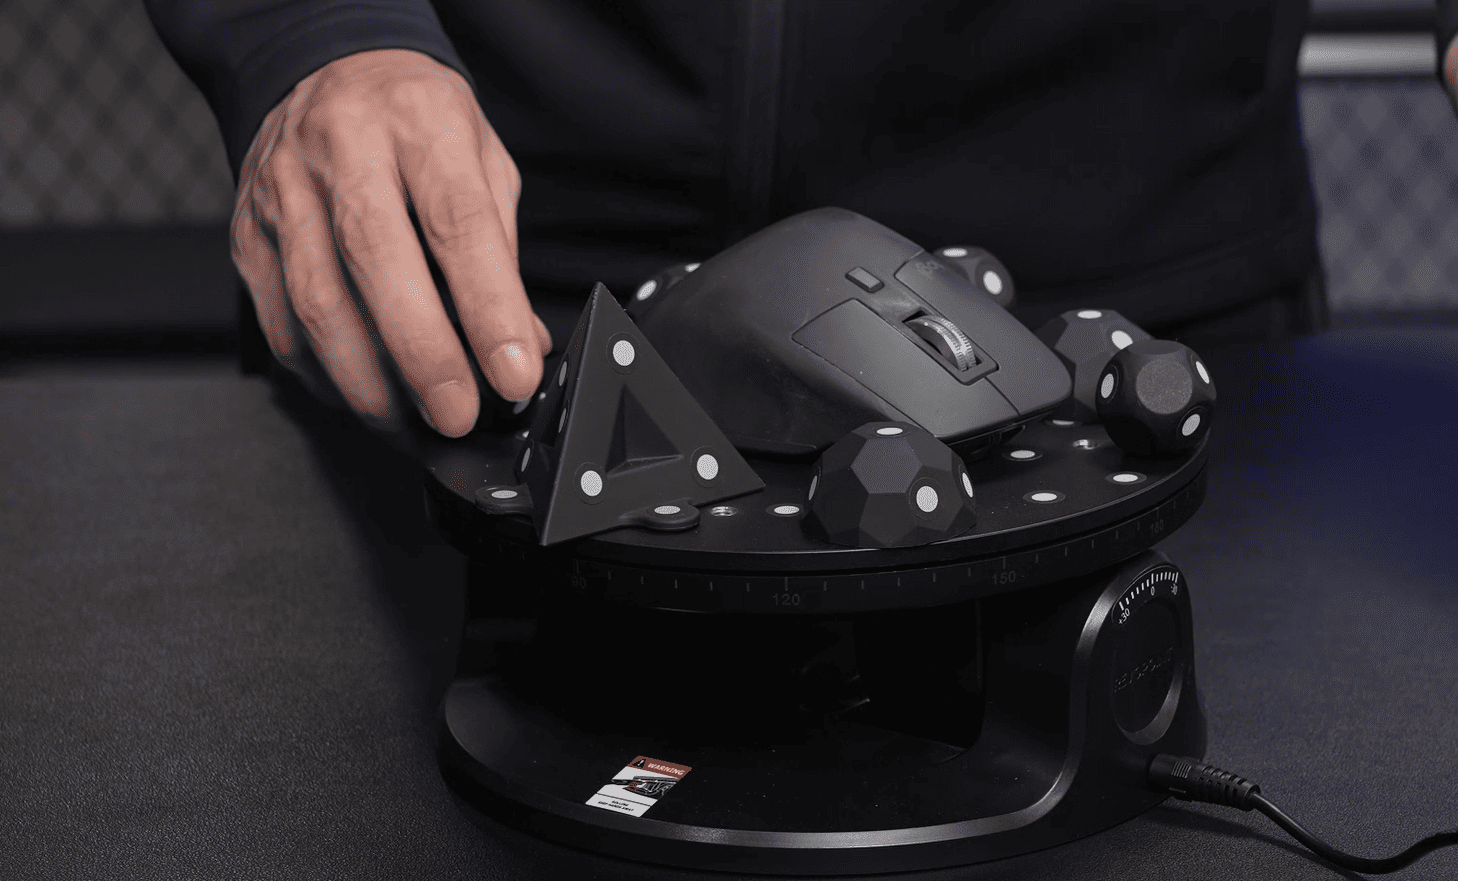
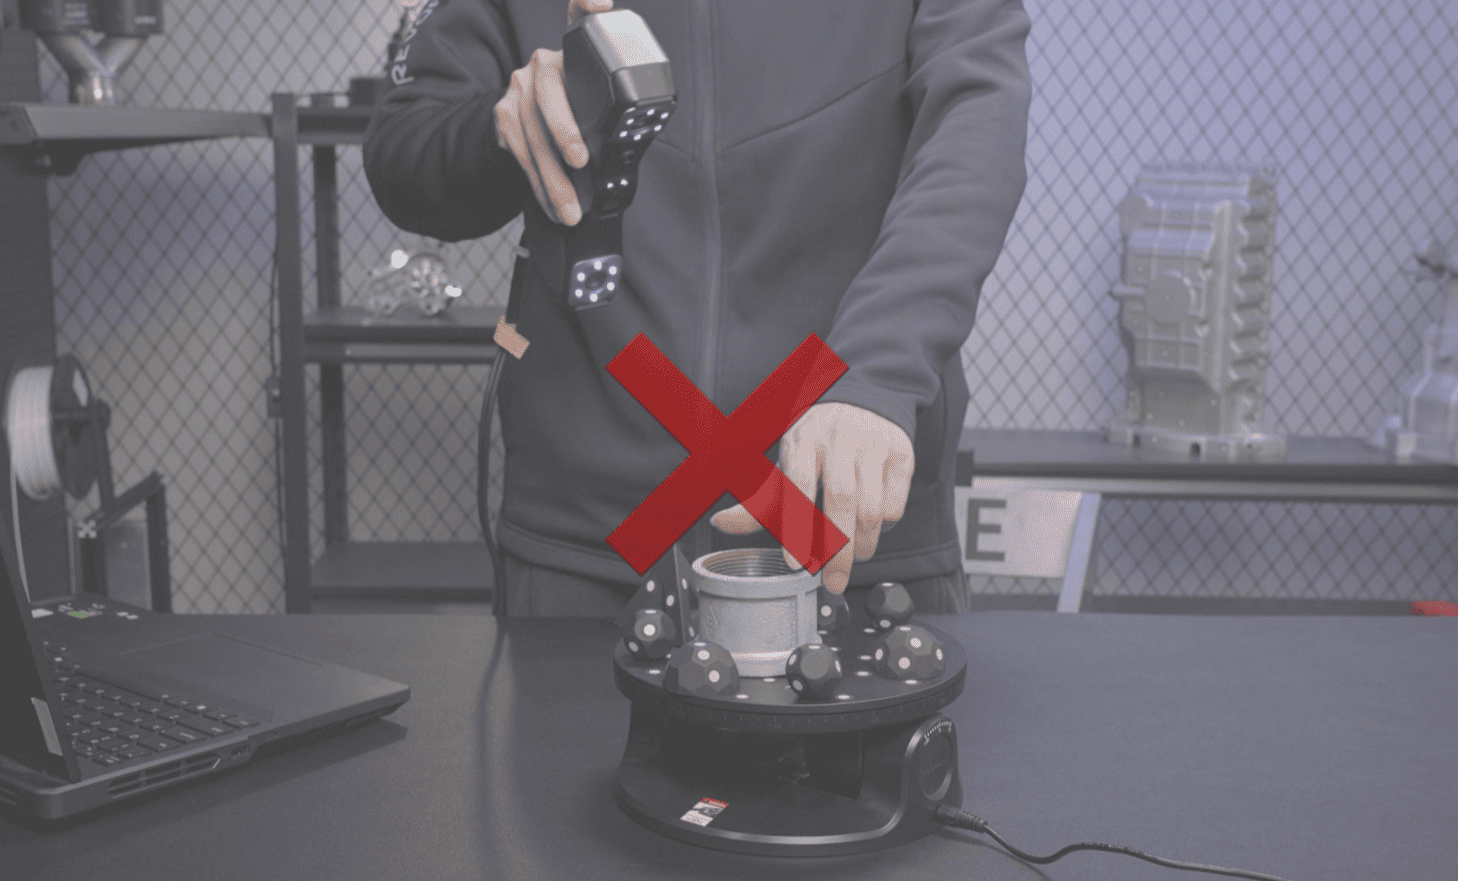
Tips: Don't move the object once placing markers and marker blocks around it, as this will cause point cloud misalignment.
Ensure there are sufficient markers around the object from all angles to prevent scanning interruptions and misalignment issues.
② Open Revo Scan 5 MetroX, connect the turntable and set it to a slower rotation speed to achieve better scan results.
③ Select proper scan mode and object type, adjust the exposure settings and click "Start."
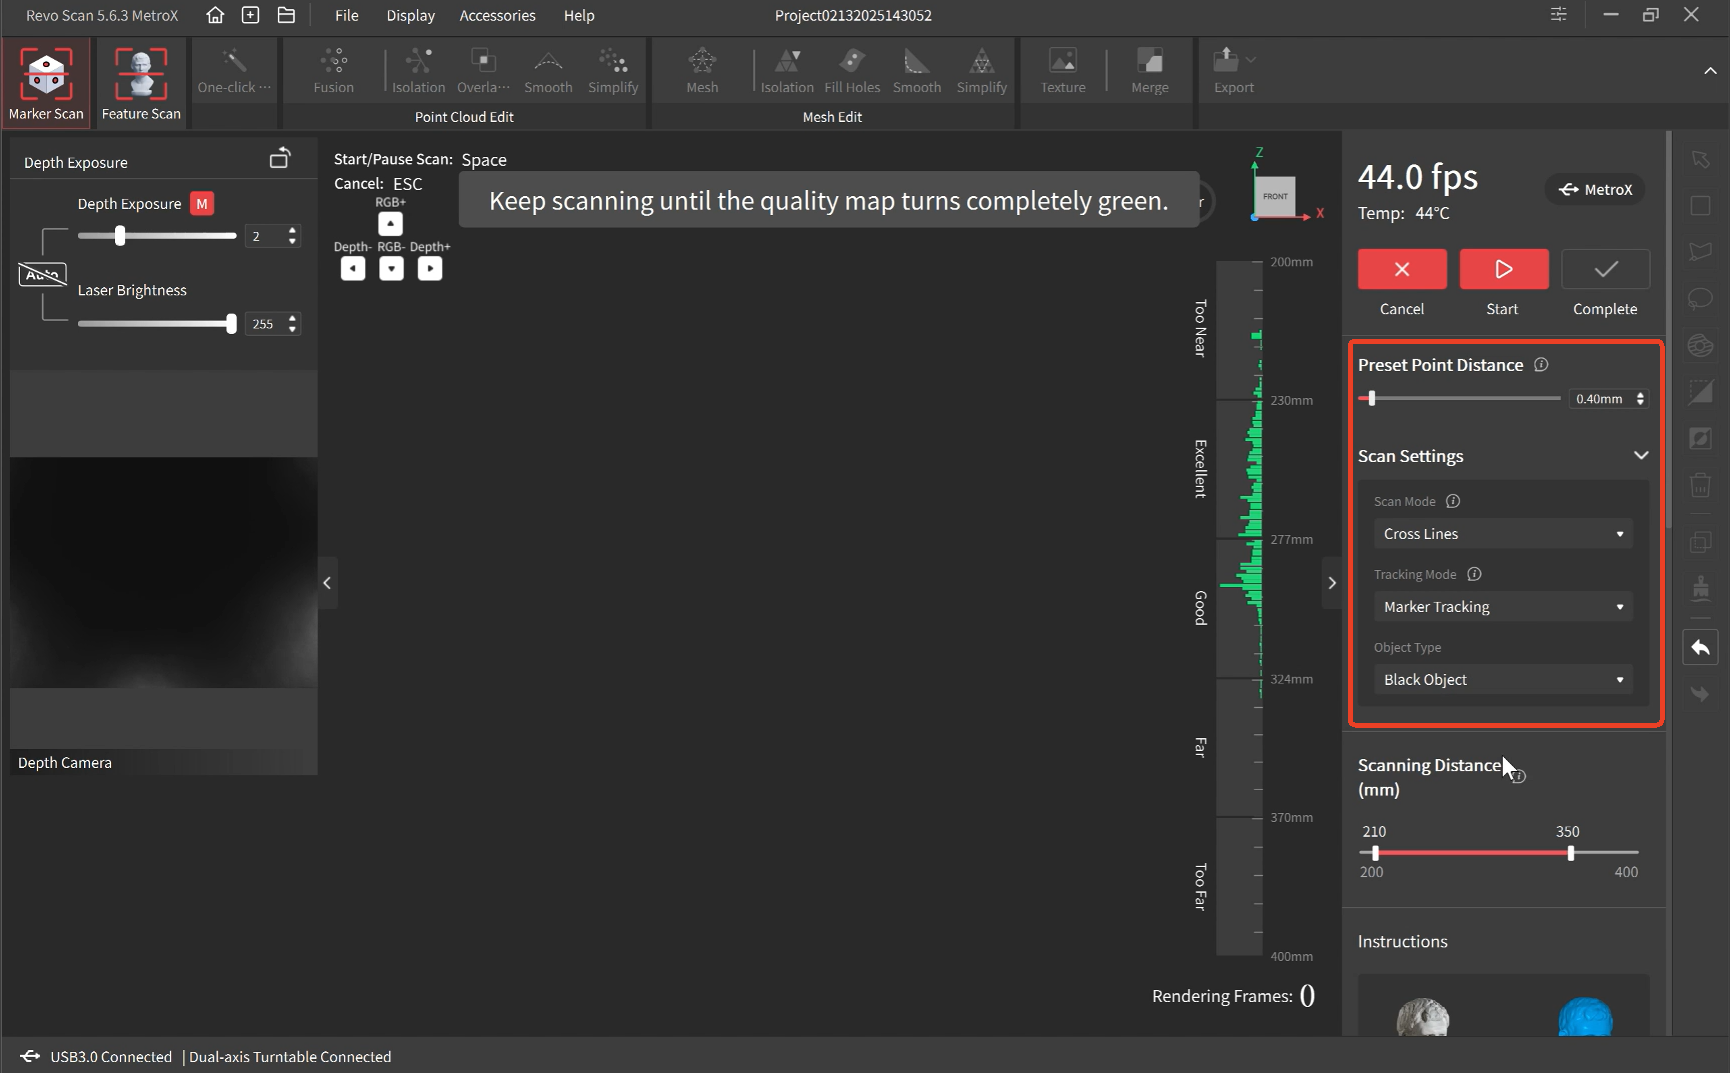
④ During the scan, keep the object still, and move the scanner at a consistent speed to prevent any shaking. Ensure the scanner is aligned with and recognizes the object's markers.
⑤ Maintain the distance indicator bar stays within "Excellent" or "Good" when scanning. After all point cloud data turns green, click "Complete."
⑥ Process the model and clip the unwanted data using the toolbar.