¶ What are markers used for?
Markers are stuck on or around objects without geometric features, so the scanner can track what it is scanning. For different markers and scanners, follow the guidelines below:

|
¶ Large Markers---For RANGE Series/Inspire/POP Series/MIRACO Series (Far Mode)/MetroXIf using Inspire/POP series, place them in irregular patterns with around 3 - 4 cm between the markers across the object you’re scanning, and ensure that there are at least 5 marker points always in the frame when scanning. 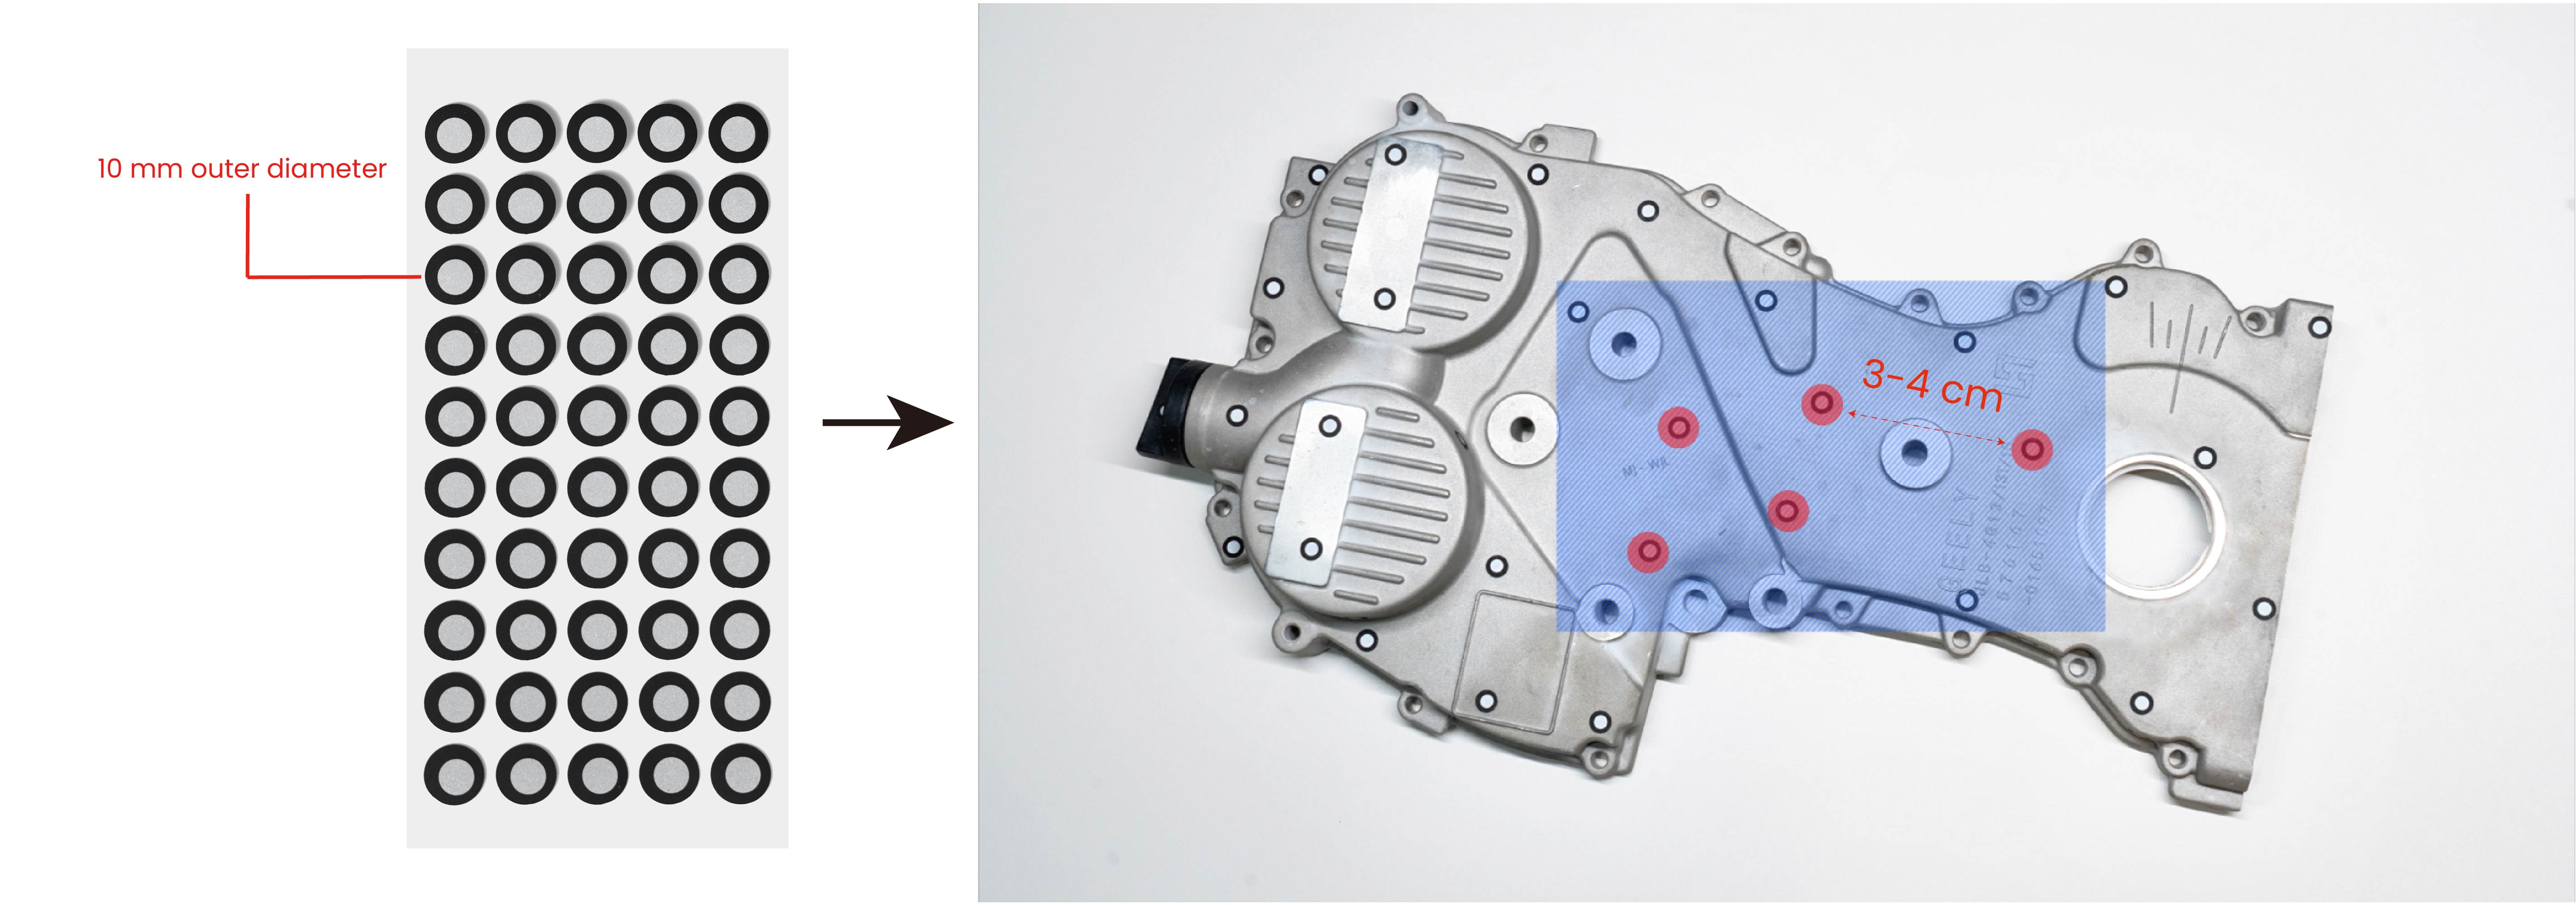 If using RANGE 2/MIRACO series(Far-Mode), place them in irregular patterns with around 6 - 8 cm between the markers across the object you’re scanning, and ensure that there are at least 5 marker points always in the frame when scanning. If using MetroX, place markers 6 - 7 cm apart. If the object is too small to place markers on, use the Dual-axis Turntable or Marker Block Kit or place markers around it. Avoid using soft pads or cloths with markers. 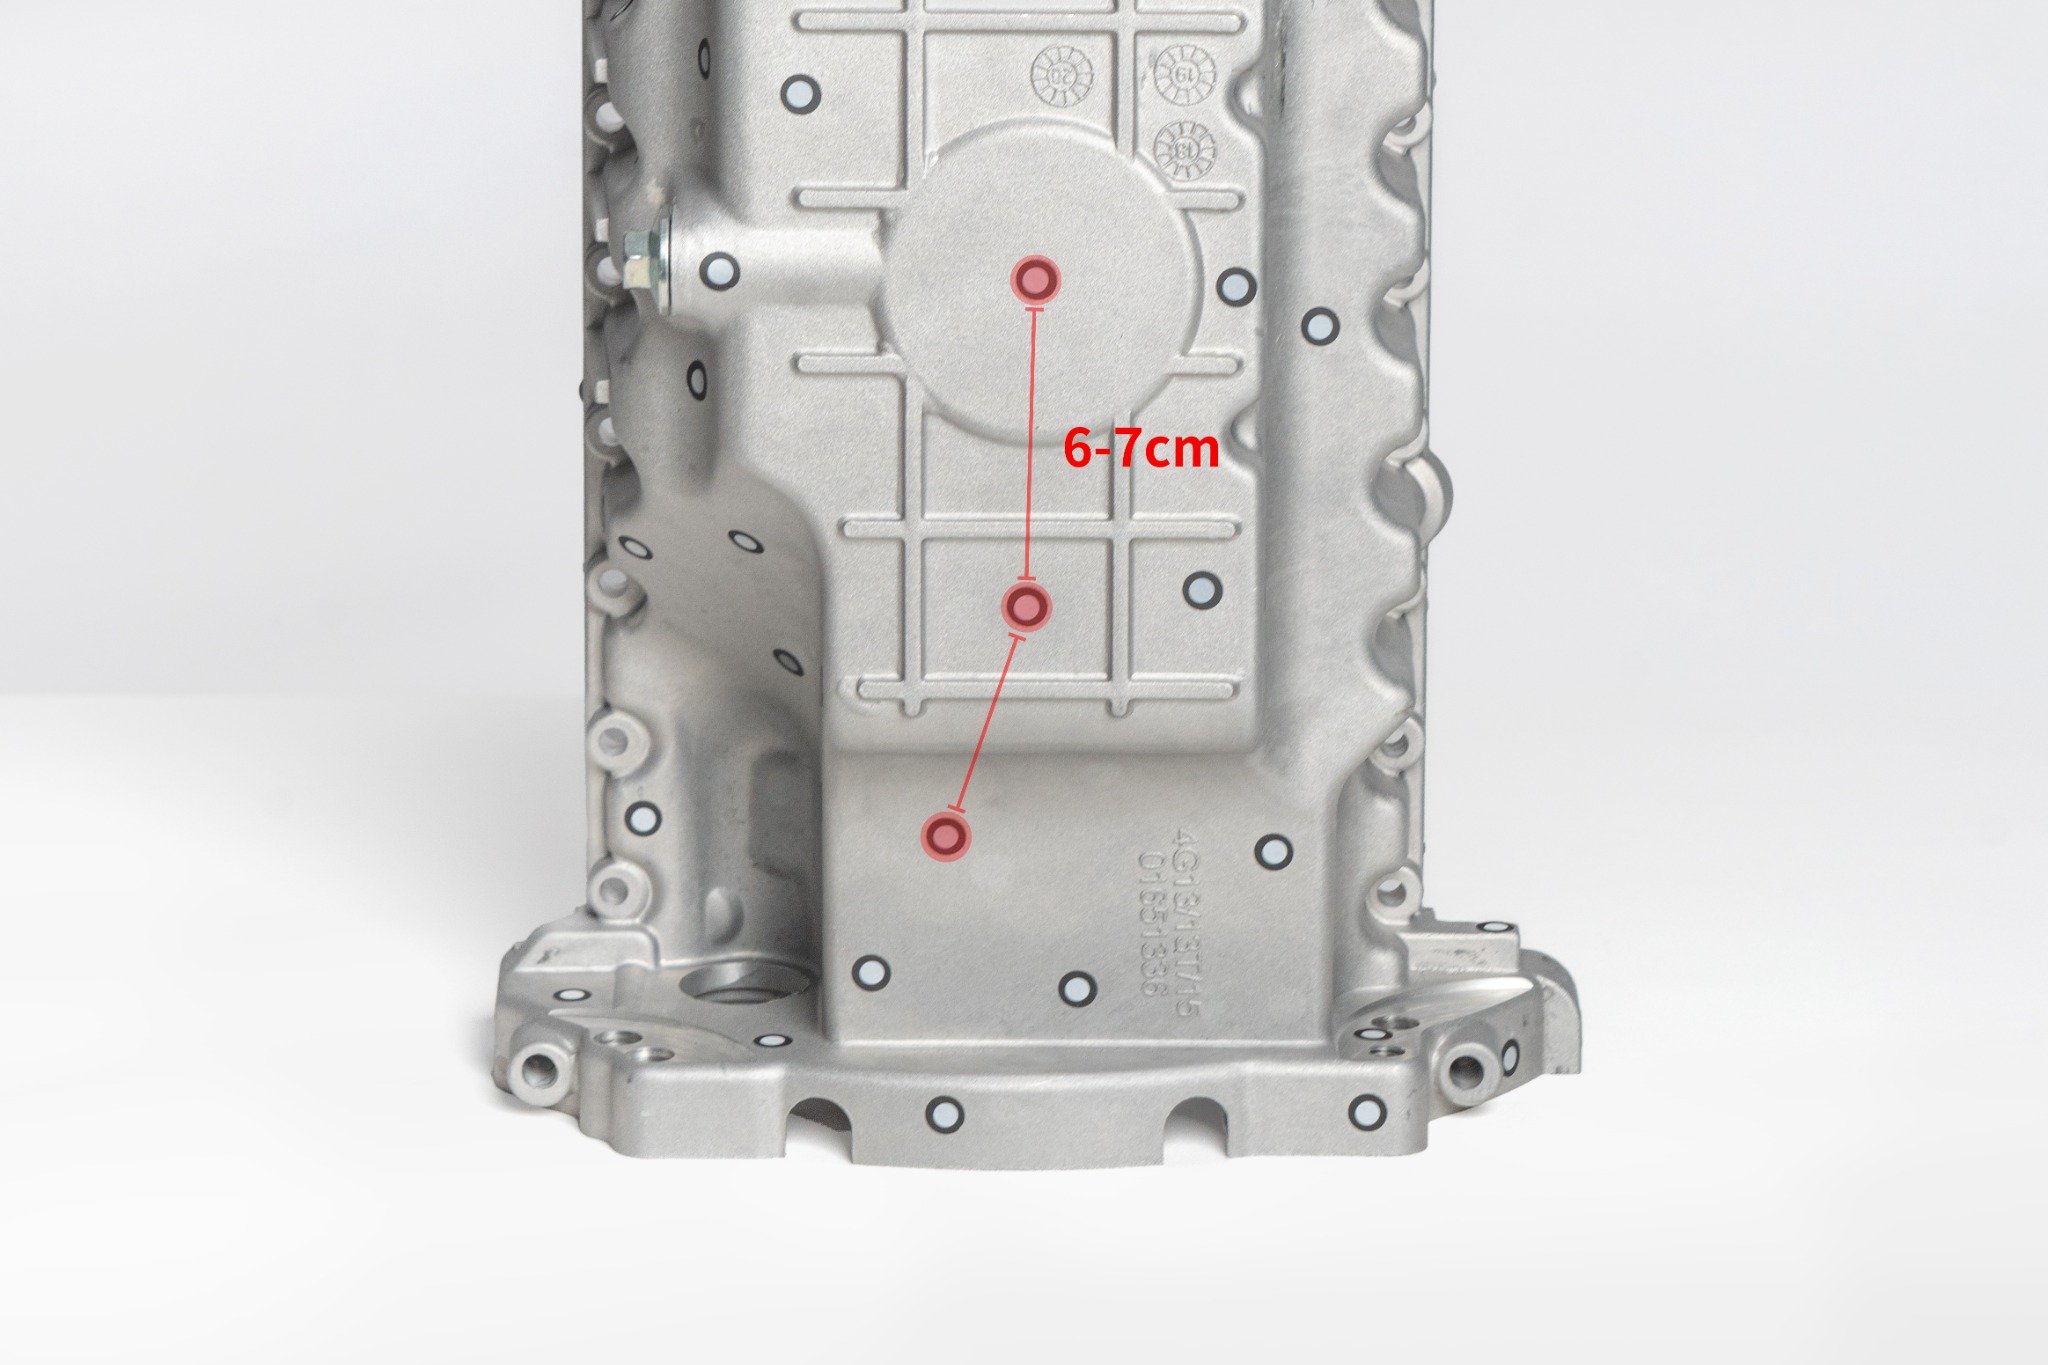 For more detailed tips on using Markers, see Handle objects Before Scan. |
|
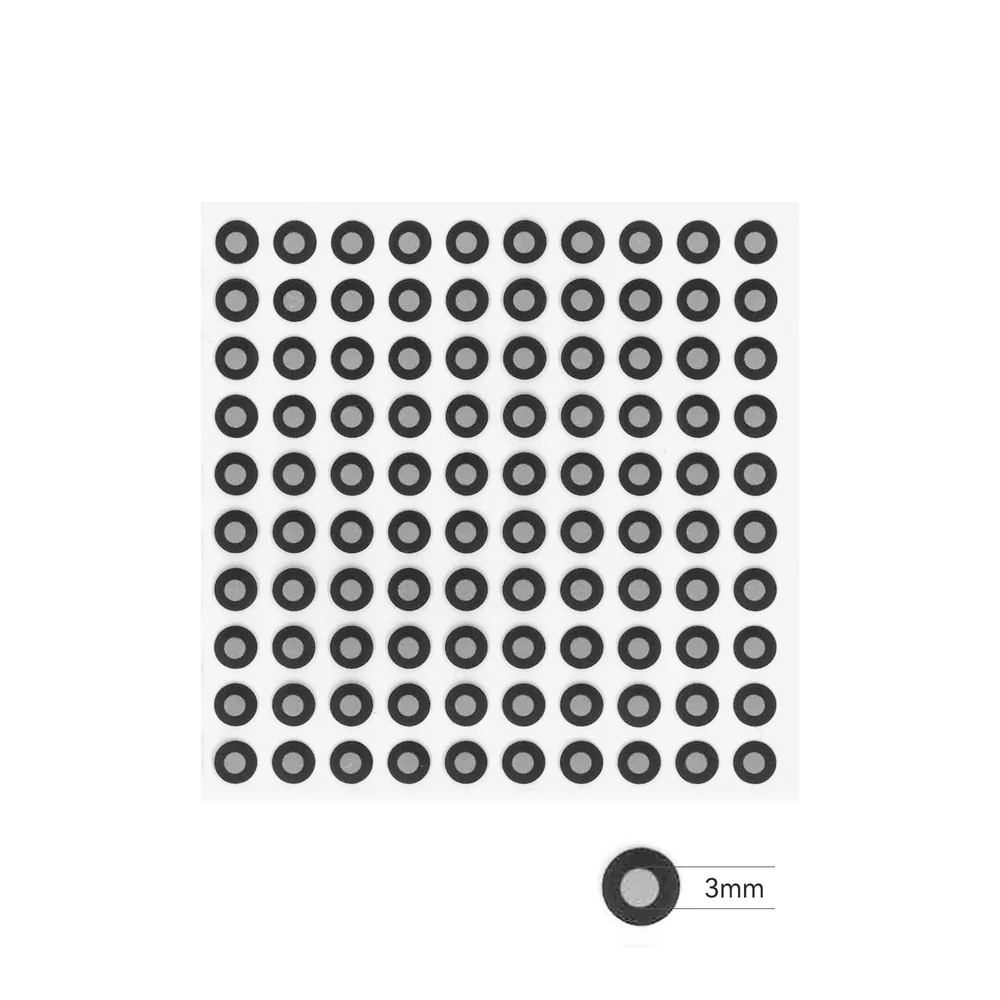
¶ Small Markers---For MINI 2/MIRACO Series (Near Mode)Place them in irregular patterns with around 1 - 2 cm between the markers across the object you’re scanning, and ensure that there are at least 5 marker points always in the frame when scanning. 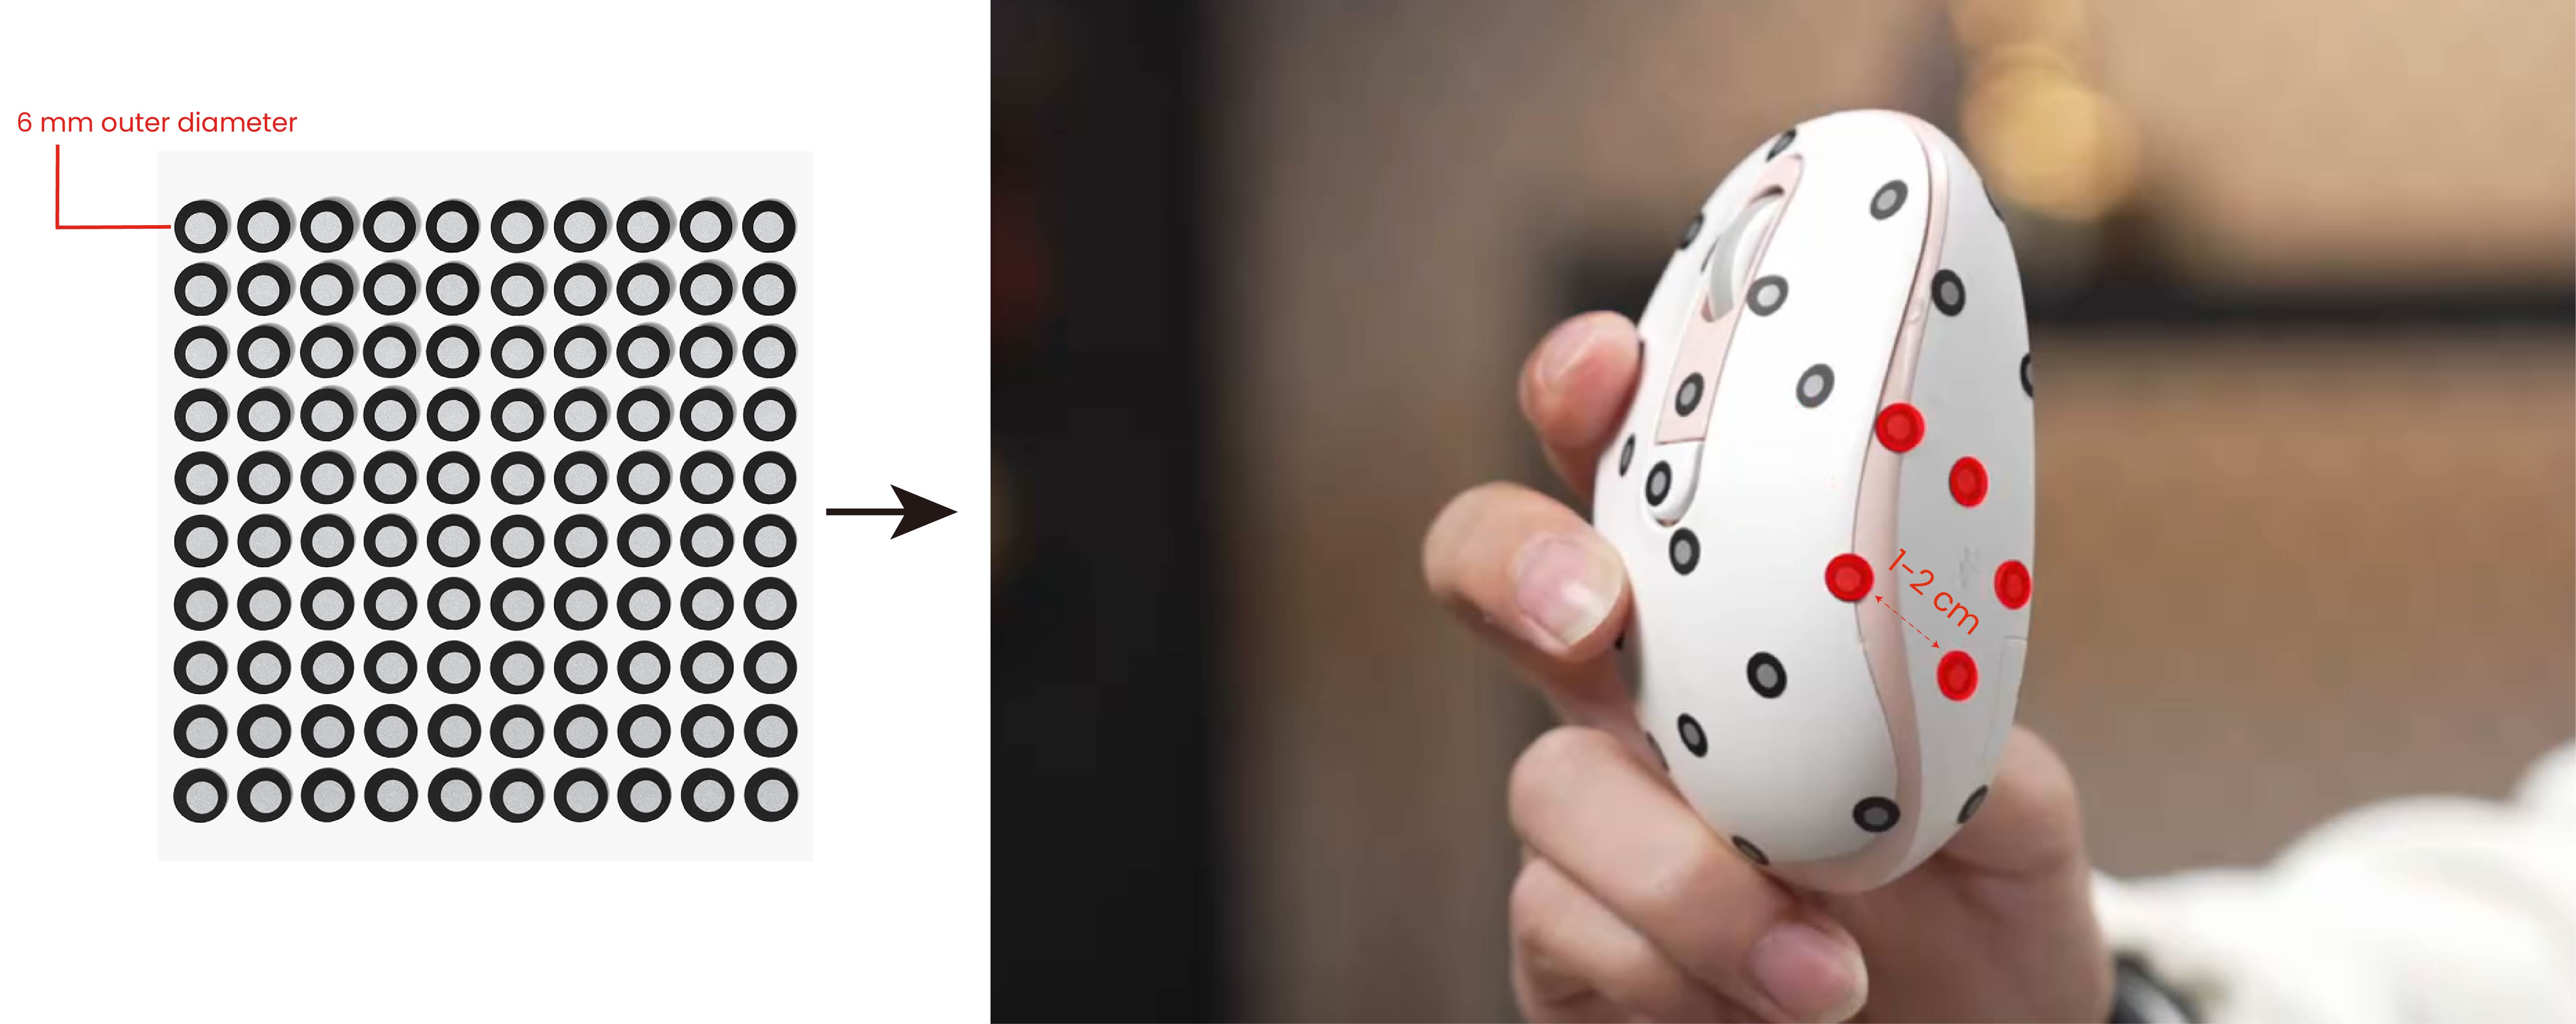 |