¶ Content:
2. Enter Calibration Information Issue
¶ 1. Gimbal Disconnected
Situation: When starting calibration, the Tracker Gimbal or Scanner Gimbal shows “Disconnected.”
Troubleshooting Steps:
(1) Check whether the yellow Type-C cables (connect the Tracker and its Gimbal) at both ends are properly connected and make sure to tighten the screwed.
(2) Check if your software is the latest version: Revo Track, please download the latest version: https://www.revopoint3d.com/pages/support-download
After connecting with the software again, first turn off the Trackit power supply, unplug the blue PC cable, restart the Trackit power, and wait for the device to make a beep sound. Then reconnect the blue PC cable to the computer and check whether the Gimbal is connected. If not, go to step 3.
(3) After connection, check whether the blue indicator light to the right of the Type-C port is flashing (Normally, the indicator turns solid blue, and the software will show connected).
①If the blue indicator continues flashing and the software still shows disconnected, try switching the cable ends and connecting again to see if the issue is solved.
②If the blue indicator continues flashing, you can also try to check Device Manager on your PC to confirm whether the ports are correctly recognized. If not, right-click to update your computer’s drivers, or try with a different PC.
③ If the blue indicator remains off, try switching the long and short yellow cables to test.
Connect two gimbals with a same cable or two cables with a same gimbal to cross-test and check whether it's a cable or a gimbal hardware issue.
(4) If none of the above steps resolve the problem, or it is a hardware issue after testing, please record a video and contact [email protected] for replacement.
¶ 2. Enter Calibration Information Issue
(1) Situation: Start the “Enter Calibration Information” step, "Import from USB flash drive,” and the issue happens.
Troubleshooting Steps:
(1) Ensure the USB drive is visible and accessible on your PC.
Confirm that the USB drive shows as REVOPOINT. If not, rename the drive to REVOPOINT.
Confirm three folders listed, and the folders in the Trackit Calibration Files match the SN on the calibration pole/calibration board. As the screenshot shows below.
Check if your software is the latest version: Revo Track v5.7.1. If not, please download the latest version: Revopoint - Download Center.
If the issue persists, please package the files of your USB flash drive and software logs, and contact [email protected] for further help.
How do I find the software log?
(2) Situation: Start the “Enter Calibration Information” step, "Download and import online,” and the issue happens.
Troubleshooting step: please check the network connection of your PC If it is good, try with another PC, or send the screenshot of this page to [email protected] for further help.
¶ 3. Calibration Setup Tips
Please pay attention to the tips below to ensure a complete and correct calibration process:
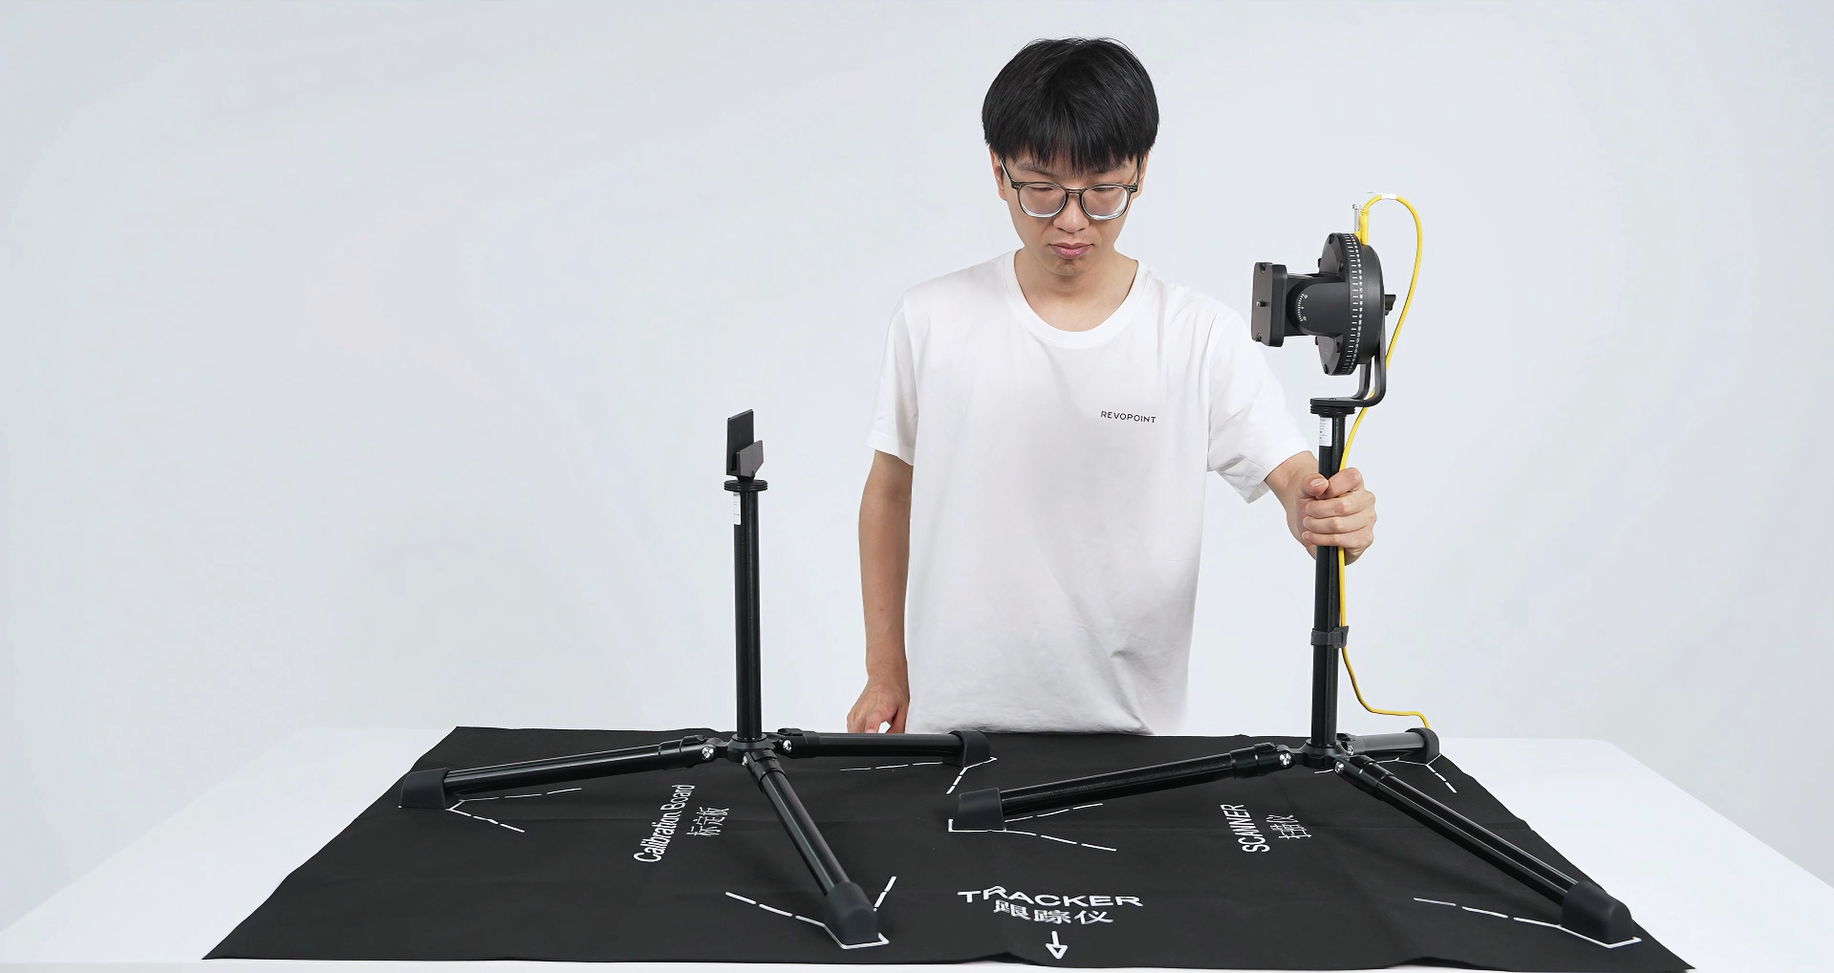
(1) Ensure that the tripods for the Tracker, Scanner, and calibration board are all placed on a stable and rigid surface to avoid shaking.
(2) During use, avoid touching or rubbing the markers on the calibration pole, calibration board, and Scanner.
(3) Ensure that the PC always remains powered.
(4) It is recommended to perform calibration with the devices placed on the floor.
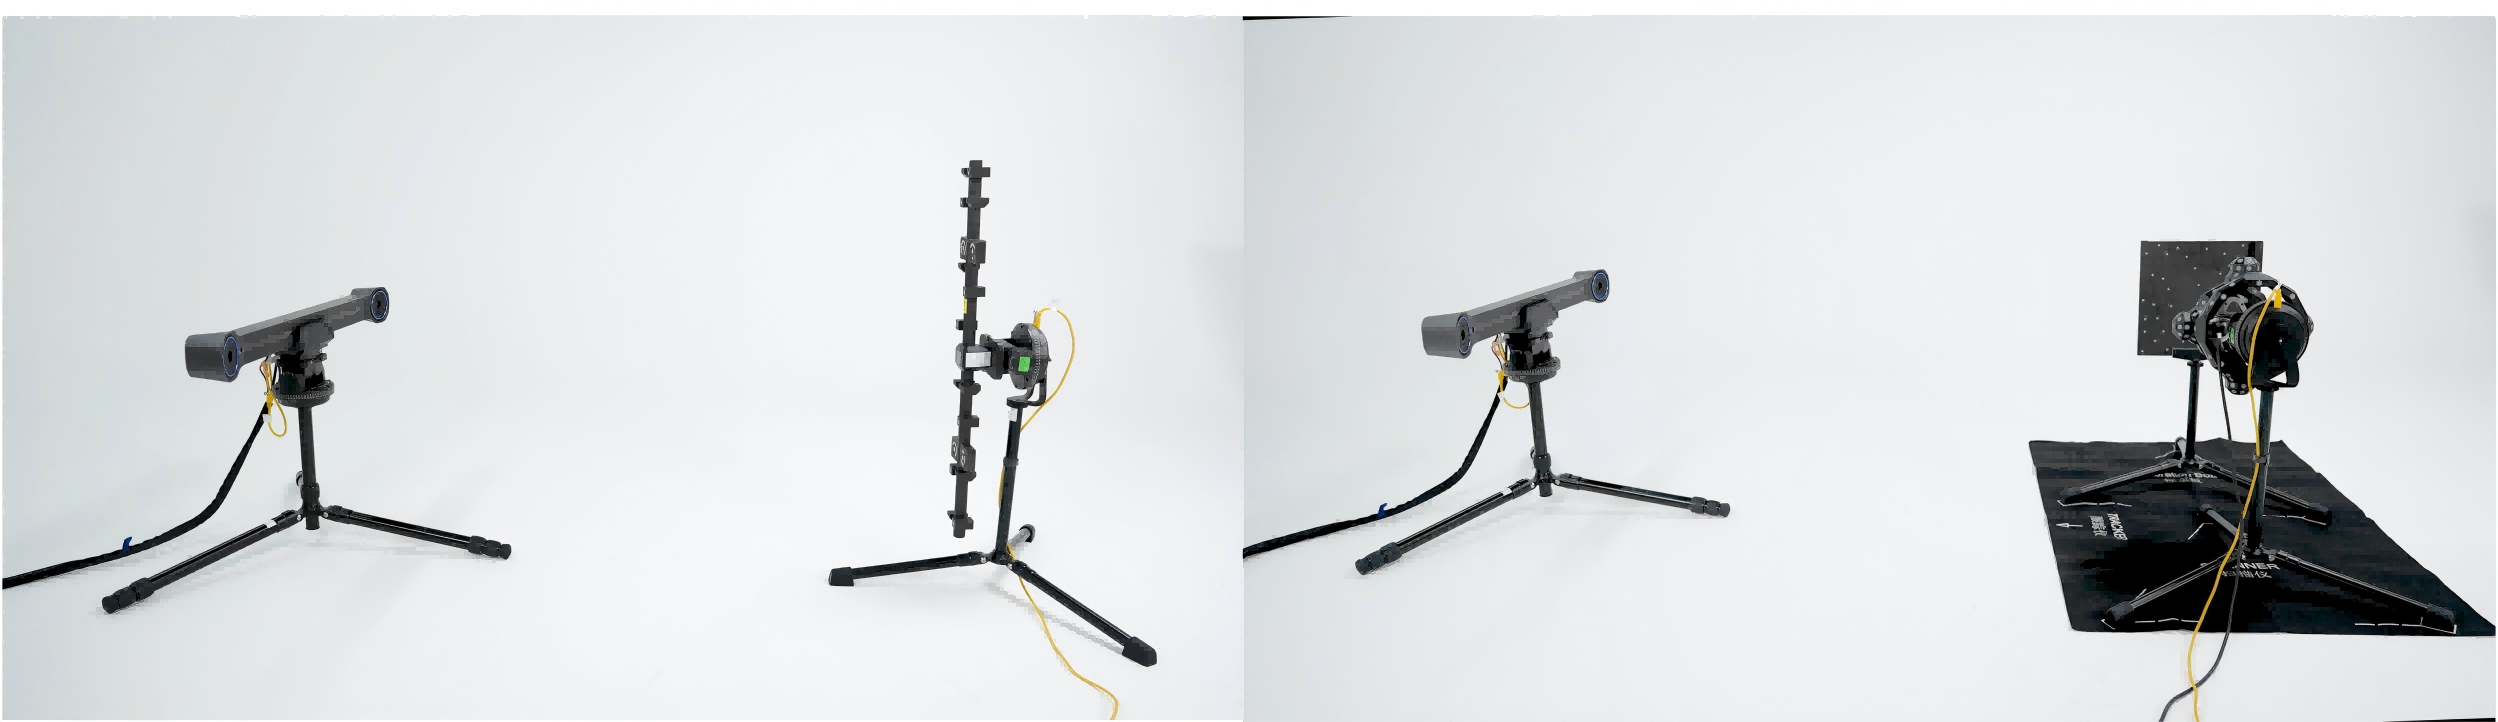
(5) When calibrating on the floor, adjust the Tracker tripod legs to their shortest length, and set each leg angle to the third levevl (80°).
(6) Before Tracker calibration, stand behind the Tracker and visually confirm that the calibration bar and its tripod are centered in the Tracker’s field of view.
(7) Before hand-eye calibration, make sure you use the Positioning Pad, and position the calibration board tripod, Scanner tripod, and Tracker direction according to the placement diagram shown on the Positioning Pad.
(8) During calibration, ensure that the Tracker and Scanner are not obscured.
(9) Do not move anything in the auto calibration process.
(10) Ensure to follow the calibration steps prompts shown in the software.
¶ 4. Calibration Failed Issue
Situation: Calibration failed during full-process calibration, Scanner calibration, Tracker calibration, or hand-eye calibration.
Troubleshooting Steps:
(1) “RGB camera calibration failed” after the Scanner calibration.
Check whether strong light interference is affecting the calibration process. If so, remove the interference and calibrate again in a normal indoor or soft lighting environment.
The last step of Scanner calibration is the RGB camera calibration, as the screenshot shows below. Please pay attention to it.
(2) If calibration results fail after each step, attempt the calibration process two more times. If it still fails, switch to a soft-light environment and try a third time.
(3) If calibration continues to fail after multiple attempts, please record a short video of the issue, collect the software logs, and send them to [email protected] for further help.